11
5. Operating the Unique
2
dmxin
active
XXX = address
·
PXX = pump
·
FXX = fan
P. = pause
(min) ·
F. = fogtime
(sec)
1. = pause
·
2./3./4. = level a
·
5./6./7. = level b
timer
profile
O F F
dmx
in
active
XXX = address · PXX = pump · FXX = fan
P. = pause
(min) · F. = fogtime (sec)
1. = pause · 2./3./4. = level a · 5./6./7. = level b
timer
profile
P r o
Fig. 4: Changing to the Profile-Mode Fig. 5: Switching the device off
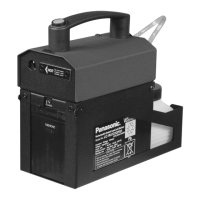
An outstanding feature is the adjustable output of the Unique
2
. The pump and
the fan can be easily and separately adjusted and regulated in 99 steps via buttons.
Any desired effect can be achieved in steps of 1%: from the finest mist to a thick
haze, similar to fog. To achieve the thickest effect the pump must run at 99%, the
fan at 1%. The finest haze can be achieved with lower pump and higher fan
settings. The data can be readjusted whenever you want to.
You may control the Unique
2
externally through the XLR sockets [2 and 3].
Please note: DMX takes priority. That means: when the machine is controlled
via DMX 512 this data takes priority over 0-10V (+) DC and Stand alone operation.
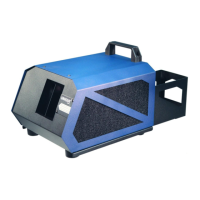
Please note: You can‘t hold down the Mode-button for scrolling through the
Menu. The Mode-button must be pressed only momentarily. If the Mode button
is pressed more than two Seconds, the machine will change into the Timer-Mode
(see point 5.4.5).
5.4.1 Operating via DMX 512
Connecting the Unique
2
to a DMX desk, use the XLR socket [2] beside the control
panel. As soon as the machine receives a correct DMX signal, the yellow DMX-
LED [19] will be lit.
Please note: The Unique
2
uses two channels on your desk! First Channel = Pump,
second Channel =Fan
5.4.1.1 Adjusting the DMX start address
a) Press the Mode button [14] at the control panel until three figures appear on
the LED display [17] (see Fig. 3).