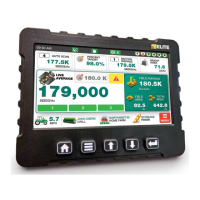
LOUP ELITE DRILL/PLANTER MONITOR
•
OPERATION MANUAL
14
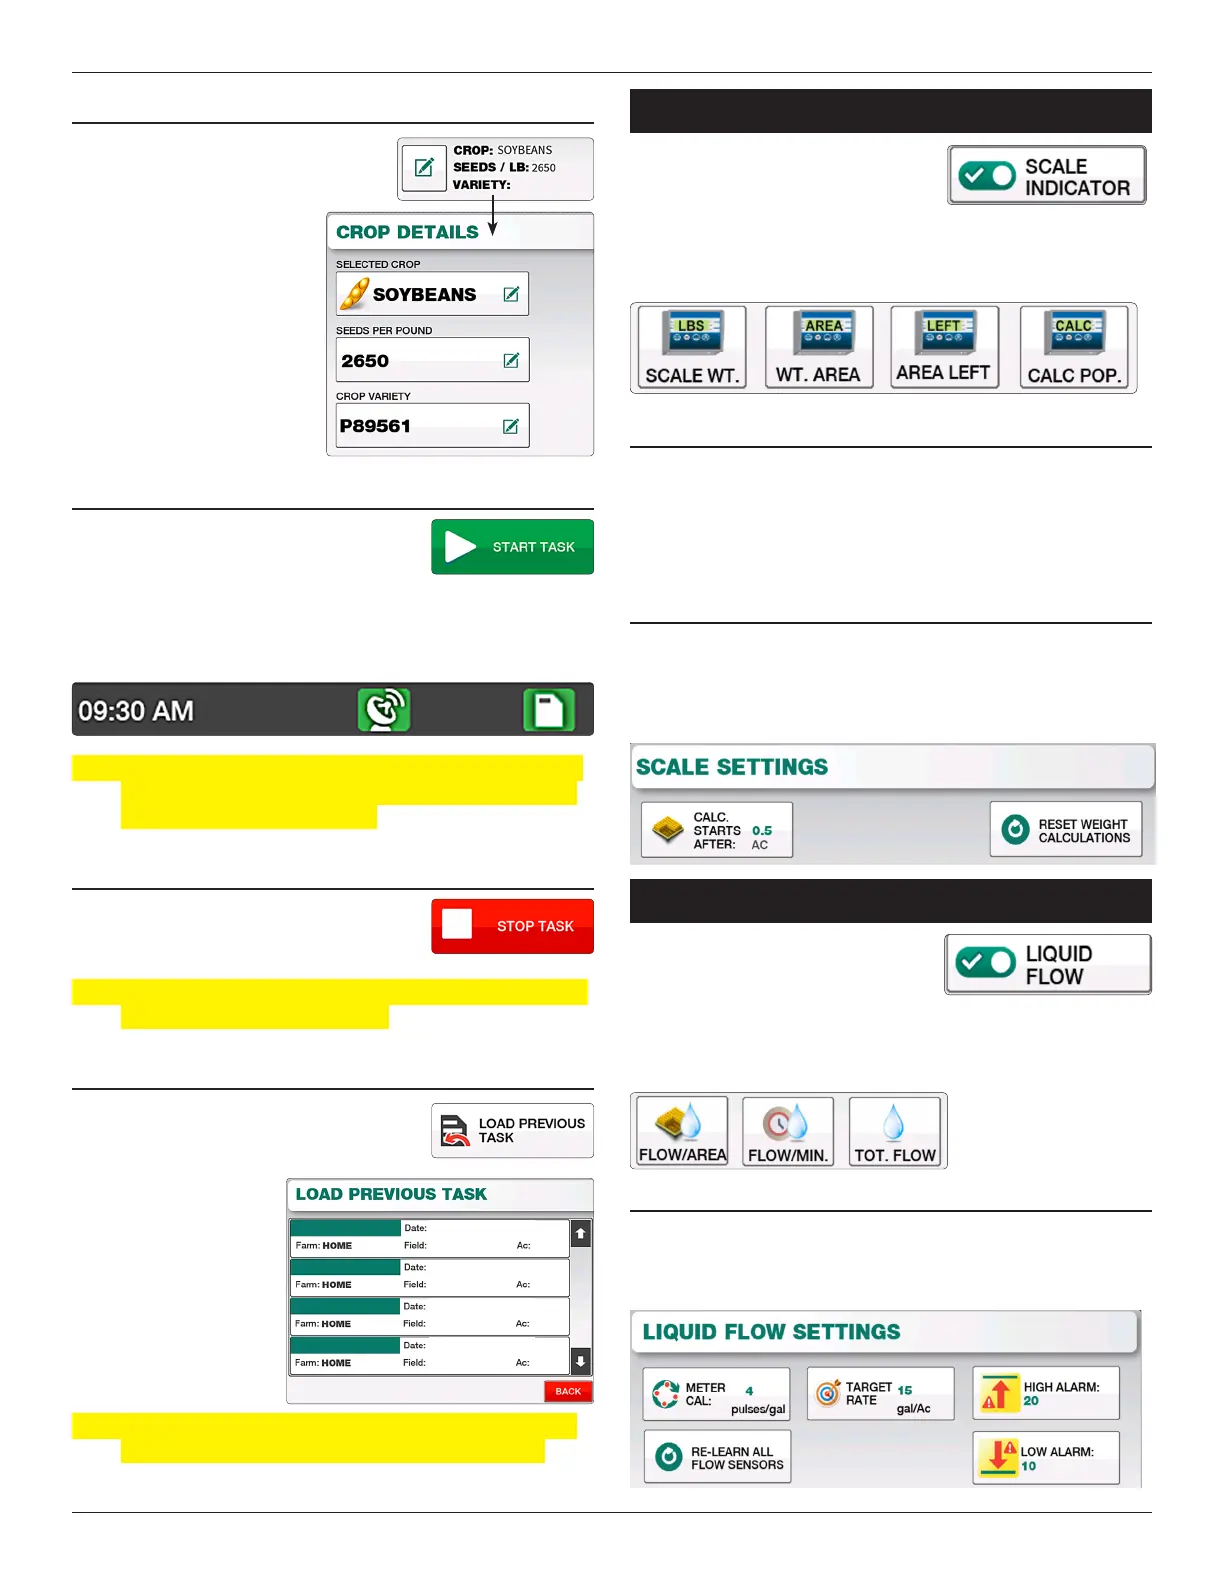
cROP, sEEDs/LB, & VARIETy
e current Crop, Seeds/LB and
Variety are displayed as part of the
current task as well. To change
select the “Edit” button next
to this information. is
will bring you to the Crop
information screen where you
can change these values. Select
“Exit & Save” to return to the
Tasks screen.
sTARTINg A TAsk
When the Task Name, Farm, Field and
Crop information is entered correctly,
push the “Start Task” button to begin
logging the task. Once started you should see a SD Card icon as
well as GPS icon at the top of the screen to conrm the task is
currently running and saving to your SD card.
Note: If no SD card is present, insert the SD card on the right
side of the monitor, securely close side-cover and cylce
the power to the Elite monitor.
sTOPPINg A TAsk
Select the “Stop Task” button to stop the
current log.
Note: Its critical the task be stopped prior to removing the SD
card or turning o the monitor.
REsuMINg A PREVIOus TAsk
If you wish to resume a previously started
task, select the “Load Previous Task”
button to display a list of available tasks
from the SD card. Select
the desired task and
“Start Task” to resume
logging under that task
name.
Note: If the task resides on a dierent SD card, that card will
need to be inserted before the task can be resumed.
eXTernal Scale
If using an external scale with Loup
Elite, you may turn on these features
within the “Implement Setup” screen.
Toggling the “Scale Indicator” ON will open the Scale Settings
page as well as 4 dierent selectable windows associated with a
scale indicator.
scALE cALcuLATIONs
Calculations for the current Scale Weight, Weight/Area, Area
Le, and Calculated Population are only done when the
minimum area (.5 Ac. default) has been met and the implement
is out of motion (either raised or below 2.0 MPH).
scALE sETTINgs
To enter the scale settings, select “Menu” - “Scale Settings”.
Within this page you can dene the minimum area to cover
before calculations begin. You may also reset any weight
calculations that have been done.
liQuid FloW
If using Liquid Flow sensors with Elite,
you rst need to enable this feature
inside “Implement Setup” by turning
“Liquid Flow” ON. Once enabled you can access the Liquid Flow
Settings and Liquid Flow selectable displays for Flow/Area,
Flow/Min, and Total Flow on the main screen.
LIQuID fLOW sETTINgs
To enter the Liquid Flow Settings, select “Menu” - “Liquid Flow
Settings”. Inside the Liquid Flow Settings you can dene the
Pulses per gallon, Target Rate, High Alarm, and Low Alarm.
P89561
TASK 4
TASK 3
TASK 2
TASK 1
5-24-19
SOUTH 40
NORTHWEST
SOUTH LANE
NORTH 40
3.2
80.0
15.3
24.2
5-19-19
5-18-19
5-20-19