LOUP ELITE DRILL/PLANTER MONITOR
•
OPERATION MANUAL
6
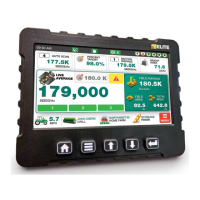
PLANTER BAR gRAPH
If the current implement is set to a Planter, the top le window
will display a bar graph for the number of sensors learned.
Depending on the number of sensors learned, this window will
occupy either 1/2, 3/4 or the full width of the top screen.
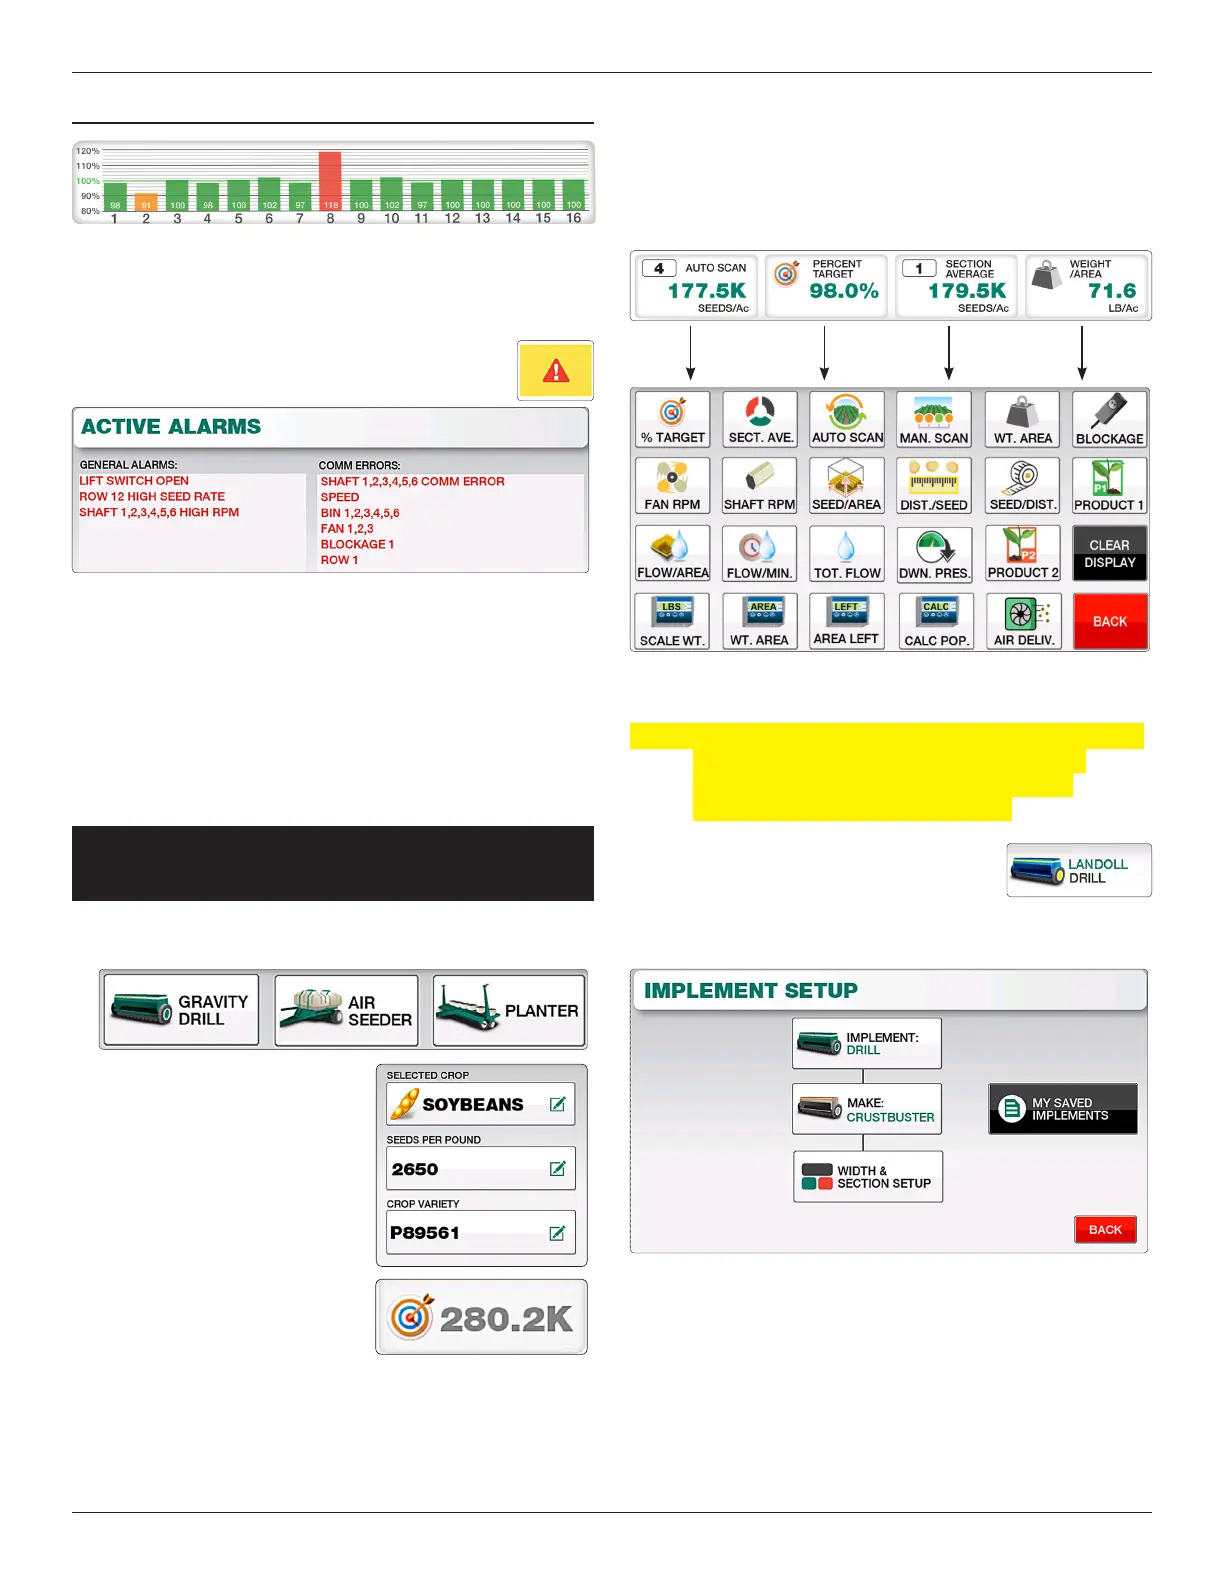
ALARMs
When an alarm is active a popup message will display the alarm.
You may choose to either clear that single alarm or clear all alarms
if multiple are active to clear the popup and silence the display.
A ashing yellow button will display in the center of the screen to
signify alarm(s) are currently active. Select this icon to go to the
Alarms Page which will outline all current alarms active on the
console. e ashing indicator will not dissapear until all alarms
have been resolved.
BaSic operaTing
procedure
1. Ensure the correct Implement type (gravity drill, air seeder
or planter) is selected on-screen.
2. Select the correct Crop
on-screen. If you know the
Seeds/Pound you may also
enter that information for the
current crop.
3. Enter the target population
(optional) in the middle
of the screen next to the
target icon. For example if
planting soybeans at 180k,
enter “180,000” in the target
window. If planting wheat at
1.5 million seeds/acre enter “1,500,000”.
4. Set the desired readouts for the 4 display winodws at the
top of the screen. You may choose between % Target, Section
Average, Auto Scan Rows, Manual Scan Rows, Seeds per
Square area, Blockage, Fan RPM, Sha RPM, Seeds per
Distance, Distance per seed,Weight per Area or leave the
display blank.
1.3 TaSkS & logging
proceduriMpleMenT SeTup
NOTE: If the Elite system is a newly purchased kit from Loup
Electronics, all Implement Settings and Sensor
Installation has been pre-congured by Loup
Electronics. You may skip this section.
Select the Implement Icon atthe bottom of the
screen to enter the Implement Setup page.
From this screen you can dene what type of
Implement you are using, implement width and individual
section widths. Up to three separate implements can be saved.
1. Select the type of implement you are using (Gravity Drill,
Air Seeder or Planter).
2. Select the appropriate Implement Make.
TAsks & LOggINg PROcEDuRE
Note: is feature is not enabled by default. To unlock this
feature please contact Loup Electronics.
To start a Task, enter the Tasks & Logging screen by selecting
“Menu” and “Tasks & Logging”.
1. Enter the Task Name you desire.
2. Ensure the correct Farm, Field, Crop and Variety is dened
on the Task screen.
3. Select the “Start Task” button to begin recording eld data. A
green SD card and GPS icon will display at the top of the
screen to verify the job is logging.
4. To stop the task select the “Stop Task” button to end the log.
Best practice is to select “Stop Task” anytime you pause in
the eld or stop for the day.
Note: If a log is abruptly stopped by turning o power to the
display the log will resume when display is powered on
and the SD card is still present.
If SD card is abruptly removed while a log is still
running, you will need to reinsert the SD card and
resume the tasks with the Resume Previous Task
button.