24
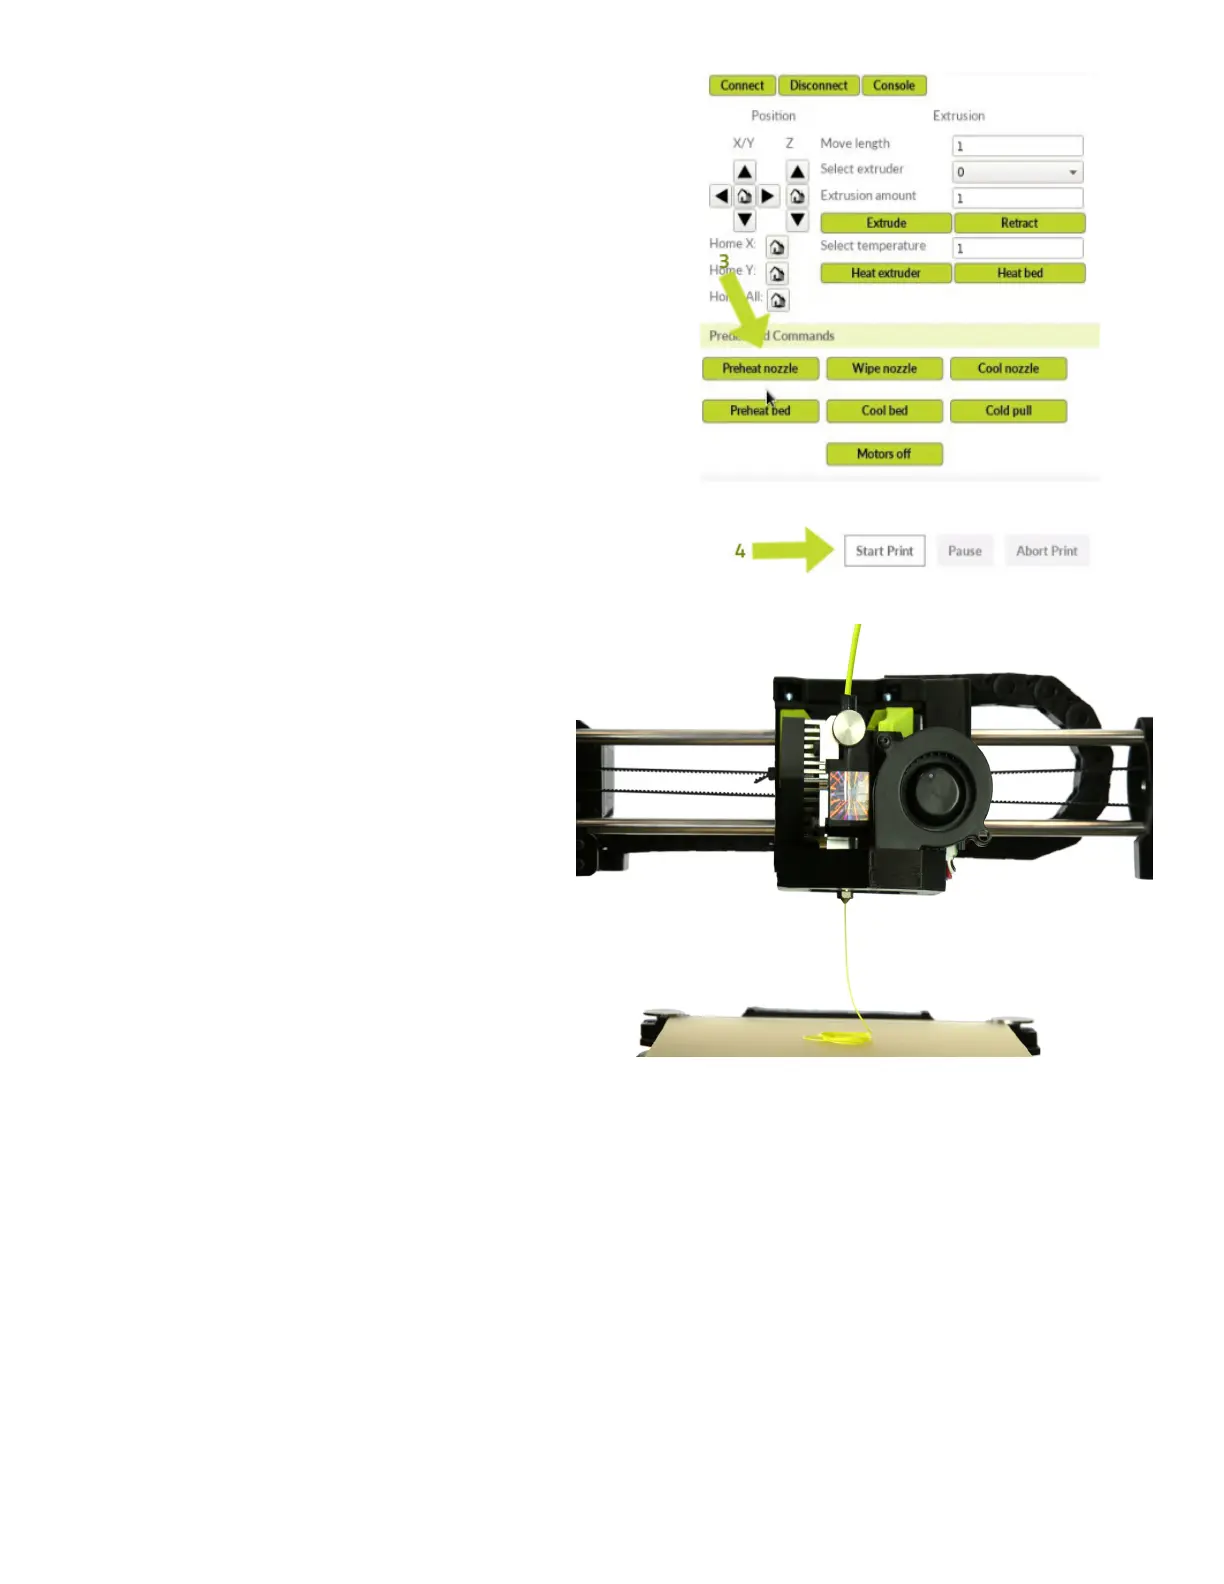
Click “Preheat nozzle”(3) to to raise the hot
end temperature. For Polylite PLA, the
temperature will raise to 205°C.
Using a different material? Set the hot end
to the extrusion temperature of your
material to remove the filament from
the LulzBot Aerostruder Tool Head.
Refer to the Filament Guide for the
proper extrusion temperature.
Once the printer has reached at least
200°C, you can remove any
remaining filament and replace it
with your new filament. Click the
“Extrude” button a few times to
purge any leftover filament.
Repeat as needed until you see
consistent and repeatable extrusion.
Now you are ready to print. If you need to make any further adjustments to your model or pro-
file settings, you will need to navigate back to the “Print Setup” button at the top-right corner
of the screen. Otherwise, click “Start Print” (4) at the bottom of the print monitor and your print
will begin.
Your printer will home each axis, retract the filament slightly, probe each corner of the print bed,
and after priming the hot end with filament will begin printing the Rock2pus.