lumenstudio
™
software user manual
lumenstudio
™
software user manual
14
15
It is important to setup the positions of your xtures in order to visualize them correctly.
It is often easier to build your sequences if you have an idea of your xtures actual positions.
To alter to position of a xture, simply select the xture and drag to the desired location within the group window. Use the
line, circle, square or matrix icons on the group toolbar to quickly arrange your xtures into a shape.
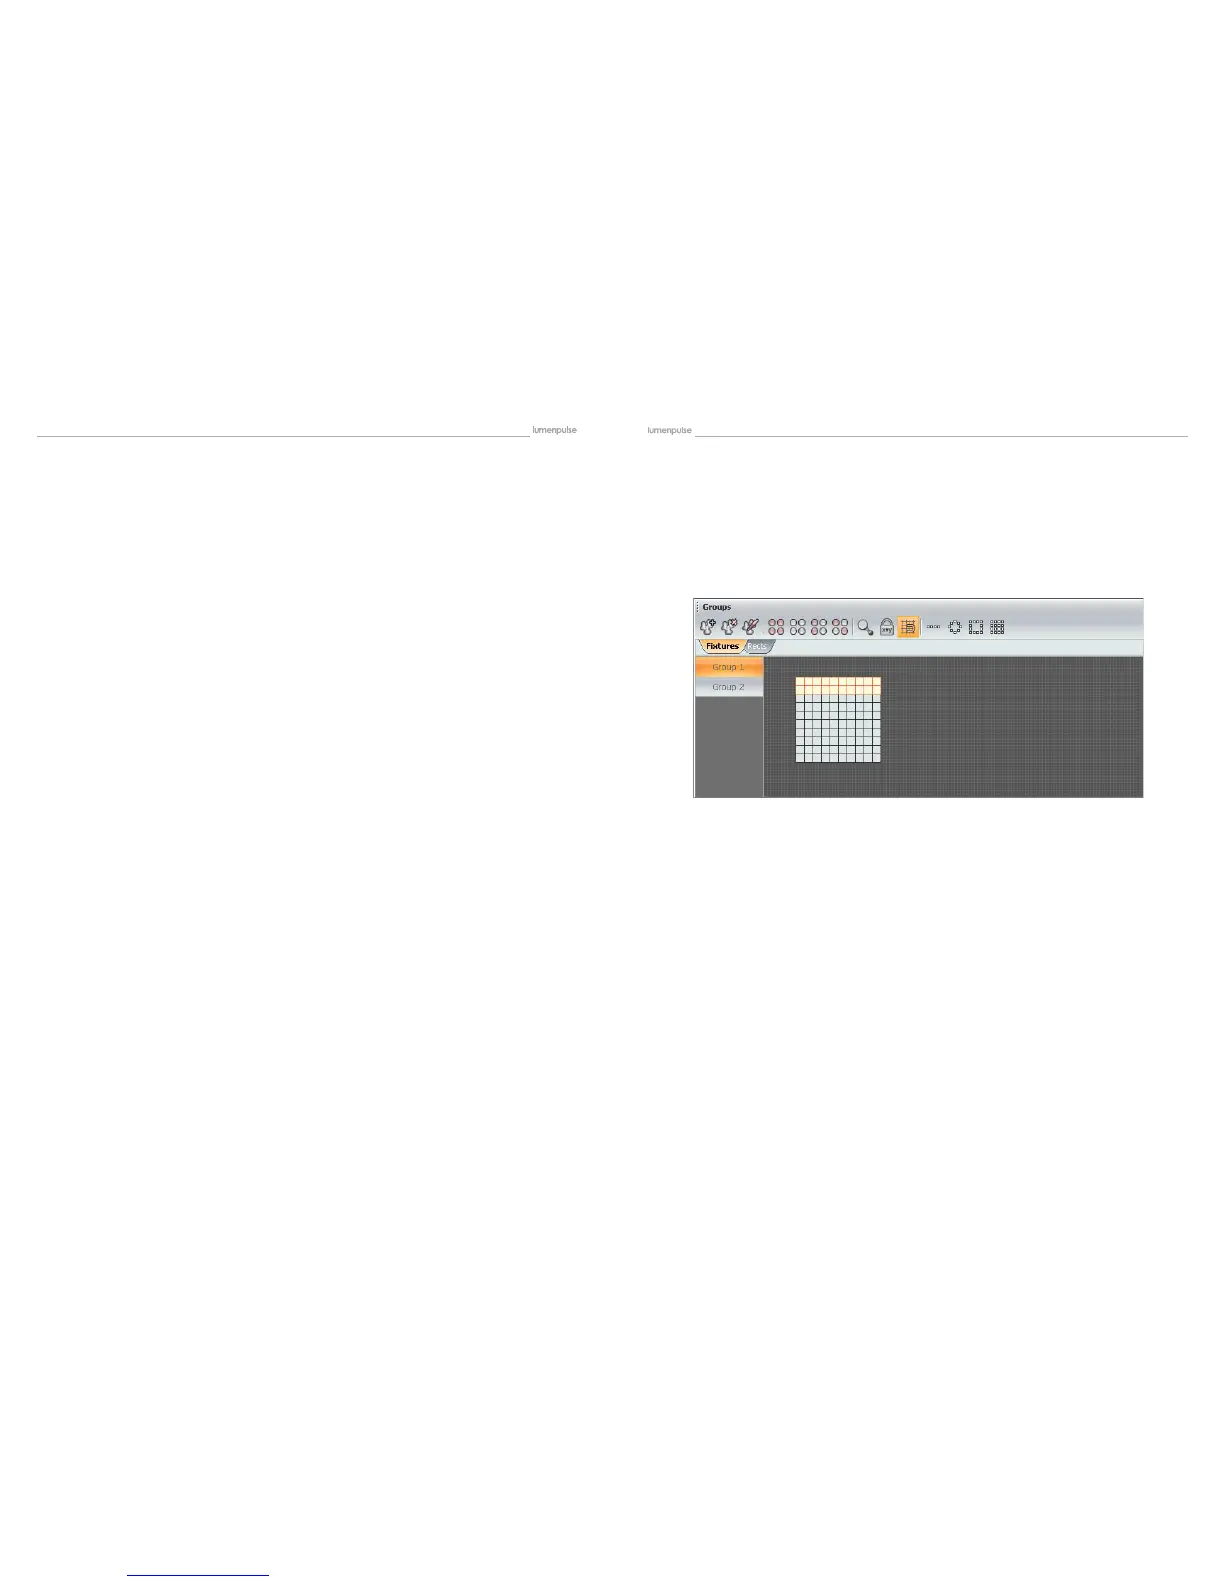
This section explains how to set up a matrix of xtures, such as a colored wall matrix or an LED
danceoor. In the example below, we will be using the “Matrix” tool to set up a 10x10 matrix.
Procedure to create a 10x10 matrix :
- Select all xtures using your mouse or the “Select all” button from the toolbar
- Click on the “Matrix” button from the toolbar
- Enter 10 x 10 in the Matrix window
- Validate by clicking on “OK”
Every xture is represented by a little square. The selection is made with the mouse. You can use the “Ctrl” key for a mul-
tiselection or the various option from the toolbar (select ALL, HALF, INVERT...).
It is also possible to create groups of xtures. Follow this procedure to create a new one :
- Select the xtures to be added to the group
- Click on the “Add” button (left-side of the toolbar)
A group can be deleted or renamed using the buttons on the toolbar.
Every xture is represented by a little square. This is the default mode, the selection is made with the mouse. You can use
the “Ctrl” key for a multiselection or the various option from the toolbar (select ALL, HALF, INVERT...). You can also use this
mode to setup the positions of your xtures. It is possible to manually drag&drop the devices or use the different tools from
the toolbar.
4.2.1.1. The xtures mode
4.2.1.1.1. Setting up the positions
4.2.1.1.2. Selecting the xtures