5
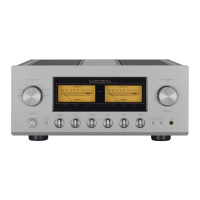
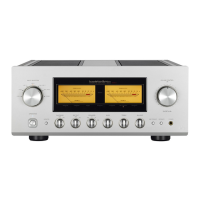
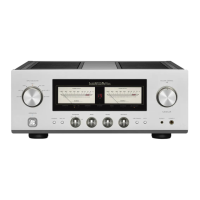
5. Display
Displays the operation status of this unit.
This display is composed of 7 indicators and 2 power me-
ters.
6. Remote control infrared receiver
(REMOTE)
This is a sensor to receive signals from the accessory re-
mote control.
7. Volume control (VOLUME CONTROL)
Adjusts the sound volume. Sound is not generated when
this control is rotated counterclockwise to the end, and
then, the sound volume gradually becomes higher when the
control is slowly rotated clockwise.
8. Headphone jack (PHONES)
Insert the headphone plug into this output jack. Even when
the plug is inserted, signals to the speaker output terminal
are not interrupted. Accordingly, to listen to sound with only
use of headphones, set the speaker selector to off.
9. Separate switch (SEPARATE)
Separates the pre-amplifier and main-amplifier each other.
off : Uses this unit as a normal pre-main amplifier.
on : Feeds external signals from the MAIN IN termi-
nal on the rear panel to the main-amplifier sec-
tion.
• Every pressing of this switch toggles the separate on and
off.
The separate indicator lights up when the separate switch
is on.
When the separate switch is set to on, the volume control of
this unit cannot adjust the volume of the speakers connected
to this unit. Volume adjustment shall be performed at the
input device side such as the control amplifier connected to
the MAIN IN terminal.
Entry of direct output into the MAIN IN terminal from a CD
player or other devices that cannot adjust sound volume
constantly provides a full power state and accordingly results
in the risk of speaker damage.
For such input devices, be sure to use a control amplifier
equipped with the sound volume adjustment function as
a relay, generate sound through the speakers with volume
lowered, and adjust the volume to your favorite level.
When arranging the wiring, be sure to turn off the power of
this unit.
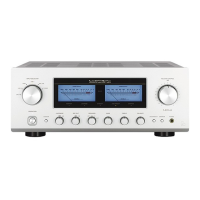
(separate
indicator off)
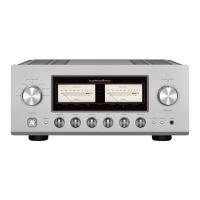
(separate
indicator on)
 Loading...