Flex EX2 Receiver Select Instruction Manual
August 2018
Page 23 of 39
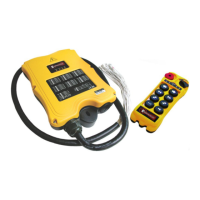
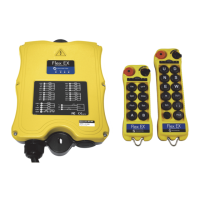
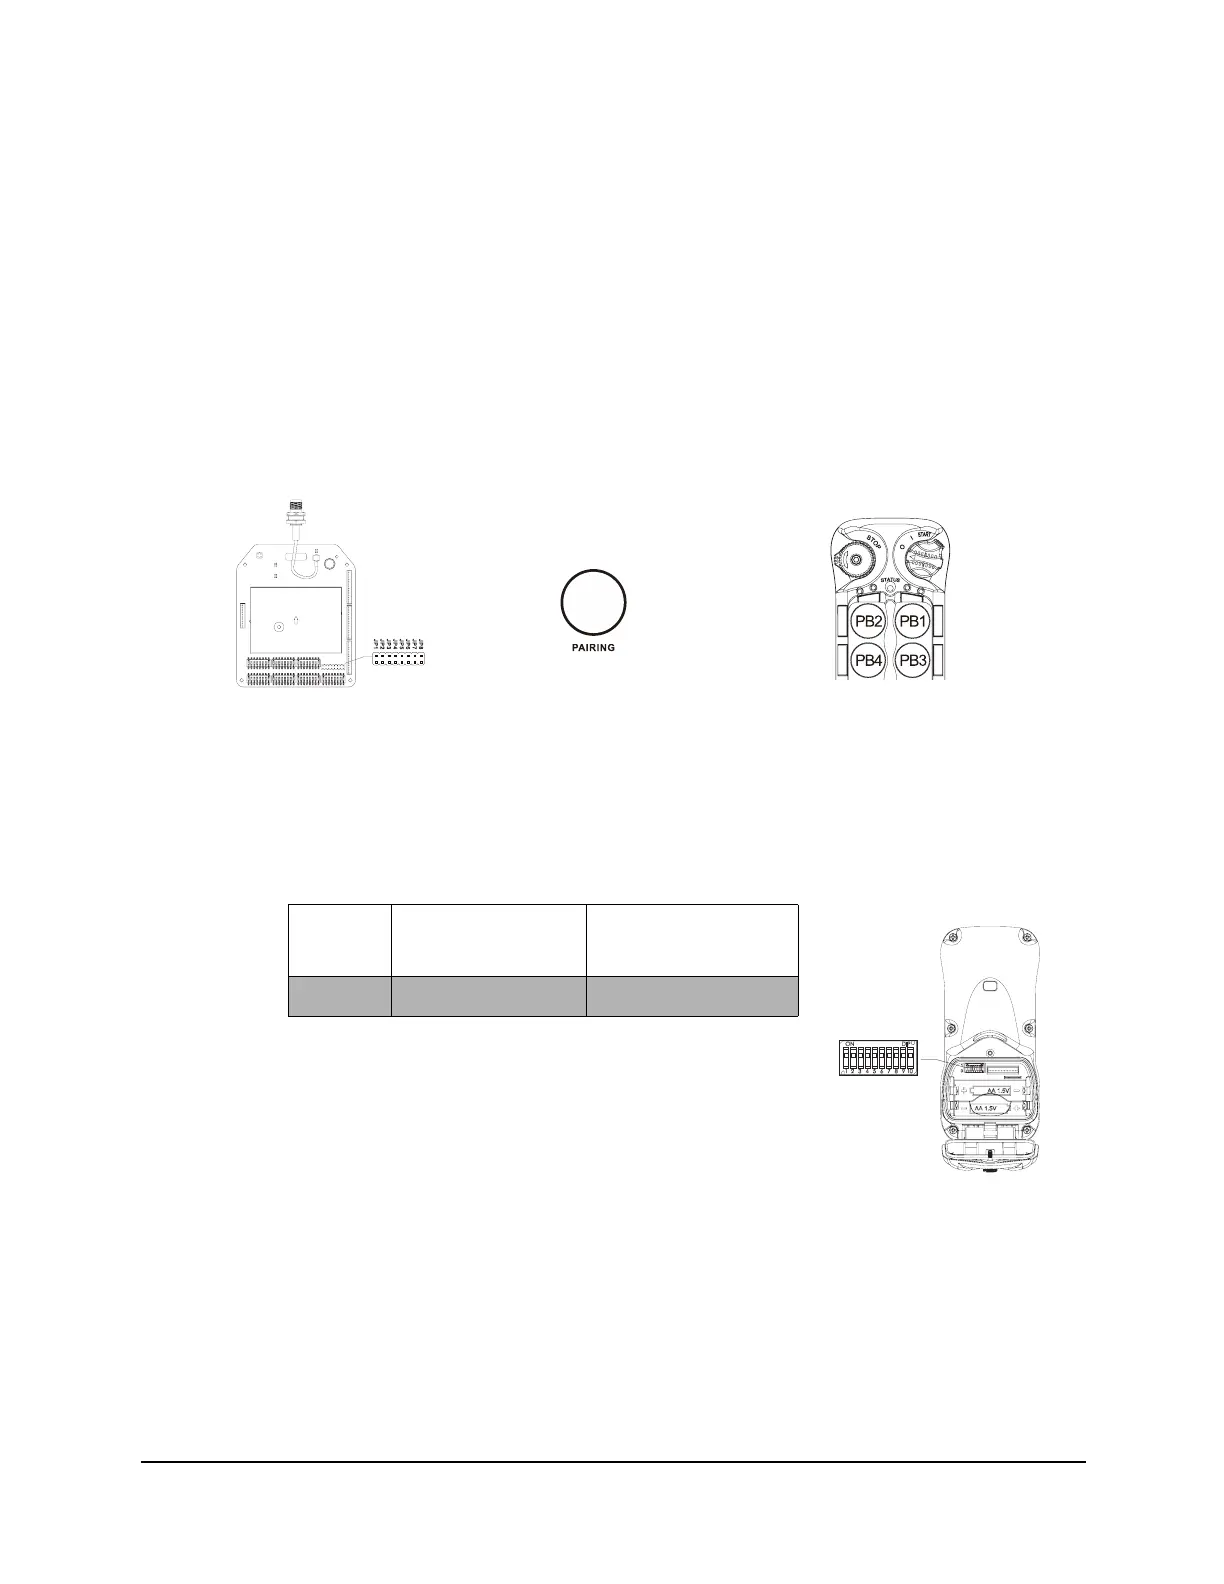
B. Receiver-to-Transmitter Pairing:
1. Rotate the power switch key to OFF ( 0 ) position.
2. With the STOP button elevated, press and hold PB1 and PB3 simultaneously.
3. Rotate the power key switch to ON ( I ) position.
4. Release PB1 and PB3 simultaneously. The Status LED will now display the firmware
version with red, green and orange blinks. The transmitter is now in Remote Pairing
mode.
5. Press Pairing button on receiver and PB3 on transmitter until Status LED on
Transmitter turns solid green.
NOTE: If you have completed the above procedure and it does not work, cycle power on the
receiver and try the above procedure again.
4.1.5 Transmitter Output Power Settings
The transmitter is set to 1mW by default as that is the maximum allowed due to FCC
regulations. If a different output power is required, please contact Magnetek field
service.
Dipswitch
Settings
Output Power
1 000xxxxxxx 1mW
→ →
Set JP8 to “Open” Output data – receiver Receiving data – transmitter
(press and hold the Pairing button) (press and hold PB3)
 Loading...