Operation Manual easyTymp
4.2 System Installation
4.2.1 Hardware Installation
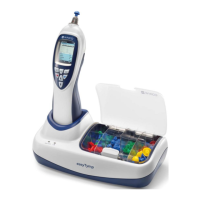
4.2.1.1 Installing the Cradle
1 = USB in
2 = USB out
3 = USB out
4 = USB out
5 = Power 24 V
6 = Follow the
instructions for use
Put the enclosed mains cable into the power connection socket #5 and the mains plug
into a power socket.
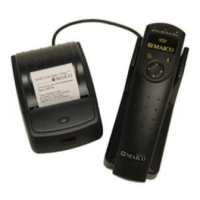
NOTE: In case you also use the wireless printer make sure you take the right power supply
(24 V, UE24WCP-240100SPA) to connect to the cradle. Otherwise loading times can rise.
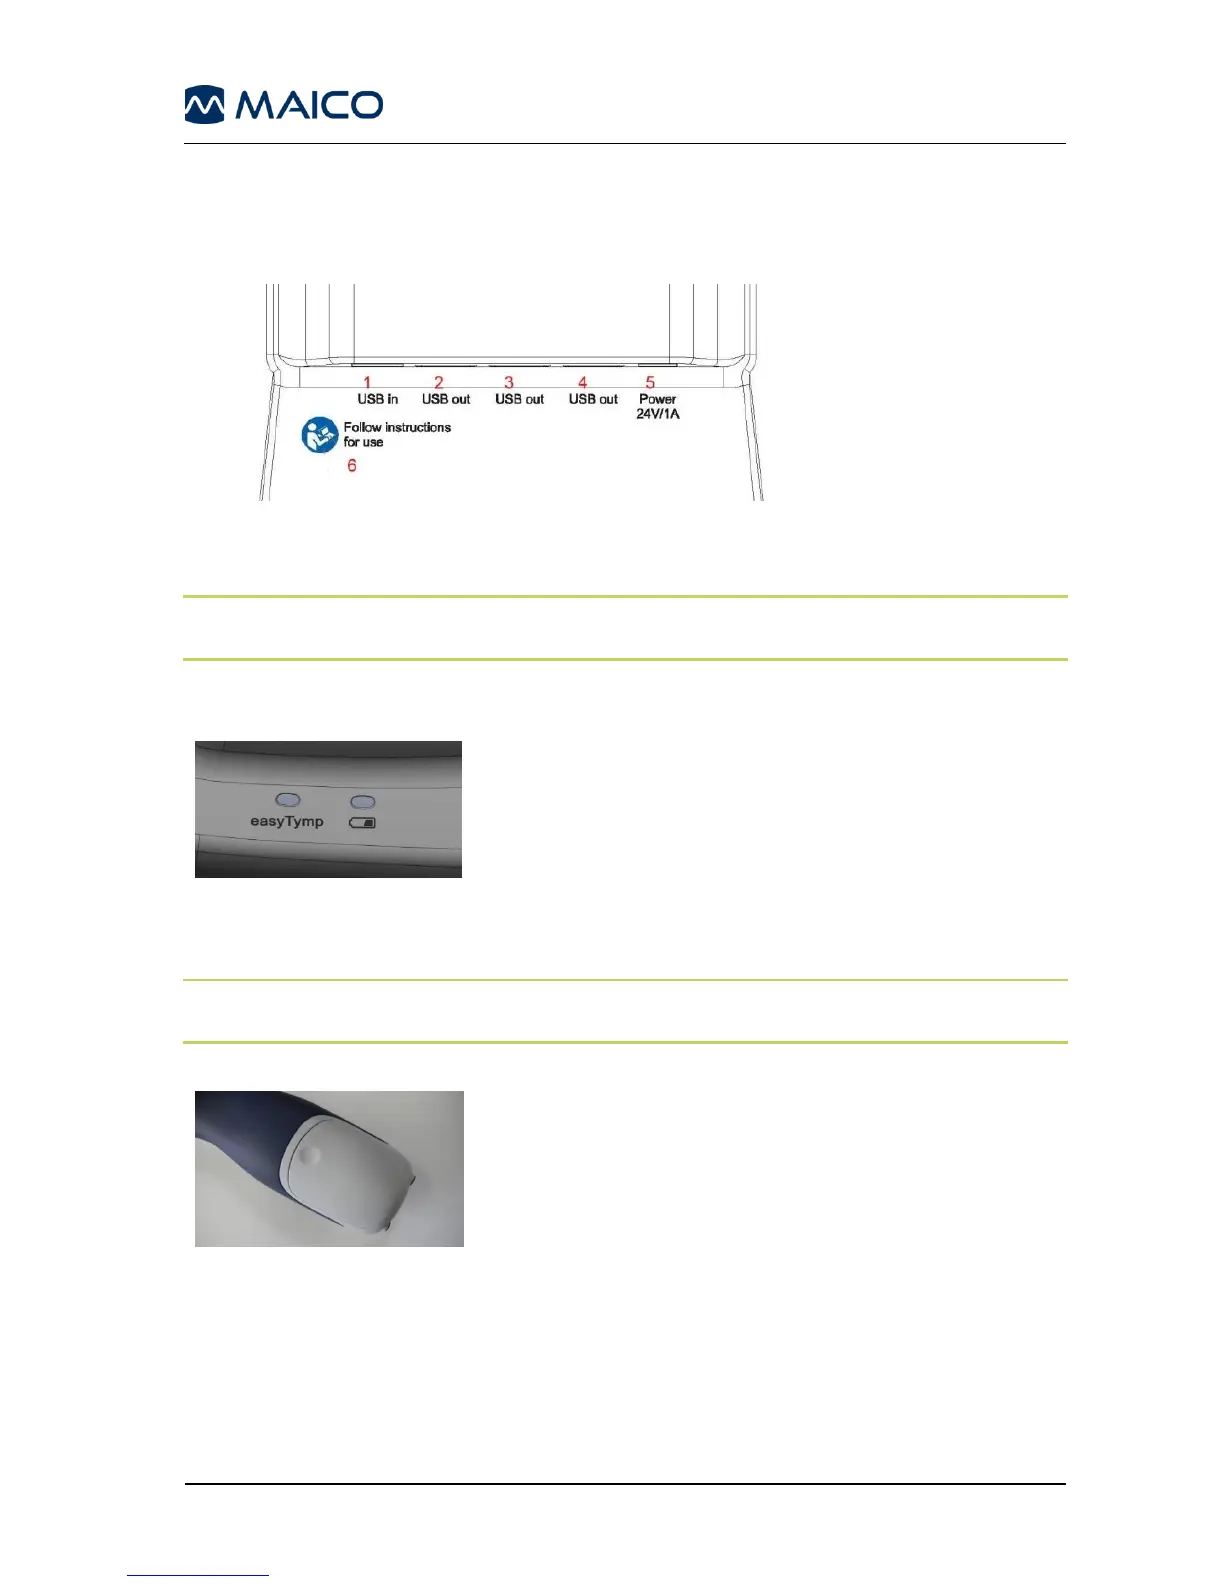
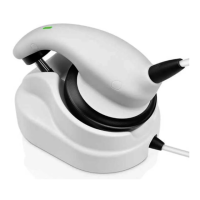
4.2.1.2 Cradle Indication Lights
The cradle has two indication lights (Figure 18).
easyTymp LED shows solid blue when it is placed
inside the cradle. The battery will be charged
automatically and will be fully charged after
approximately three hours. The current battery state of
charge may be seen on the easyTymp display.
Battery LED shows solid blue when the spare battery
in the cradle is fully charged. The LED will flash while
the battery is charging.
NOTE: Upon initial setup, always plug the cradle into the outlet while the easyTymp is
out of the cradle.
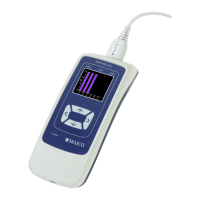
4.2.1.3 Installing the easyTymp Battery
The battery compartment is opened by gently
pressing the indentation and pushing the cover
downwards (Figure 19).