Operation Manual easyTymp
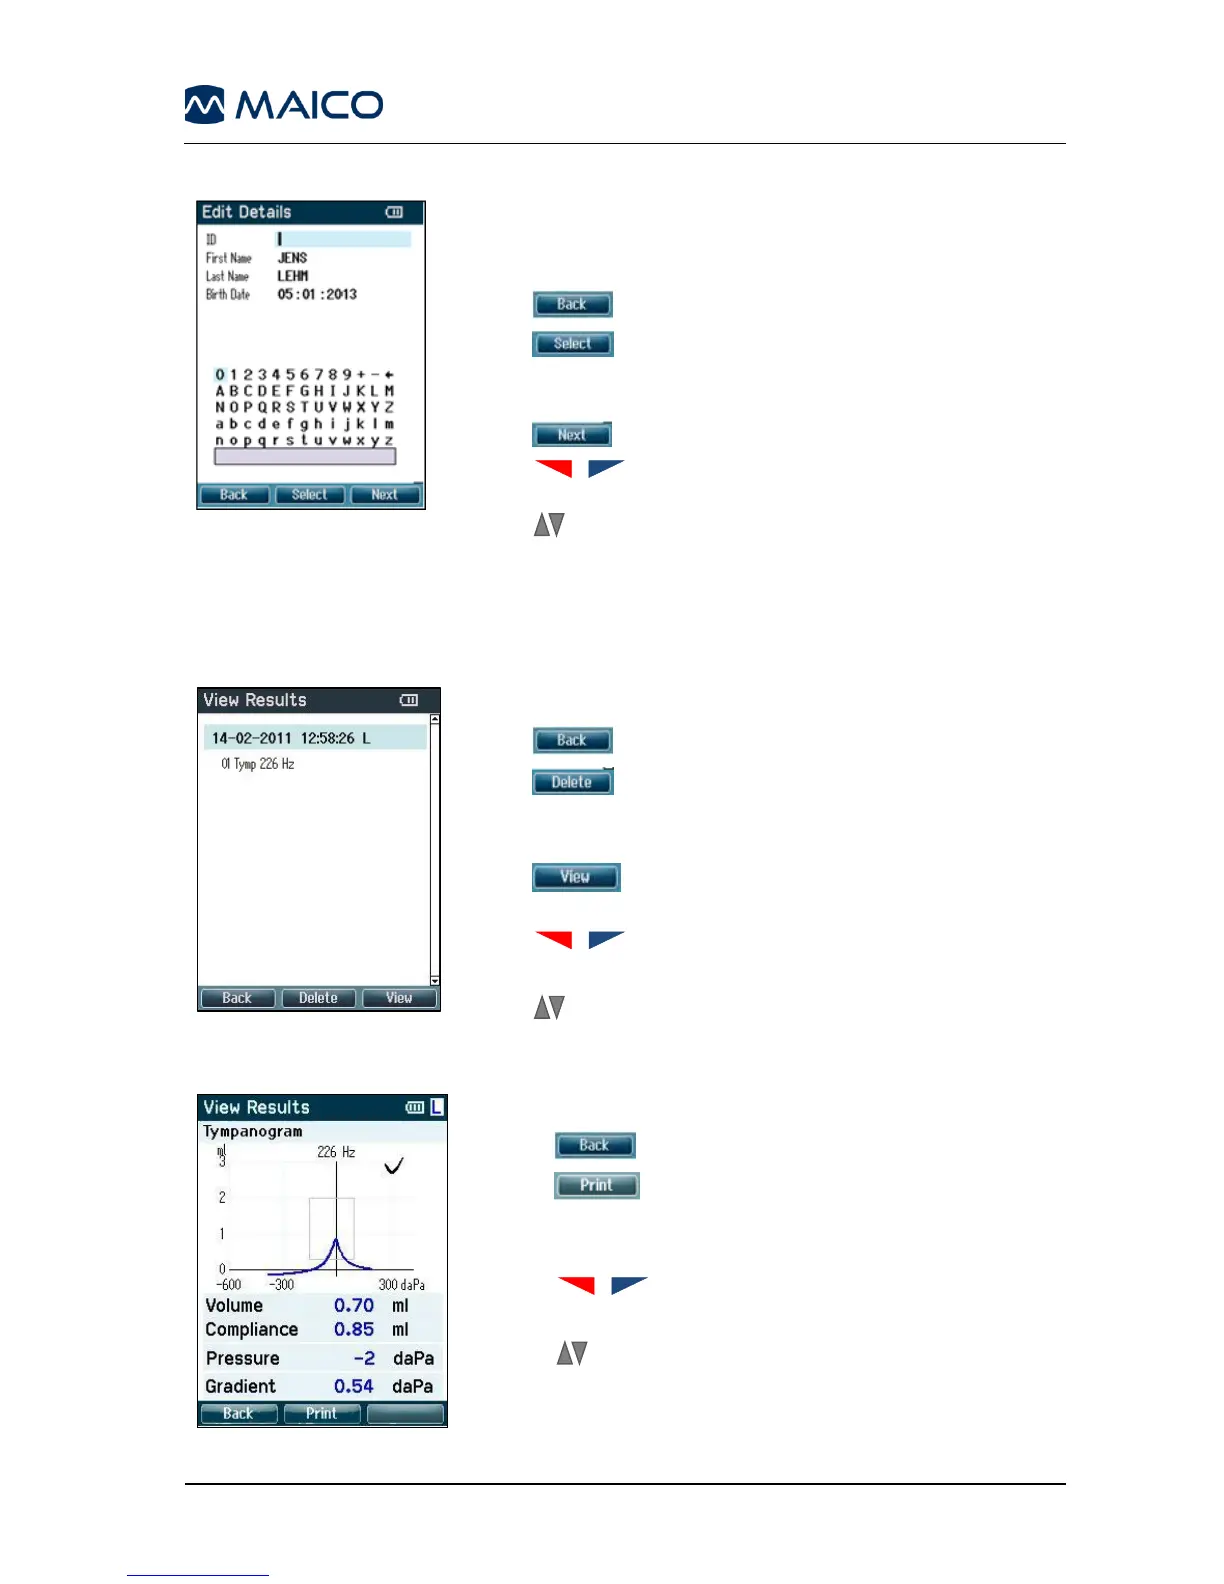
This screen shows the patient ID, First Name, Last
Name, and Birth Date (Figure 60).
Operating from this screen:
- brings you back to the View Patients screen.
- selects the highlighted character and put it
where the cursor is placed. Backspace is an arrow in the
top right corner. Space is a bar underneath the keyboard
- selects the next details for editing.
- will move the selection of the keyboard one
character to the left or right.
- buttons will move the selection of the keyboard one
character up or down. When editing the birth date the up
and down button will change the numerical value.
View Results –
select session
Figure 61
For the selected patient, the screen shows a list of
available sessions (Figure 61).
Operating from this screen:
- brings you back to the View Patient screen.
-
prompts
you and ask for confirmation
before it deletes the selected session or all
sessions.
- shows the selected session in the View
Results screen (see Figure 39).
- buttons bring you respectively to the top
or bottom of the result list.
- buttons scroll up or down one session
View Results –
show results
Figure 62
This screen displays the test recordings of the selected
session (Figure 62).
Operating from this screen:
- brings you back to the View Results screen.
- button will print all results which are
stored in the selected session.
- The top right button has no function.
- buttons will show the recordings of the
right or left ears respectively, if available.
- buttons scroll through the different tests which
are included in the selected session.