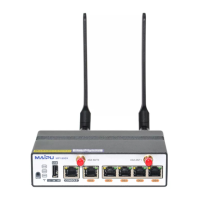
Power on and Run Router
MP1900X Series Router Installation Manual
4-8
copyright2019 Maipu, all rights reserved
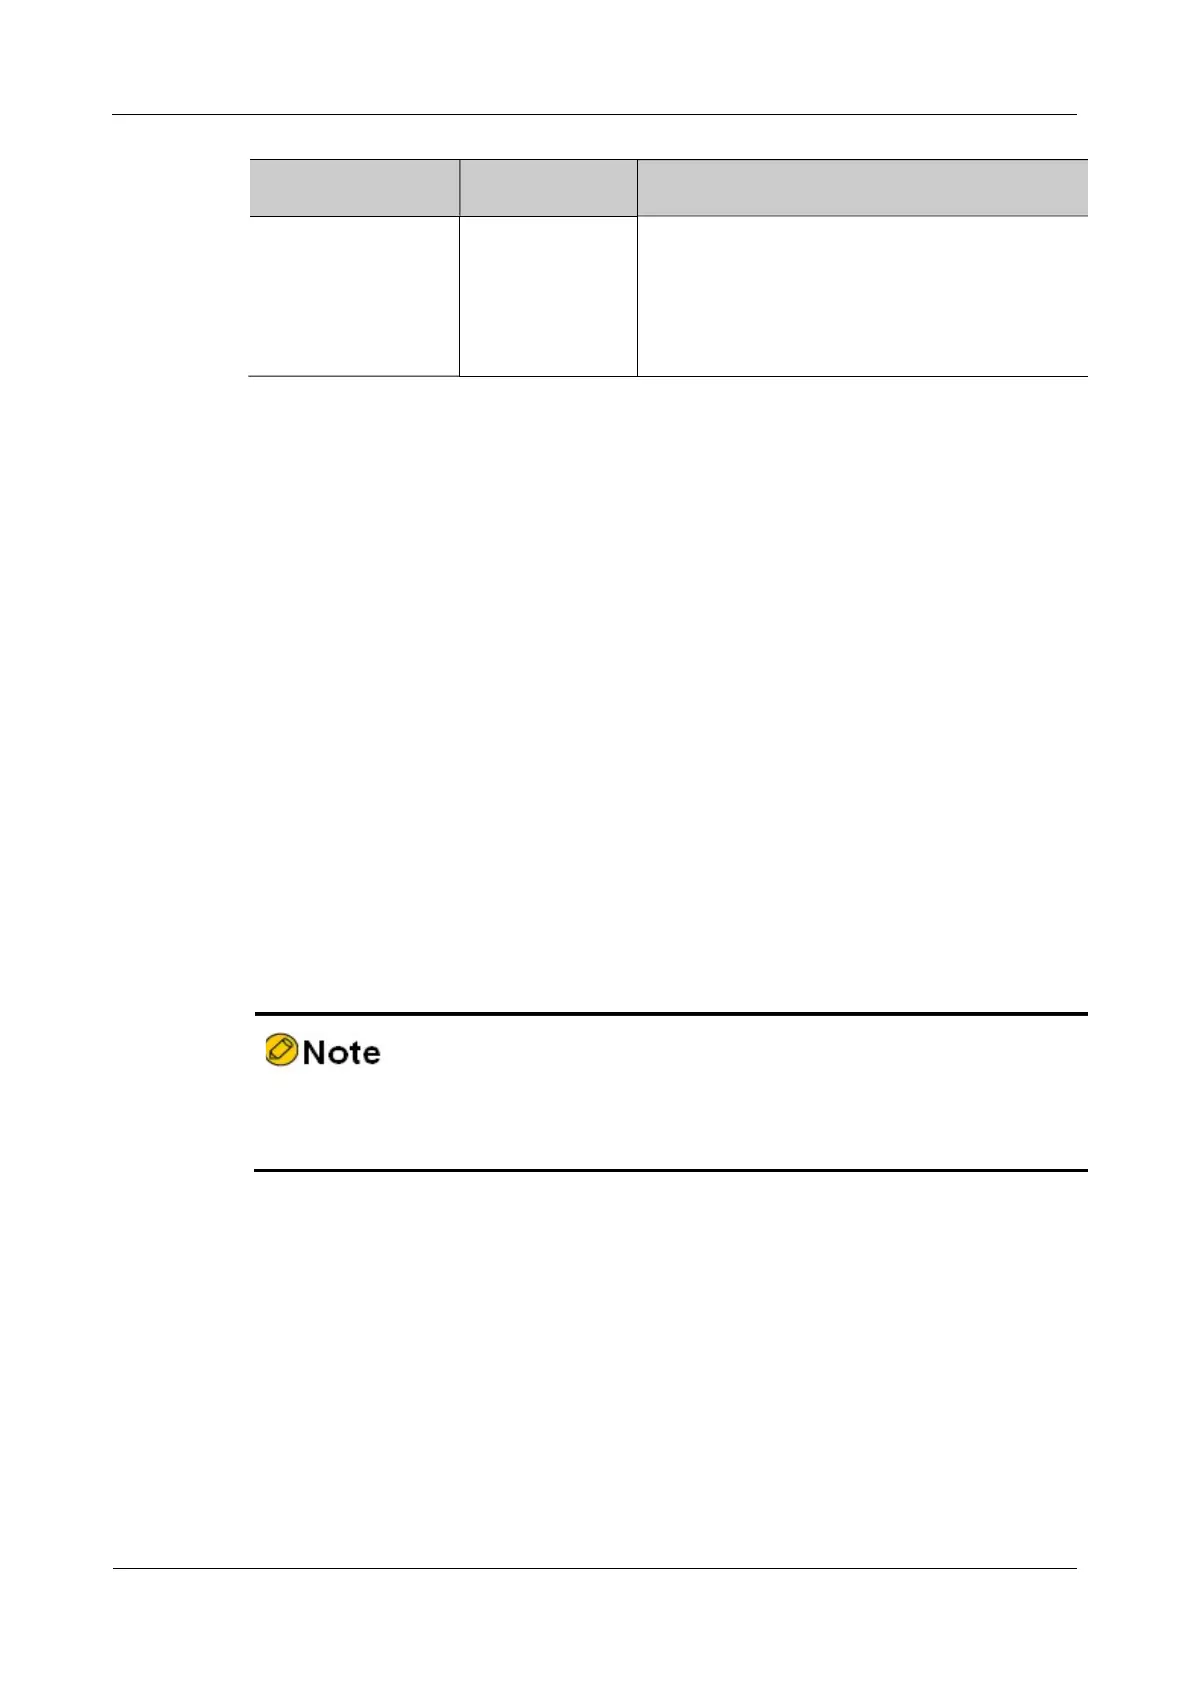
Indicator Name Indicator Color
Description
USB Green On: The USB device works normally
Off: No USB device is inserted or the USB
device is removed
Flash: The USB device is transmitting data
4.2 Access Network
4.2.1 Access Network via Ethernet Twisted Pair
The 10/100/1000Base-T electrical interface of the router adopts the RJ-45 connector.
The port supports MDI/MDIX auto-sensing and adopts class-5 or above twisted-pair to
connect the network.
Connection steps:
Step 1:
Insert one side of the Ethernet twisted pair to the Ethernet electrical interface of the
router (RJ-45 port).
Step 2:
Insert the other side of the Ethernet twisted pair to the RJ-45 port of the device
connected to the network.
The router does not carry Ethernet twisted pair. Please prepare the desired cables
by self in advance.
4.2.2 Access Network via Fiber
For the SFP optical interface of the router, you can use the fiber to connect the network.
Before connecting fiber, first install the optical module to the router and then insert the
fiber connector to the optical module. The appearance of the general LC fiber
connector is as shown in the following figure.
 Loading...