makerbot.com/docs/replicator 9
STEP 9.
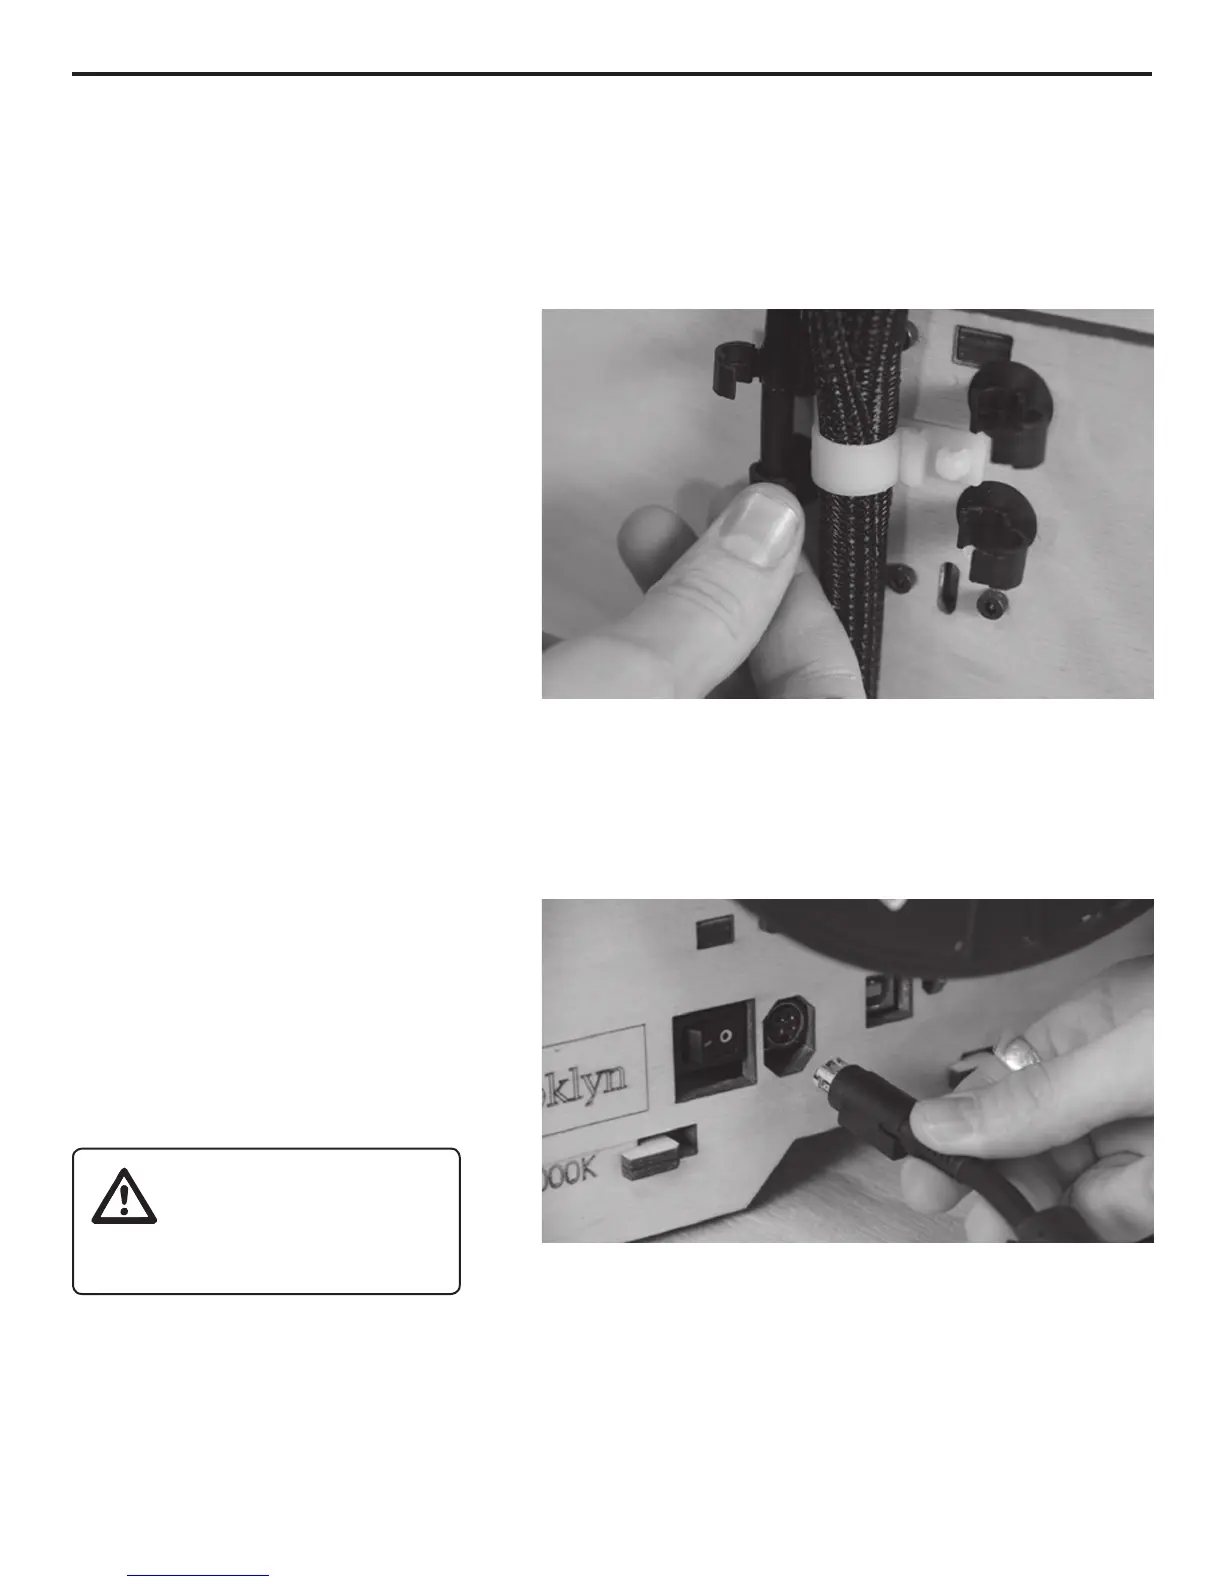
INSTALL THE FILAMENT GUIDE TUBE(S)
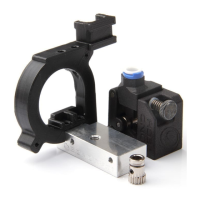
Next, locate your Filament Guide
Tube(s)
holders at the top of The Replicator’s
back plate. Place the very end of
each tube into its holders and click
them closed with your thumb and
gray ring on top of the corresponding
extruder. Push it in as far as it will go.
If you have a single-extruder
Replicator, you’ll only need to do this
once.
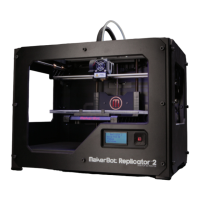
STEP 10.
PLUG IN THE POWER SUPPLY
Power
Supply and cable. Note: this is a
universal PSU which can accept
100–240 V AC at 50/60 hz. It also has
a standard IEC cable input to accept
international cable types if you’re
outside the USA.
Next, plug the cable into the Power Supply, and the Power Supply into the power input port.
Before connecting anything, make sure that The Replicator’s power switch is in the OFF position.
The next step is to locate the USB-A to USB-B cable and plug into the USB-B port on The
Replicator. Don’t plug the other end into anything yet.
Step 9. Snap the tube guide holders closed with your thumb and forenger.
Step 10. Make sure the power switch is in the OFF position when you connect
the power cable.
Don’t stack anything
on your power supply
brick; without air it
can overheat.
INITIAL HARDWARE SETUP