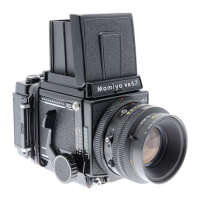
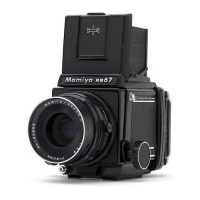
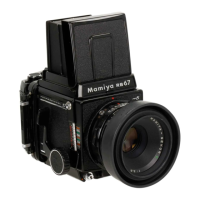
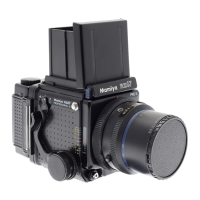
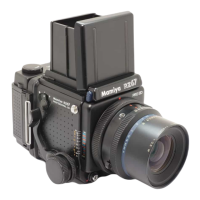
20. Mirror Lock-up Photography
The mirror lock-up technique, whereby the
mirror is raised beforehand and only the lens
shutter is released is ideal for situations where
vibrations must be
completely
eliminated.
Specifically close-up photography, using tel-
ephoto lenses and in
applications
where long or
slow exposures are necessary mirror
lockup
is
ideal. With a tripod and cable release, the mirror
lock-up mode ensures the utmost in sharpness.
Preparations
1.
For mirror lock-up operation, securely screw
a cable release into the lens socket as pictured.
When the socket slightly elevates the camera
will be in the mirror lock-up mode.
2. To cock the shutter and the mirror, press
the cocking lever forward as far as it will go.
Either Step 1 or 2 can be performed first.
3.
Upon depressing the shutter release button
the mirror will rise, but the shutter will remain
closed.
4.
Press the plunger of the cable release and
the shutter will operate.
NOTE:
l Unless the cable release is removed from
the mirror lock-up socket, the camera will
remain in the mirror lock-up mode and the film
30
cannot be exposed even when the shutter
release button is pressed.
When mirror lock-up photography is com-
pleted, be sure to remove the cable release. If
the red line around the mirror lock-up socket
is still visible, when
the cable release
is removed,
the camera is still in the mirror lock-up mode.
So,be sure that the cable socket sinks and the
red line disappears.
l As shown in the photo, some lenses use a
mirror release operating knob. When using a
lens with a knob, pull out the mirror release
operating knob (A), turn it clockwise, and
screw the cable release into the knob aligning
the red dot on the knob with the MIRROR
LOCK-UP indicator.
When mirror lock-up photography is com-
pleted, be sure to remove the cable release and
return the knob to its original position.