3. Mounting large sprocket
There are two sets of holes in the sprocket; one set for the Super 1050 and one set for the
RL1050/RL1100/CP2000. Indicator must be at 12:00 position.
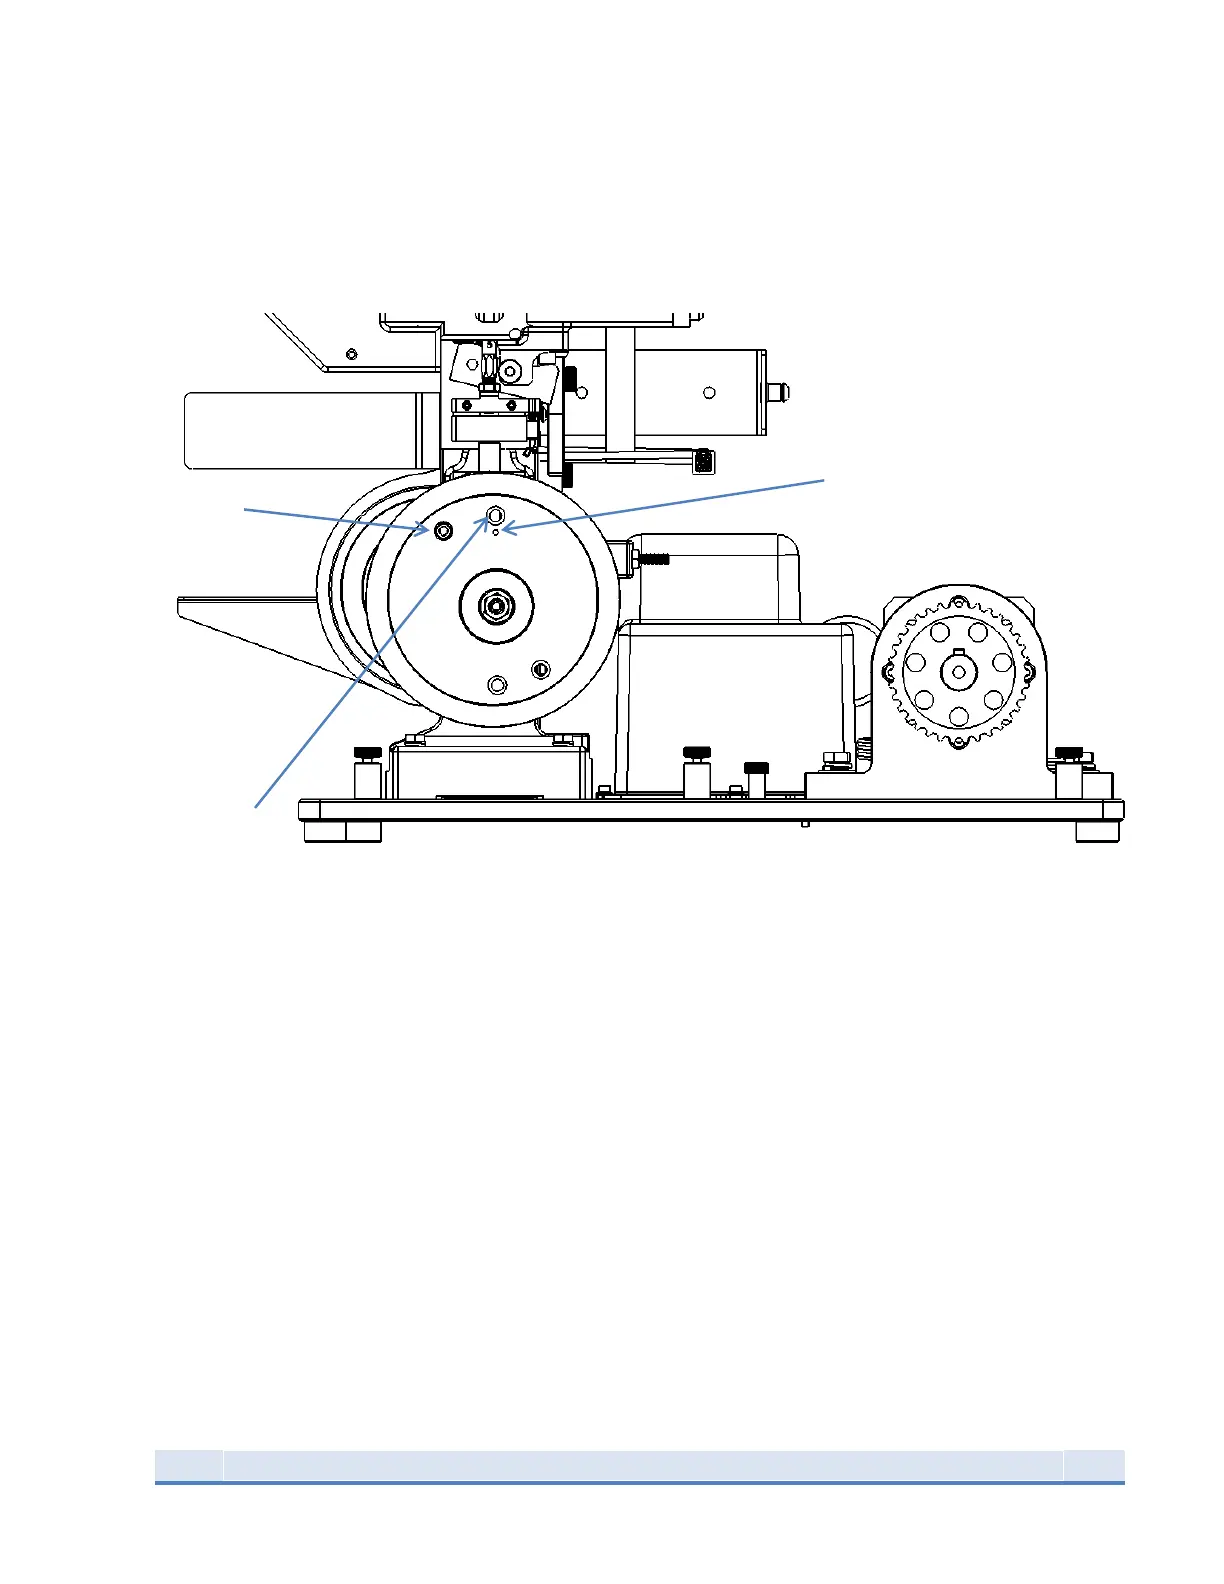
Figure 3: 1050 fastened to baseplate with large sprocket installed
Make sure the toolhead is in the UP position. Remove the lever and slide the large sprocket onto the 1050
input shaft as seen in the photo. Position the sprocket so the label is upright and indicator hole is at the
top. The center sprocket hole is ECCENTRIC, if the sprocket is mounted upside down the belt will not
tension properly and will loosen during the stroke. Next insert the link bar and rotate the sprocket so
the correct pair of holes lines up with the link bar. The indentation under the hole is for the 1050 RL and
1100 RL and the hole without an indentation is for the Super 1050 press.
Thread in the long ⅜-24 set screw into the 1050 input shaft in order to pinch the link bar.
Then insert the sprocket cap and fasten with the ⅜ nut. Torque to 4-5 ft lb (5.5- 6.5 Nm).
Torque both 1/4 -20 screws 4-5 ft. lbs. (5.5-6.5 Nm).