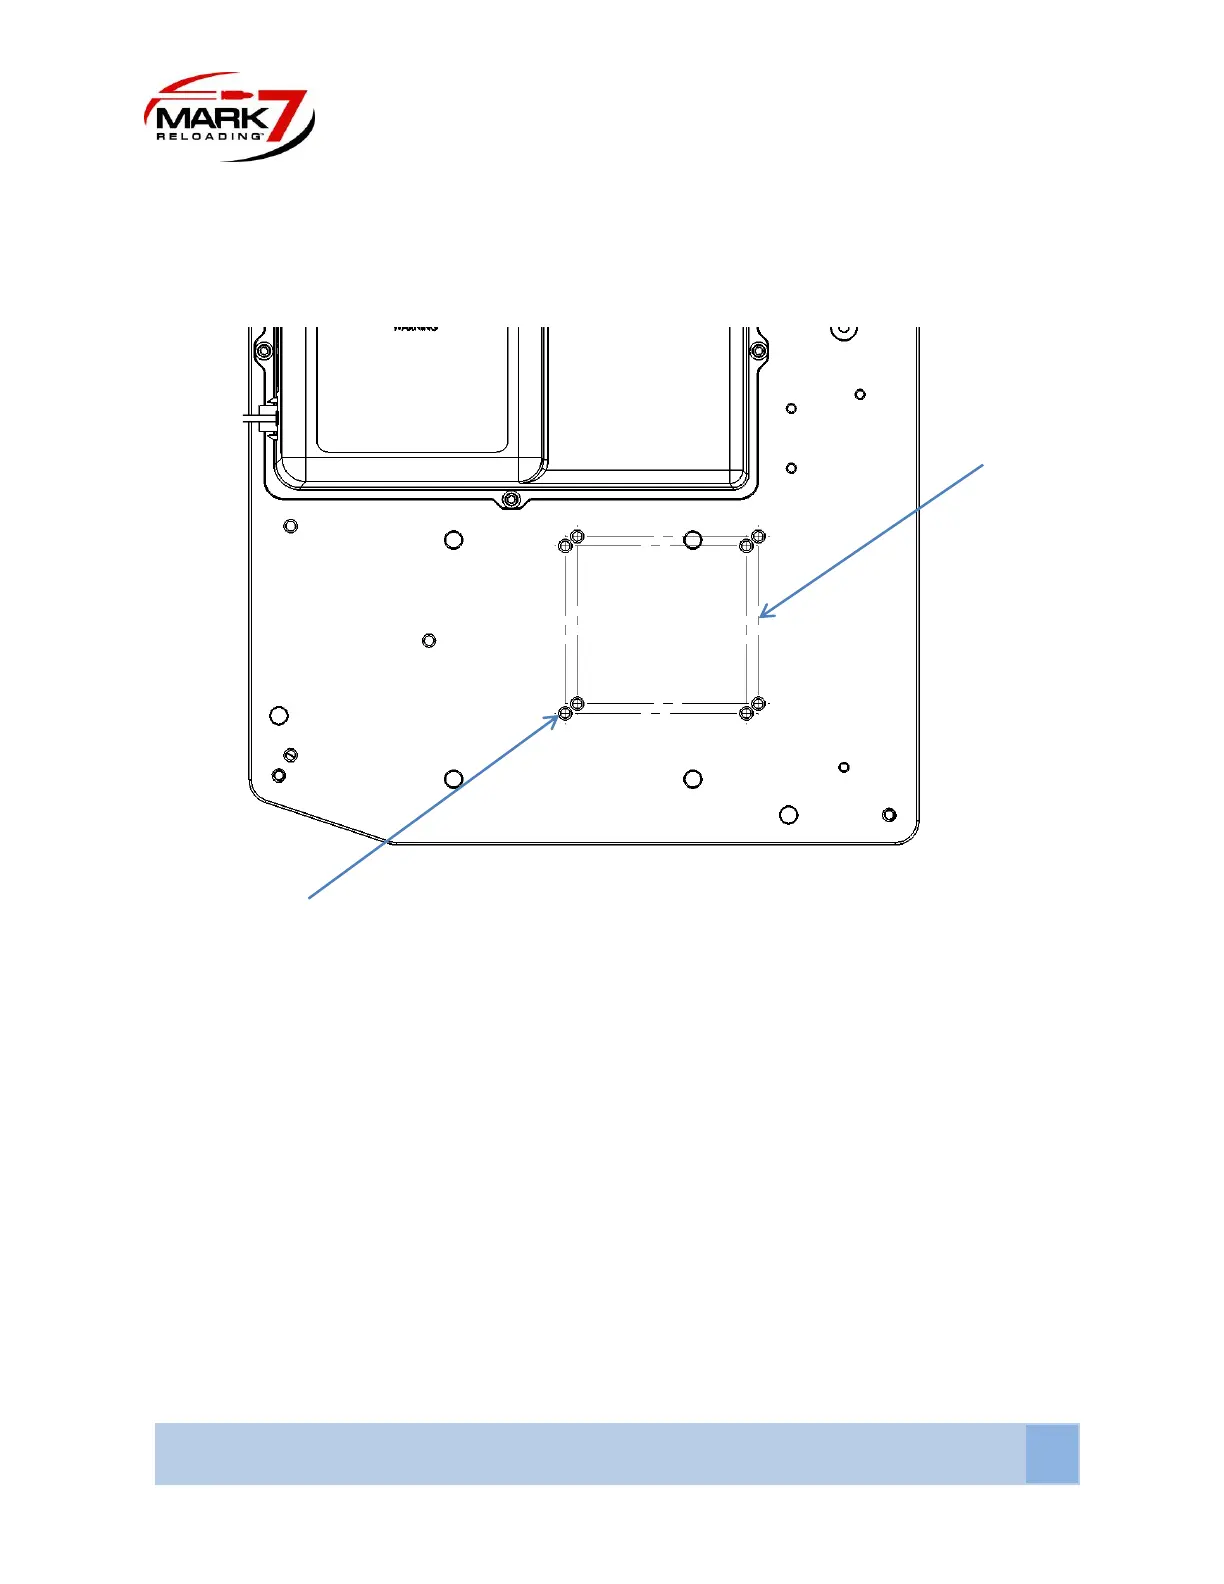
2. Determine mounting holes for either Super 1050/RL 1050/RL1100/CP2000
Figure 2: Mounting Location on baseplate for RL and Super
Depending on whether you have a Super 1050/RL 1100/RL 1050/CP2000 there are specific mounting holes
for each. You can see in the picture above the two sets of four holes each. When mounting the press to
the baseplate, thread all four bolts into the baseplate before final tightening (RL1100/CP2000 uses the
longer bolts). Torque the ¼-20 screws to 4-5 ft. lbs. (5.5-6.5 Nm). For RL 1100 use longer ¼-20 X 1-7/8”
screws from RL 1100 Hardware Kit provided.
The mounting holes in the Super 1050/RL 1100/CP2000 are the closest to the front of the baseplate and
the holes for the RL 1050 are the farthest.
Be mindful not to drag the bottom of the press against the baseplate. We recommend that you place the
bottom of the press as close to the mounting holes as possible in order to avoid unnecessary scratches to
the anodized finish of the baseplate.
Once mounted articulate the handle so that the press is at the top of stoke and proceed to loosen and
remove the set screw that holds the handle in place.