2
Setting Up and Starting 2
Basic Functions and Connections 4
Operating | Getting Started Quickly 5
Importing CS2 Data | Updating the CS3 6
Introduction | Technical Data 7
Running Locomotives 8
Selecting and Running Locomotives 9
Locomotive List: Sorting and Searching for Locomotives 10
Adding Locomotives Manually 11
Editing Locomotive Settings | Locomotive Card 12
Configuration | Changing CV Values 13
Editing the Item List 15
Adding Solenoid Items 16
Discover for mfx Items 19
Searching for and Sorting Solenoid Items 19
Editing the Track Diagram Control Screen 20
Setting up the Track Diagram Control Screen 21
Rotation Mode 22
Connecting Mode 23
Item and Location Selection 25
Creating an Area | Moving and Copying a Selection onto a TDCB Section 26
Switching Turnouts and Signals 26
Creating and Editing Events 27
Adding Events | Automating Procedures 28
Sorting | Using the Recording Function 29
Programming Locomotive Procedures | Control Using Feedback Contacts 30
System Settings 31
Calling up and Changing System Settings 32
Update by USB Stick 35
SD Card: Expanding the Internal Memory 35
Importing Locomotive Images Using the Web Browser 35
Appendix
Available Function Pictograms 36
System Architecture: CS3 and CS3 plus 37
Table of Contents Setting Up and Starting
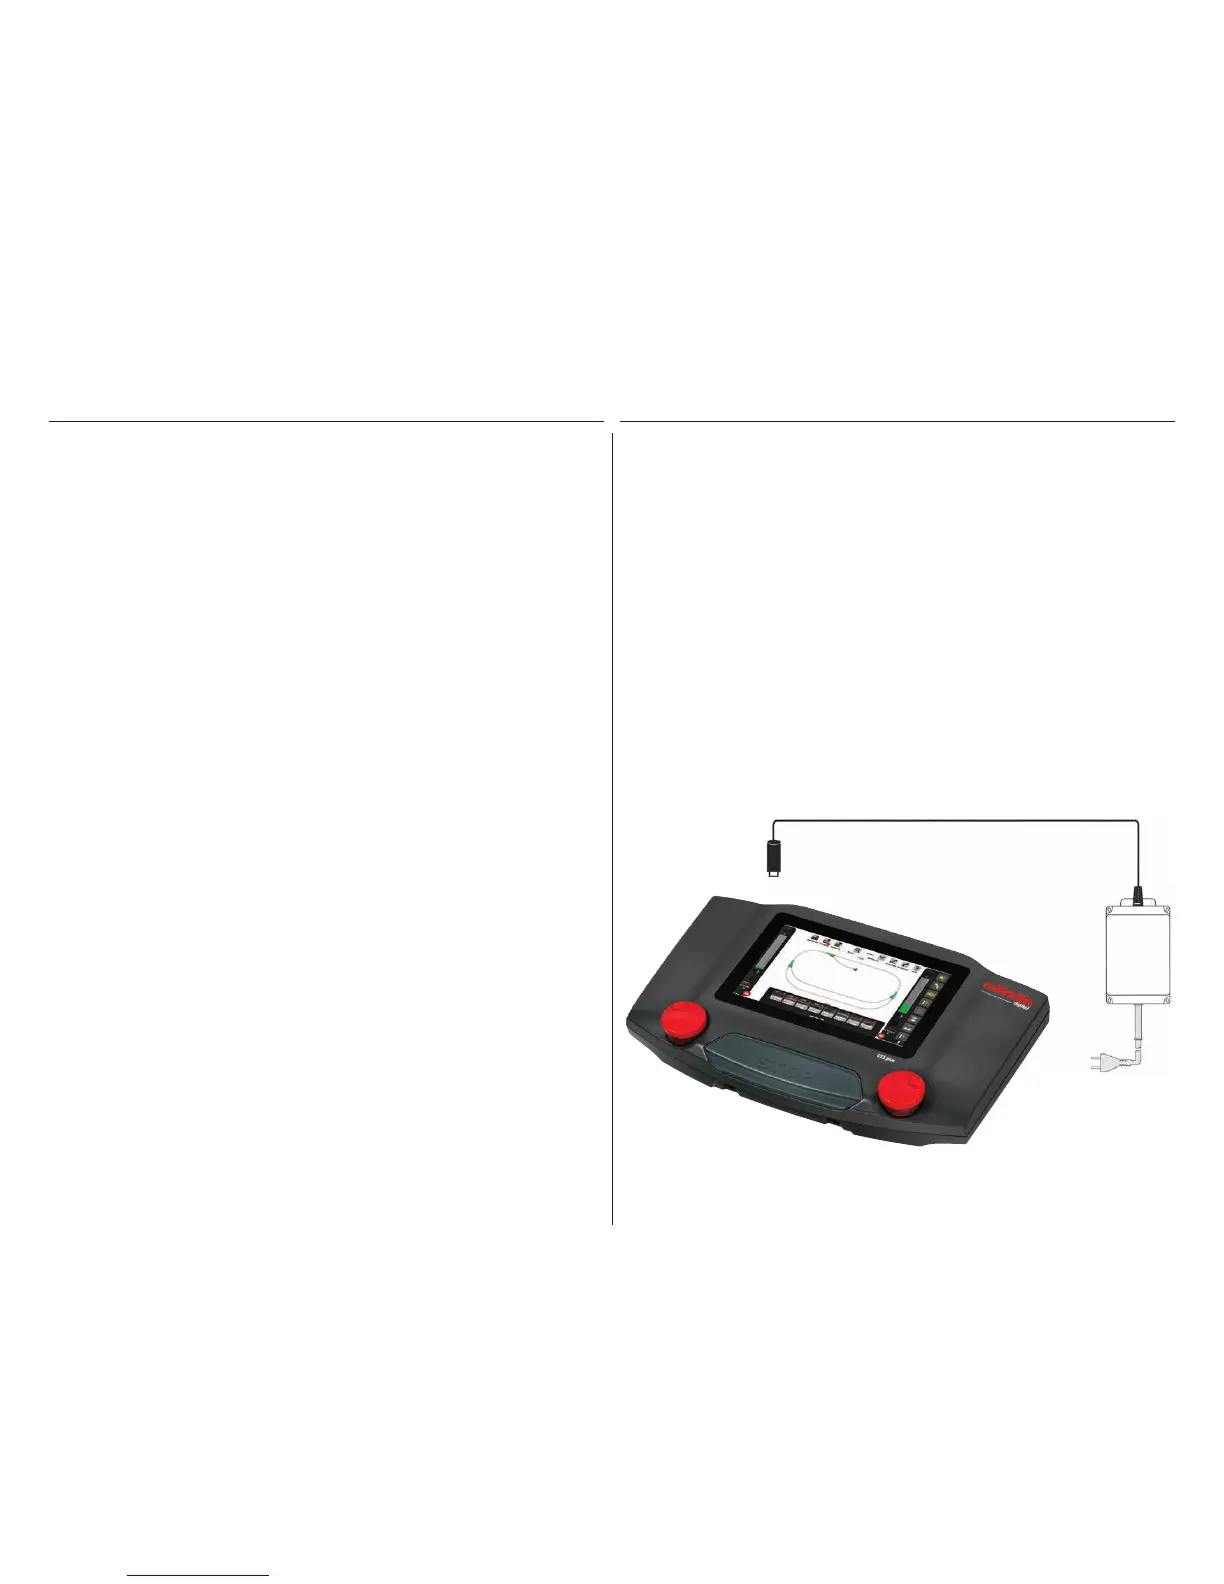
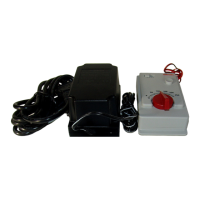
The following components are required to get started
60061/60065 switched mode power pack (60 VA; for Märklin H0, Trix H0, and Minitrix) or 60101 or 51095 switched
mode power packs (100 VA; for Märklin 1 Gauge and LGB), Central Station 3, track feeder wires, track layout,
locomotives and cars, and/or solenoid items.
Only the switched mode power packs listed above can be used with the CS3. Transformers are no longer
allowed.
Connect the components as shown in the following illustrations. First, connect the Central Station to the model
railroad layout, then connect the switched mode power pack and finally plug the latter into a wall outlet.
Connections for power supply
Central Station
60061 (Märklin)
60101 (Märklin)
51095 (LGB)
power