This scroll saw is shipped completely
assembled.
FASTENING THE SCROLL SAW TO A
STAND, WORKBENCH OR PLYWOOD
For safer operation, the scroll saw should be
securely fastened to a sturdy stand, workbench
or a piece of plywood that can be clamped to a
stand or workbench. If there is any tendency for
the stand or workbench to move during
operation, the stand or workbench should also
be fastened to the floor.
NOTE: Bolts and related hardware are not
included with the saw and will have to be
purchased separately.
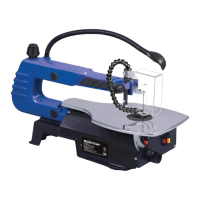
The saw is shipped with three vibration
dampening feet (1) installed. There are two feet
at the front of the saw and one at the back of the
saw (Fig. 1).
1. Use a 10 mm wrench to remove the nuts &
washers (2) from the bolts (3) and remove
the vibration dampening feet from the saw.
2. Place the saw on the surface to which you
intend to mount the saw.
NOTE: Position the saw in a manner that allows
ample working room both in front and to each
side of the saw.
3. Mark the location of the three holes,
remove the saw and drill 1/4" (6 mm) holes
in the work surface.
4. Remove the 3/4" (2 cm) bolts and washers
from the vibration dampening feet.
5. Place the vibration dampening feet over
the drilled holes and then carefully place
the saw back on vibration dampening feet.
Line up the holes in the work surface,
vibration dampening feet and the saw.
6. Place a flat washer on new 1/4" (6 mm)
bolts long enough to go through the work
surface, vibration dampening feet and the
saw base.
7. Insert the new bolts through the work
surface, vibration dampening feet and the
saw base.
8. Place a flat washer, lock washer and nut
on each bolt.
9. Tighten all three bolts to the point where
the vibration dampening feet are slightly
compressed.
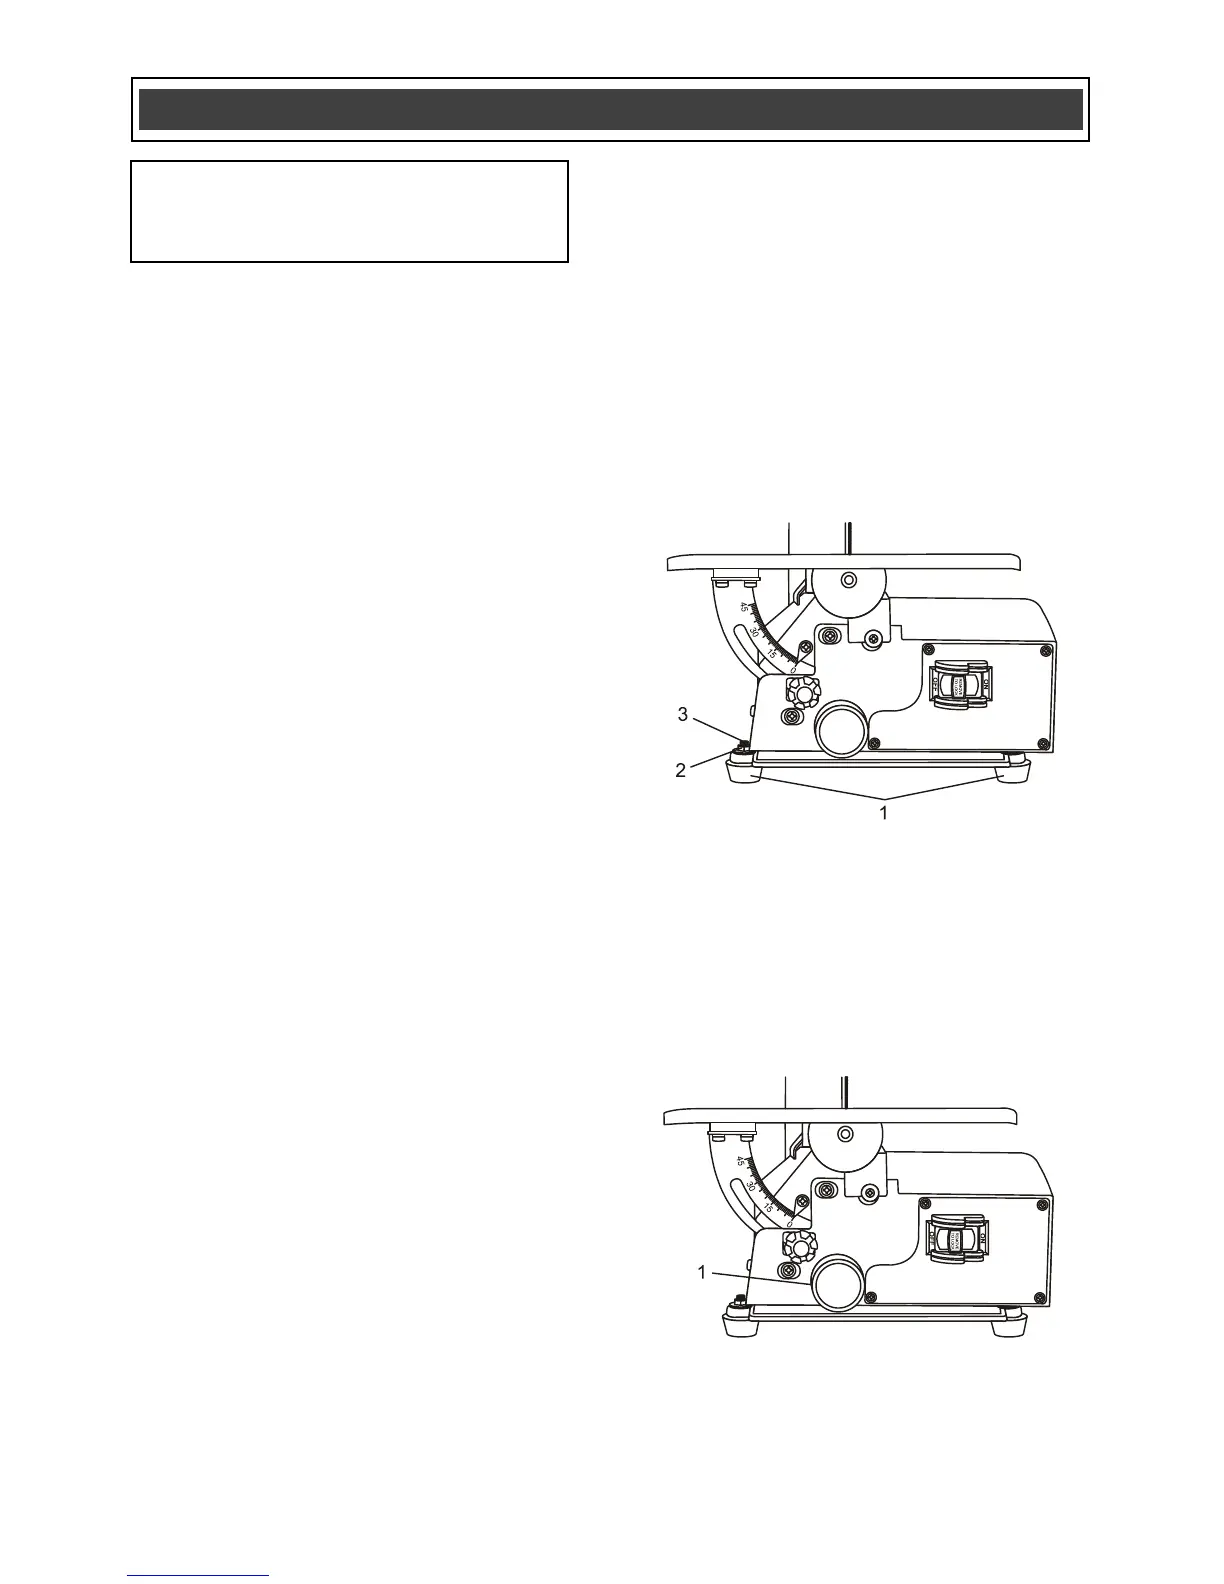
SAWDUST VACUUM PORT
A workshop vacuum can be attached to the
vacuum port (1) on the front of the scroll saw
(Fig. 2). Using the workshop vacuum will help to
reduce the amount of sawdust released into the
work area.
 Loading...