Step 2: Thoroughly clean the hull, deck and interior of the boat as
soon as it is removed from the water. Cleaning at this time
is easier because any marine growth is still wet. Be sure
to allow a few days of air drying to prevent mildew that
results from trapped moisture. (See the Cleaning section
of this Manual.)
Step 3: Apply a coat of wax to the entire surface of the boat. We
suggest MasterCraft Premium Marine Wax for excellent
coverage.
Step 4: If the boat is equipped with a heater, shower or ballast bags/
tanks, be sure to disconnect the hoses and drain any remain-
ing water in the lines to avoid freezing. Even small amounts
of water in any of these areas can cause signicant damage
upon freezing and such damage is not covered under the
warranty!
Note: Be sure that hoses will not become entangled in the
engine V-belt when the engine turns over or the hose and/or the
belt will be damaged.
Step 5: Use duct tape to seal the exhaust aps to prevent dirt and
nesting rodents from entering.
Step 6: On CSX 265 models equipped with the hot water heater,
any water in the tank must be removed to avoid the risk of
freezing and damage to the tank. The water pumped into
the heater comes from a freshwater holding tank, and it
can be left in the water heater when the boat is not in use,
EXCEPT during extended periods of storage. As with any
part of the boat in which there is water, it must be removed
at the time the boat is winterized to avoid freezing that may
cause damage to the boat, the holding tank or the water
heater. The water is removed by running the shower until all
the water has come out or by disconnecting the plumbing
ttings in the forward service bay under the helm seats.
Step 7: On MariStar 255, X-55, 280 and X-80 equipped with heads,
clean the tanks with a mild cleaner or warm soapy water that
will not harm the nish. Avoid all petroleum-based household
cleaners. Store the head dry and clean. Failure to do so may
cause unnecessary odors and damage to the tanks, and this is
not covered under warranty.
On CSX 265 models equipped with heads, thoroughly ush
the system with fresh water. Empty the holding tank and
shut off the water supply to the head, removing the inlet
waterline. Do not remove the brass cap on the bottom of
the valve. Press the ush lever until all water is drained from
the system.
If using anti-freeze in this head, drain the potable wa-
ter tank and add freshwater anti-freeze to the potable wa
-
ter tank. Flush the anti-freeze and water mixture through
the head and into the waste holding tank. Then empty the
holding tank. Never use automotive-type anti-freeze in this
freshwater system.
Step 8: MasterCraft recommends the battery or batteries be re-
moved from the boat for winter storage. Batteries should
be fully charged before being stored in a cool, dry location,
protected from the elements and fully re-charged before
being re-installed in the boat.
Step 9: If the tower will be lowered during storage, be certain
that the tower does not rest on the boat upholstery or
on any support that rests on the upholstery. The tower or
support(s) may leave a permanent imprint on the uphol-
stery. This is not covered under warranty.
Step 10: Cover the boat with a boat cover or tarp.
Note: If the boat is to be stored outside and subject to accu-
mulations of snow, water and ice, a support should be made for
the boat cover so that it will not sag, rip or tear, thereby allowing
water to enter the boat. Two-inch diameter PVC plumbing pipe
is ideal for this purpose. It is readily available at local hardware
stores, and it is easy to work with. Also, its rounded shape will
prevent damage to the canvas.
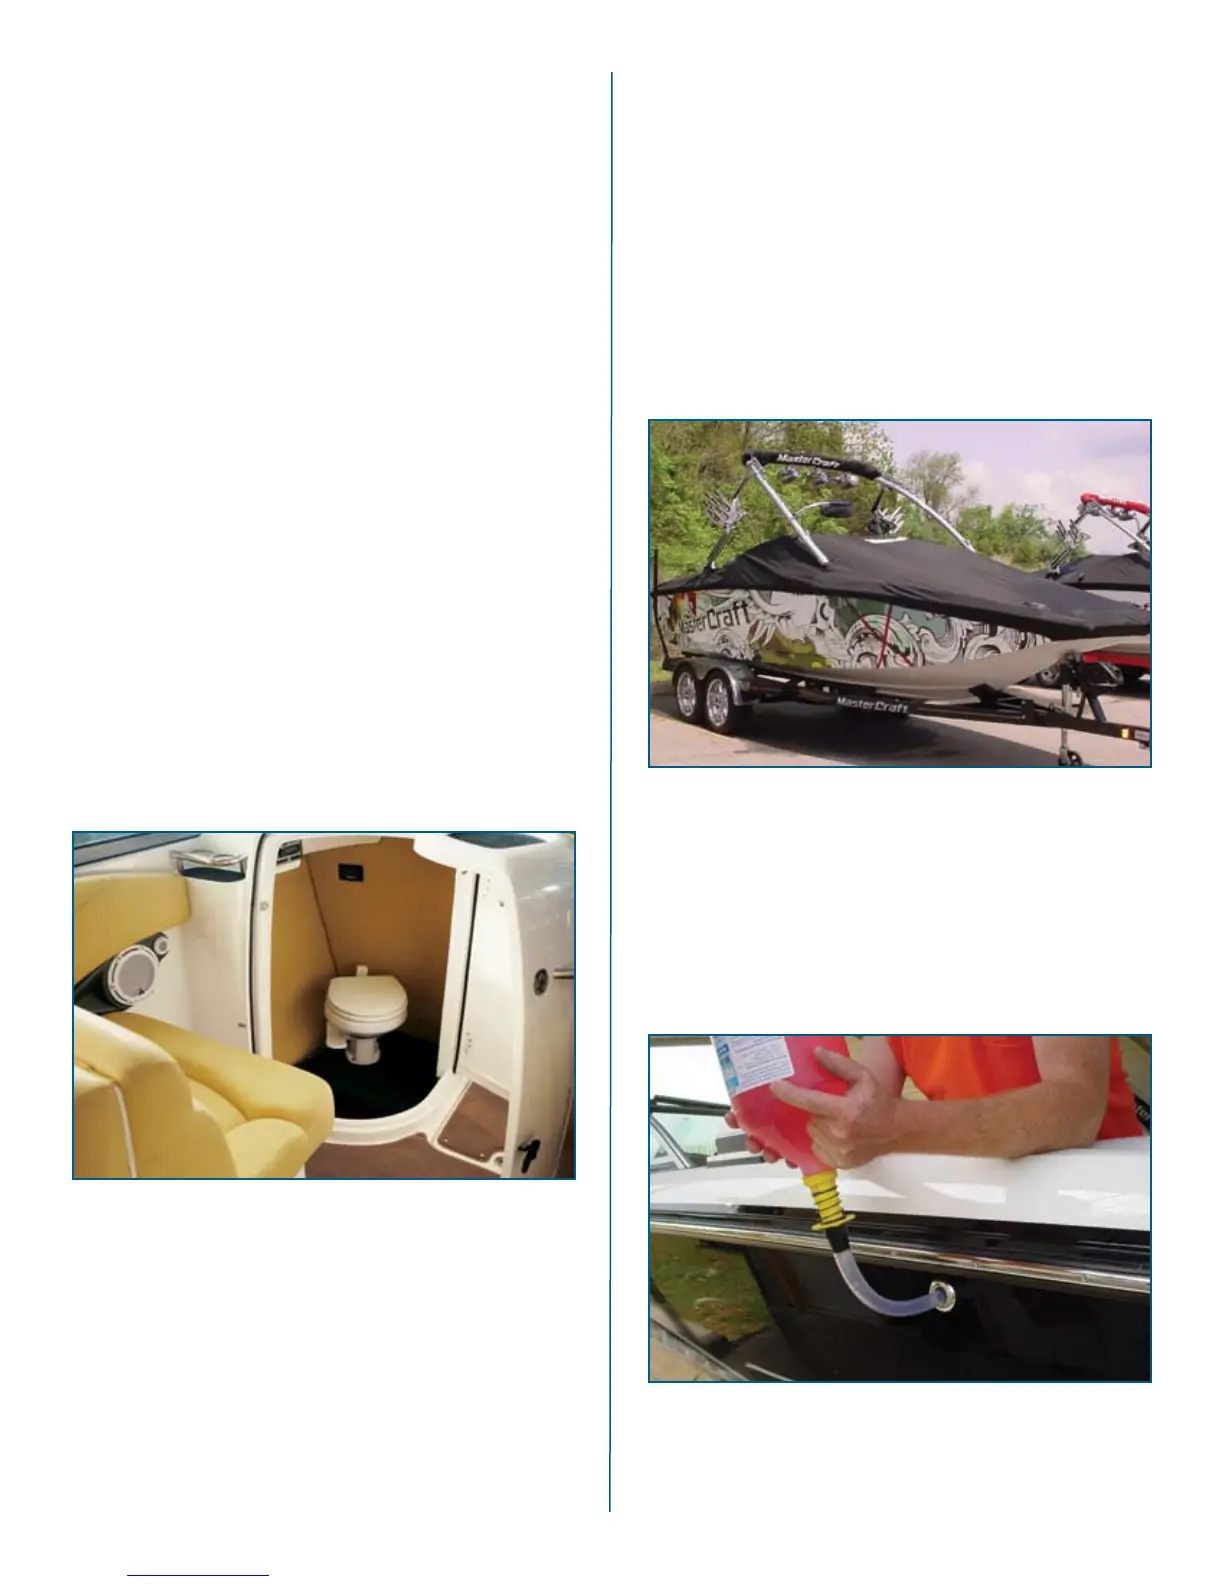
Ballast System Preparations
Step 1: Attach a hose to the starboard side ballast hose that comes
out of the deck at the rear seat.
mastercraft 2010 ow n e r ’s m anual • page 18-2
 Loading...