133
132
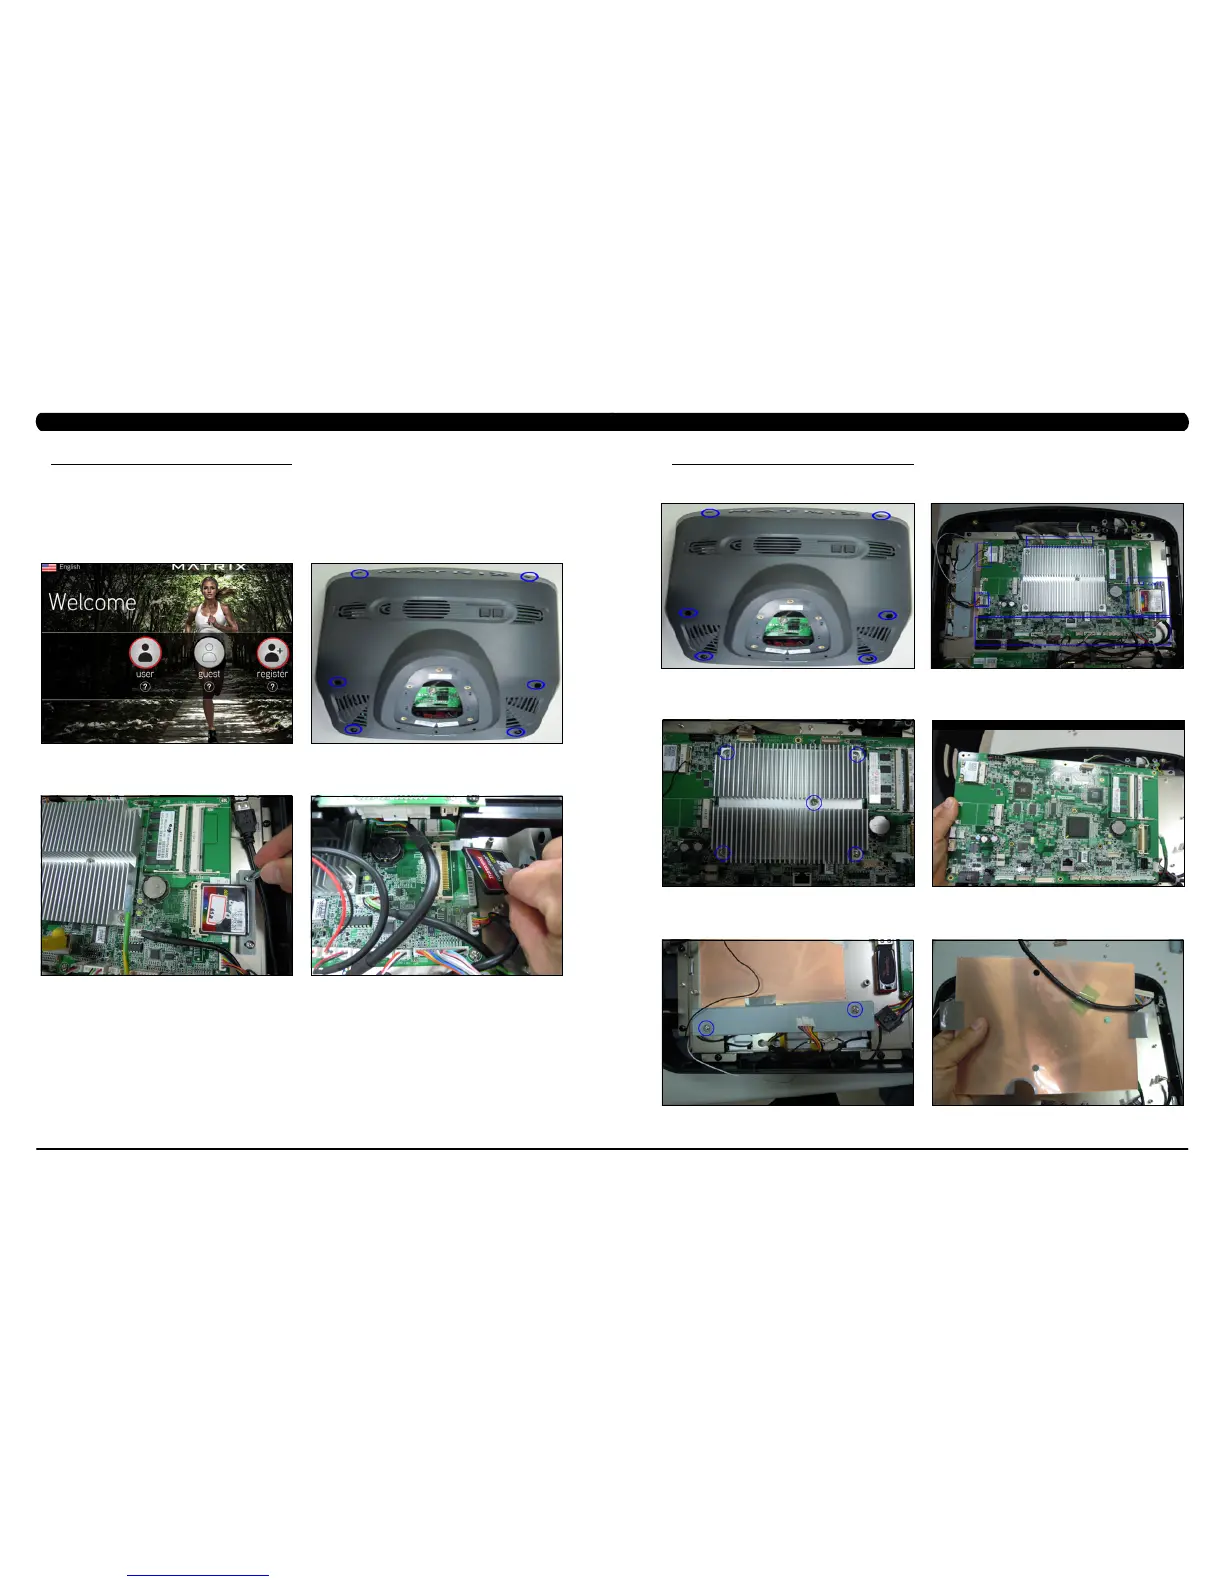
9.21 CF CARD REPLACEMENT
CHAPTER 9: PART REPLACEMENT GUIDE
note: IftheCFcardhasbeenusedinadifferent7xiconsole,itcannotbereusedinanotherconsole.ToreuseaCFcard,itneedsto
gothroughaspecialprocessbytheMatrixServiceTeam.
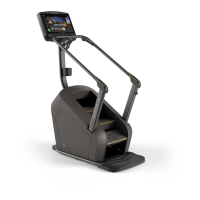
1) Turn on the power to the
Climb Mill, wait until the welcome display picture has been come up (Figure A).
2) Enter Manager Mode by pressing ENTER, 1, 0, 0, 1, ENTER on the entertainment keypad.
3) Record the Accumulated Mileage, Accumulated Time, and Serial Number.
4) Press the HOME key to return to the welcome display picture.
5) Turn off power and disconnect the cord from the machine.
6) Remove the console from frame as as outlined in Section 9.10 and remove the back cover of the console (Figure B).
7) The console shell will now separate. Remove the two screws holding the iron plate to the console frame (Figure C).
8) Carefully remove the CF card from the console frame (Figure D).
9) Reverse Steps 7-8 to install a new CF card.
10) Turn on the power to the
Climb Mill. Wait about 8 minutes until the 7xi Setup Wizard display picture has come up. Select the correct
model on the model setup. Touch the Left / Right arrow to switch the setting. Continue with the language setting, date / time setting, asset
management setting and serial number setting. If the display shows 04A0, disable all errors by pressing ENTER, 3, 0, 0, 8, ENTER on the
entertainment keypad. Reboot the console by pressing ENTER, 7, 3, 2, 6, 6, 8 ENTER on the entertainment keypad. Wait about 3 minutes
until the welcome display picture has come up. If the display shows 04A0, turn off the machine and wait 30 seconds, then turn the machine
back on. NOTE:Don’tpoweroffthemachinewhilethesoftwareisbeinginstalled.
11) Enter Service Mode by pressing ENTER, 3, 0, 0, 1, ENTER on the entertainment keypad and press the general key on the screen. Check
if the software versions are correct. Enter Service Mode by pressing ENTER, 3, 0, 0, 2, ENTER on the entertainment keypad and select the
correct model if necessary.
12) Perform the general setting, network setting and netpulse setting as outlined in Section 10.8.3.
13) Perform a software upgrade as outlined in Section 11.
14) Enter Service Mode by pressing ENTER, 3, 0, 0, 1, ENTER on the lower keypad. Check the general settings, weather setting, applications
setting and virtual active setting. Performing the TV programming as outlined in Section 10.5.
15) Test the
Climb Mill for function as outlined in Section 9.23.
FIGURE BFIGURE A
FIGURE DFIGURE C
9.22 CONSOLE PARTS REPLACEMENT
CHAPTER 9: PART REPLACEMENT GUIDE
1. Remove the back cover of the console (Figure A).
2. Remove all the cables and CF card (Figure B).
3. Remove the heat sink from UCB (Figure C).
4. Remove the UCB (Figure D).
5. Remove the panel inverter (Figure E).
6. Remove the isolation plate and LVDS wire (Figure F).
FIGURE DFIGURE C
FIGURE BFIGURE A
FIGURE FFIGURE E