24 Matrox Millennium Installation Guide
Mechanical Specifications
Technology:
Hybrid of through-hole and surface mounting on a glass/epoxy board.
Millennium card physical dimensions (excluding brackets):
16.5 × 9.5 × 1.2 cm
Environmental Specifications
Minimum/maximum ambient operating temperatures: 0 to 55º C
Minimum/maximum storage temperature: -40 to 75º C
Maximum altitude for operation: 3,000 meters
Maximum altitude for transport: 12,000 meters
Operating humidity: 20 to 80% relative humidity (non-condensing)
Storage humidity: 5 to 95% relative humidity (non-condensing)
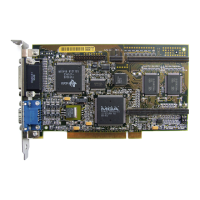
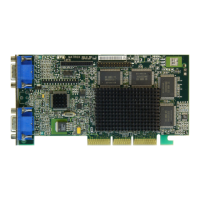
Hardware settings
When you add a piece of hardware to a PCI system, the system BIOS will automatically map it to
an available memory space for you. This is known as “Plug-and-Play, which means you should not
have to set switches or change jumpers on your Millennium card. However, we have provided two
DIP switches, which may be required in special circumstances. Take a moment to become familiar
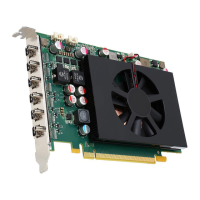
with your new Matrox Millennium card. The diagram on the next page shows you where some of
the major components are located
To change a DIP switch setting, take the usual static electricity precautions, and use a small
screwdriver or a ball-point pen. Avoid using a pencil tip, which can leave an electrically conductive
graphite residue.
¼
Turn off the power to all equipment. Touch the metal chassis of your computer to drain the
static electricity from your body before you touch the Matrox card. Don’t let your clothes touch
any of the components while you work.
Switch 1: Flash EPROM Switch for VGA BIOS
If you need to upgrade your VGA BIOS in the future, this can be done by reprogramming the Flash
EPROM. This safe and simple operation is accomplished with a software utility and a BIOS upgrade
file. You set Switch 1 to ON to allow re-programming of the Flash EPROM. You must not leave this
switch ON during normal usage, as the Flash EPROM in this state is susceptible to being erased
without warning.