9
22.5”
16.5”
6”
10.5”
4.5”
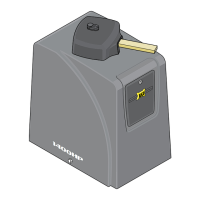
Concrete Pad
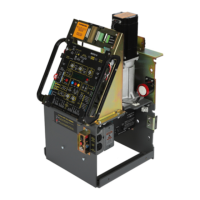
Drive
Gear
Operator and chains
MUST remain
parallel to gate.
Upper and lower
chain MUST align
with each other.
Upper chain bracket
MUST remain same
height as drive gear.
Drill 2” dia. hole for
upper chain exit.
Lower chain Bracket
MUST remain same
height as pulley wheel.
Lower chain does NOT
align with upper chain.
DO NOT mount
chain brackets
too high or too
low on gate.
YES
Pulley Wheel
(not supplied)
Same height as
idler wheel.
Approx.1.5”
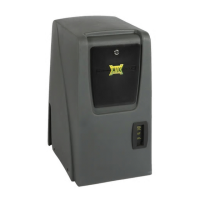
Pulley Wheel
Safety Cover
Gate
YES
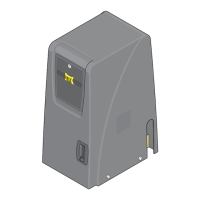
Modify Cover for Rear Mounting Position
16.5”
Cut out cover
between new hole
and existing chain
exit slot.
Make sure cuts are
plumb with existing
chain exit slot.
Existing chain
exit slot.
Gate
NO
IMPORTANT: Make sure that chain is
parallel to gate. Incorrect installation
will cause excessive noise, idler and
pulley wheel wear and chain stretching.
Limit sensors will need to be relocated
to align with rear chain configuration.
See page 38 for more information.
Drive
Gear
NO
NOTE: The chain should sag
no more than one (1) inch per
10 feet of travel. Do not over
tighten the chain.
installation
connect chain to gate - rear mounting position
Top View
Back View
NOTE: 25 ft of #40 nickel plated chain included.
Move operator wheel
to lower hole position.
Idler
Wheel
Remove
Gate Bracket
Fine Tune
Adjustment
Chain
Bracket
Chain
Bracket
IMPORTANT:
Gray Limit sensor
MUST be in the
OPEN position.