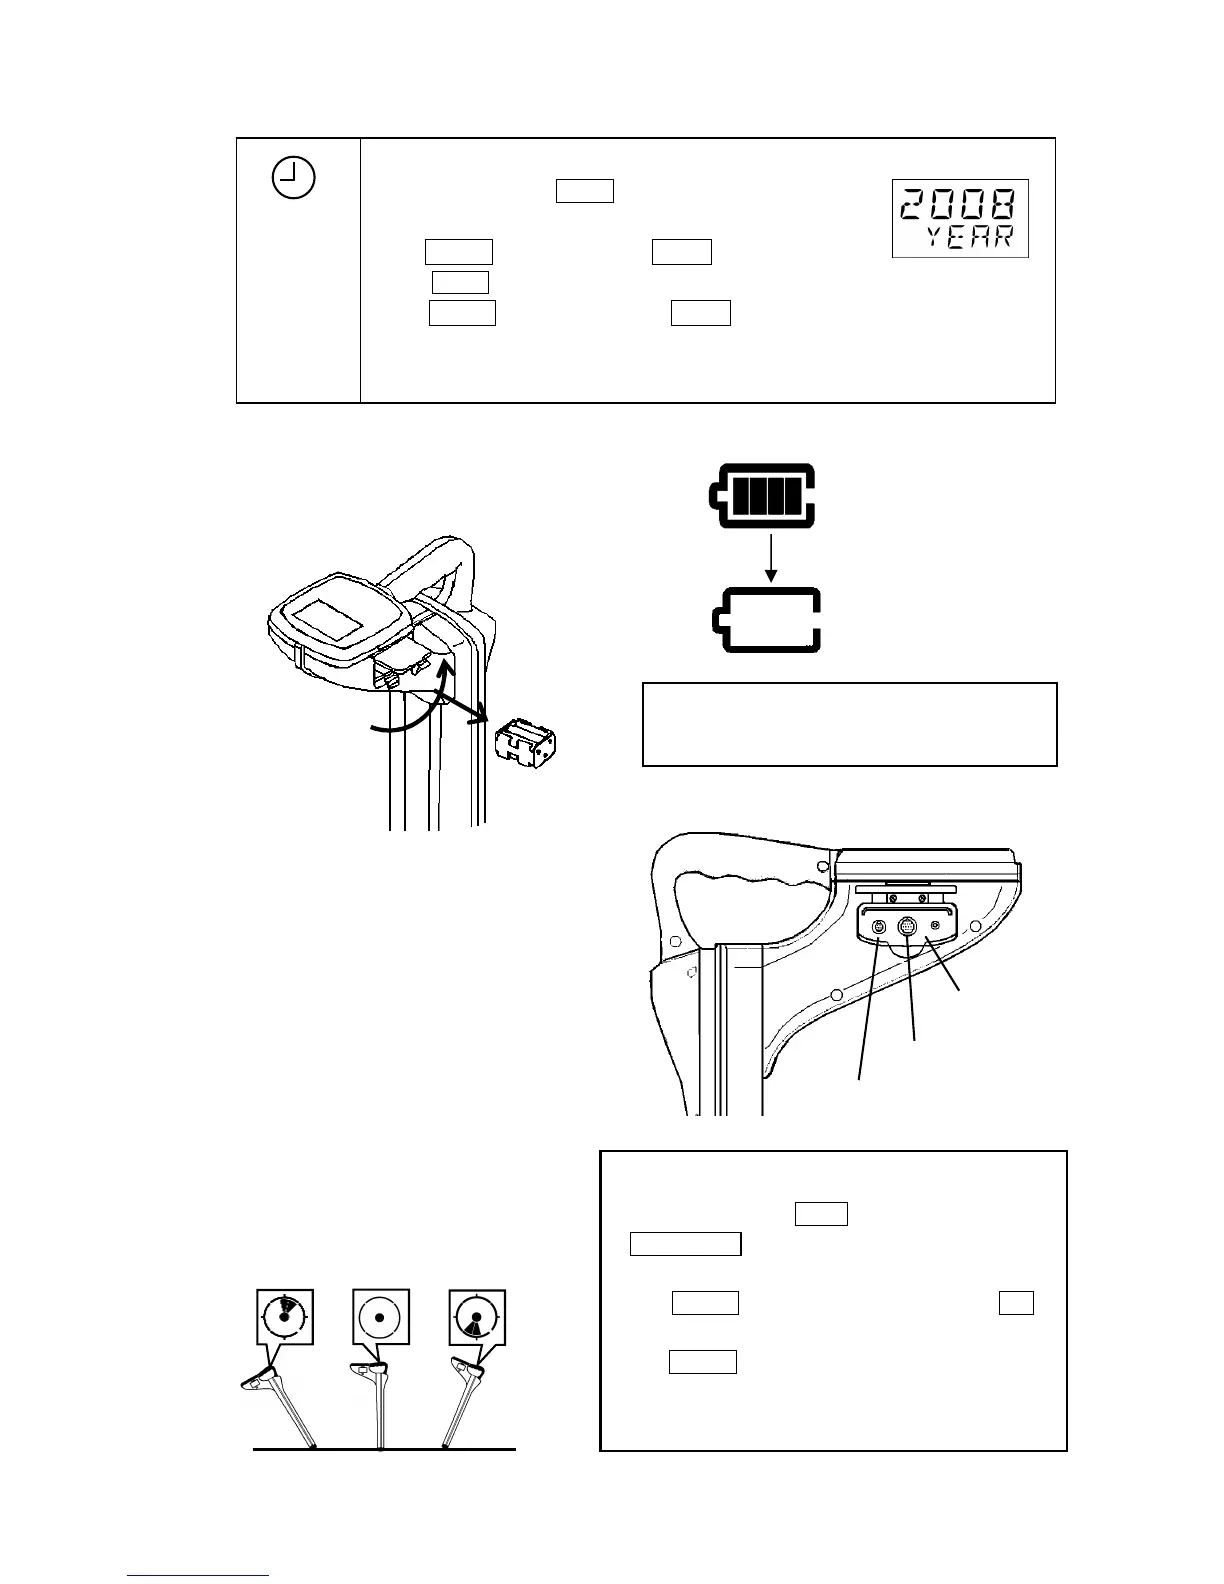
Setting the Time and Date
a)Power on while holding Mode , wait for clock display appears.
The year will flash.
Press ▼Gain to advance the year or ▲Log to decrease the year.
b) Press Mode , the month will flash.
Press ▼Gain to advance the month or ▲Log to decrease the month.
c)Do same as above to set Day - -> Hour - - > Minute.
When measurement starts, setting is completed.
2) Battery compartment
Replace all batteries when there is a low battery condition.
Use six 1.5V alkaline type AA (IEC LR6/NEDA15A).
3) PC interface connector
4) Earphone plug
Earphone can be used in a noisy area.
Supplied as an option.
5) Sensor connector (Signal input terminal)
Used with Sensor Coil to find wiring
systems in a building or overhead telephone cables.
Sensor coil is supplied as options.
6) Digital level
Displayed the inclination of the receiver.
MODE
ALWAYS CHECK THE BATTERY POLARITY
BEFORE CLOSING THE COMPARTMENT
Battery holder
The connector is used to communicate PC and GPS.
*Interface cable & GPS are supplied as option.
Earphone plug
Sensor connector
Calibration methodology of digital level
a) Power on while holding Depth key.
PUSH GAIN is indicated in 1 seconds.
b) Hold the receiver vertical position. (center of left chart)
c) Press ▼GAIN . Please do not move the receiver until OK is
displayed.
d) Press ▼GAIN again. Incline the receiver to the front, back,
left and right, and confirm the display.
The setting is memorized with Power off.