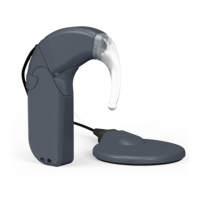
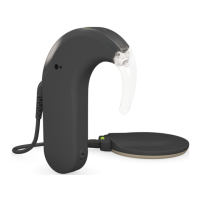
The control unit is worn at the ear, which provides optimal microphone placement and easy
visibility of the red indicator light in the earhook. A cable allows the battery pack to be attached
directly to clothing. This cable is hard-wired into the battery pack and cannot be disconnected
or replaced. If the cable is damaged, the entire battery pack should be replaced.
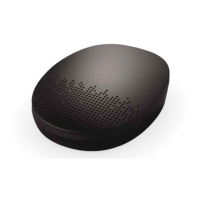
The additional components required for the Children’s Battery Pack assembly (Children’s
Battery Pack, children’s connecting piece, safety lock, screw-on fixation bar and fixation clip)
are included in thewhich may be purchased separately.
If you were using the BabyBTE
TM
assembly before, exchange the microphone cover with
the regular earhook. Carefully pull off the microphone cover and attach the earhook to
the control unit as shown in Fig. 14. You will hear or feel a soft click when the earhook is
attached properly. It is recommended to insert the earhook pin. The earhook pin will make
it difficult for children to remove the earhook.
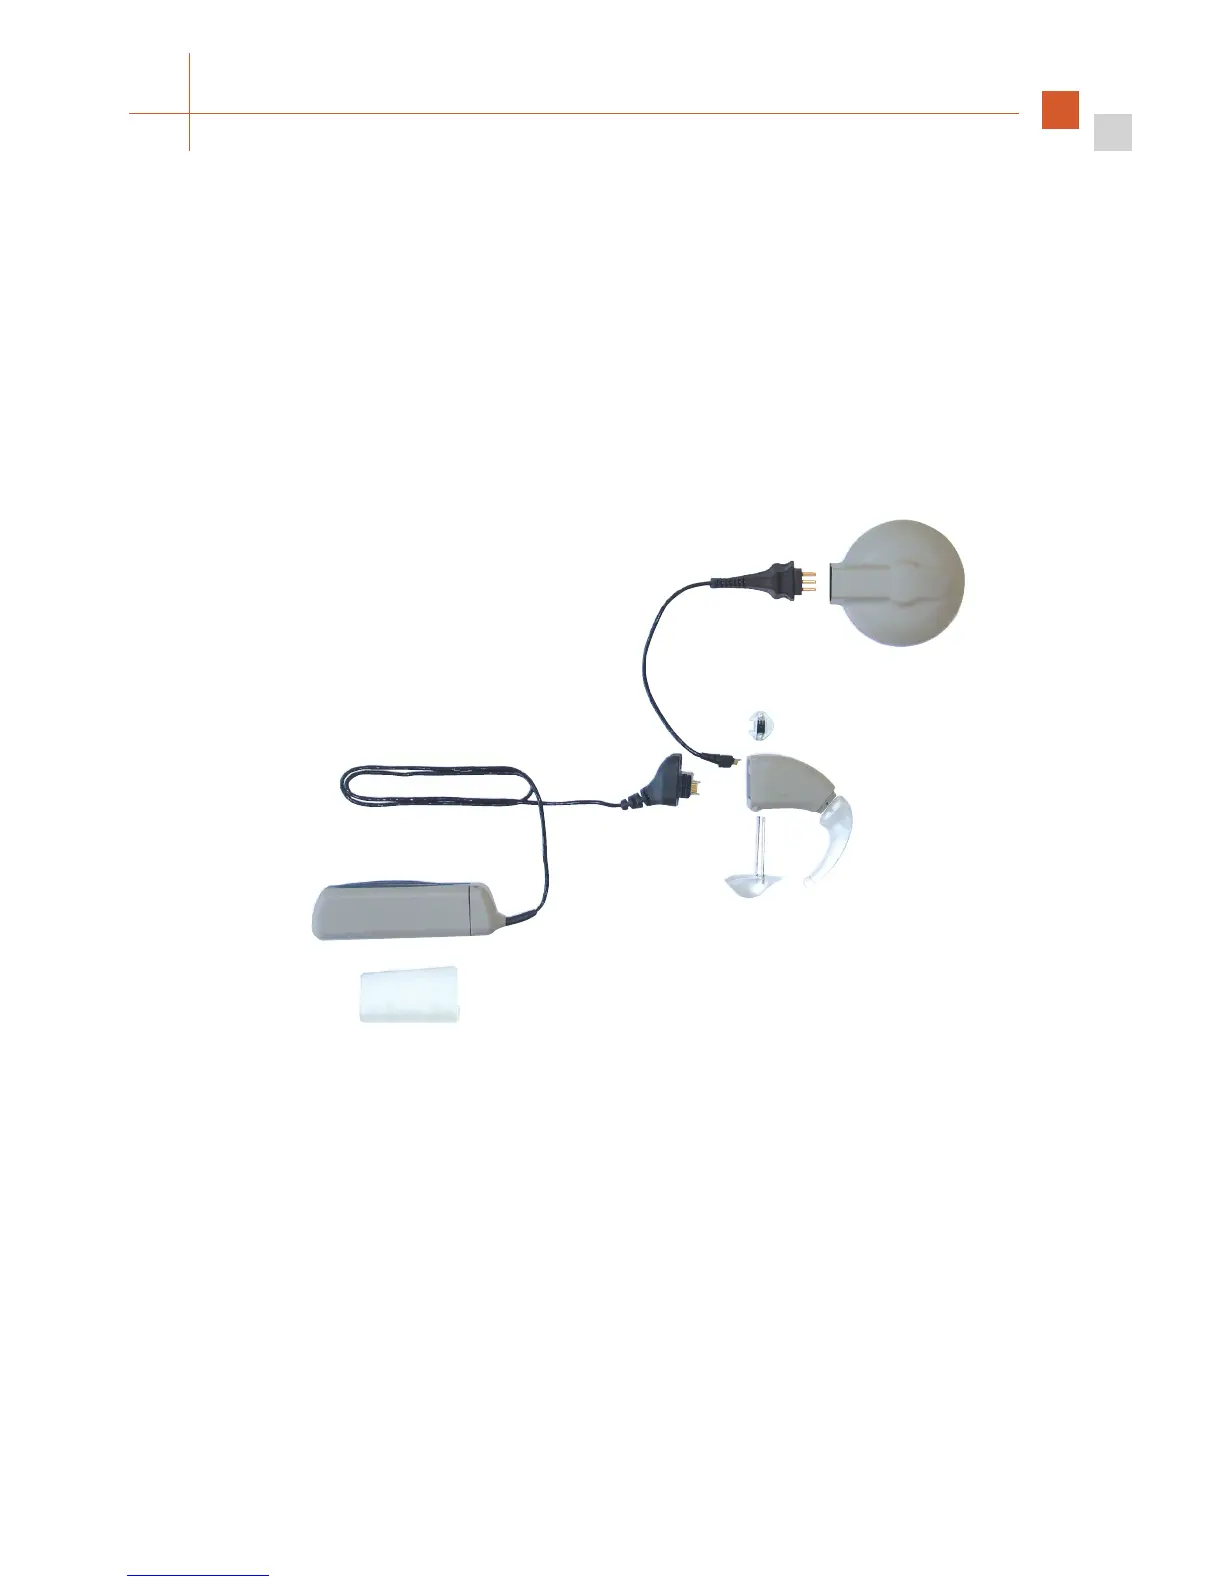
Attach the screw-on fixation bar or the fixation clip to the Children’s Battery Pack.
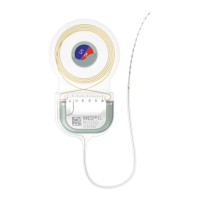
Connect the 9.5 cm coil cable to the coil.
Connect the opposite end of the cable to the control unit.
Connect the cable of the Children’s Battery Pack to the control unit.
Fig. 11 How to assemble the Children’s Battery Pack
Coil cable
Control unit
Coil
Children’s Battery pack
Earhook
Connecting piece
Fixation clip
Safety lock
 Loading...