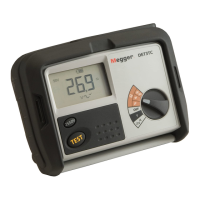
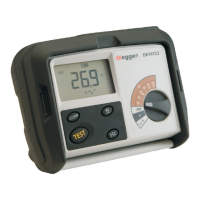
11
General Testing Procedure
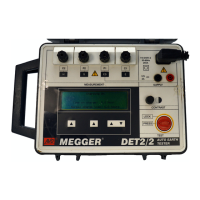
It is advisable that the battery of the D E T 2 / 2 is fully
charged before embarking on a test sequence. It can
be extremely inconvenient if the battery becomes too
low while a field test is in progress.
1. Firmly connect the instrument terminals to the
respective earth electrode and test spikes. See
‘Setting up the Test spikes‘ and ‘Measuring
Techniques‘.
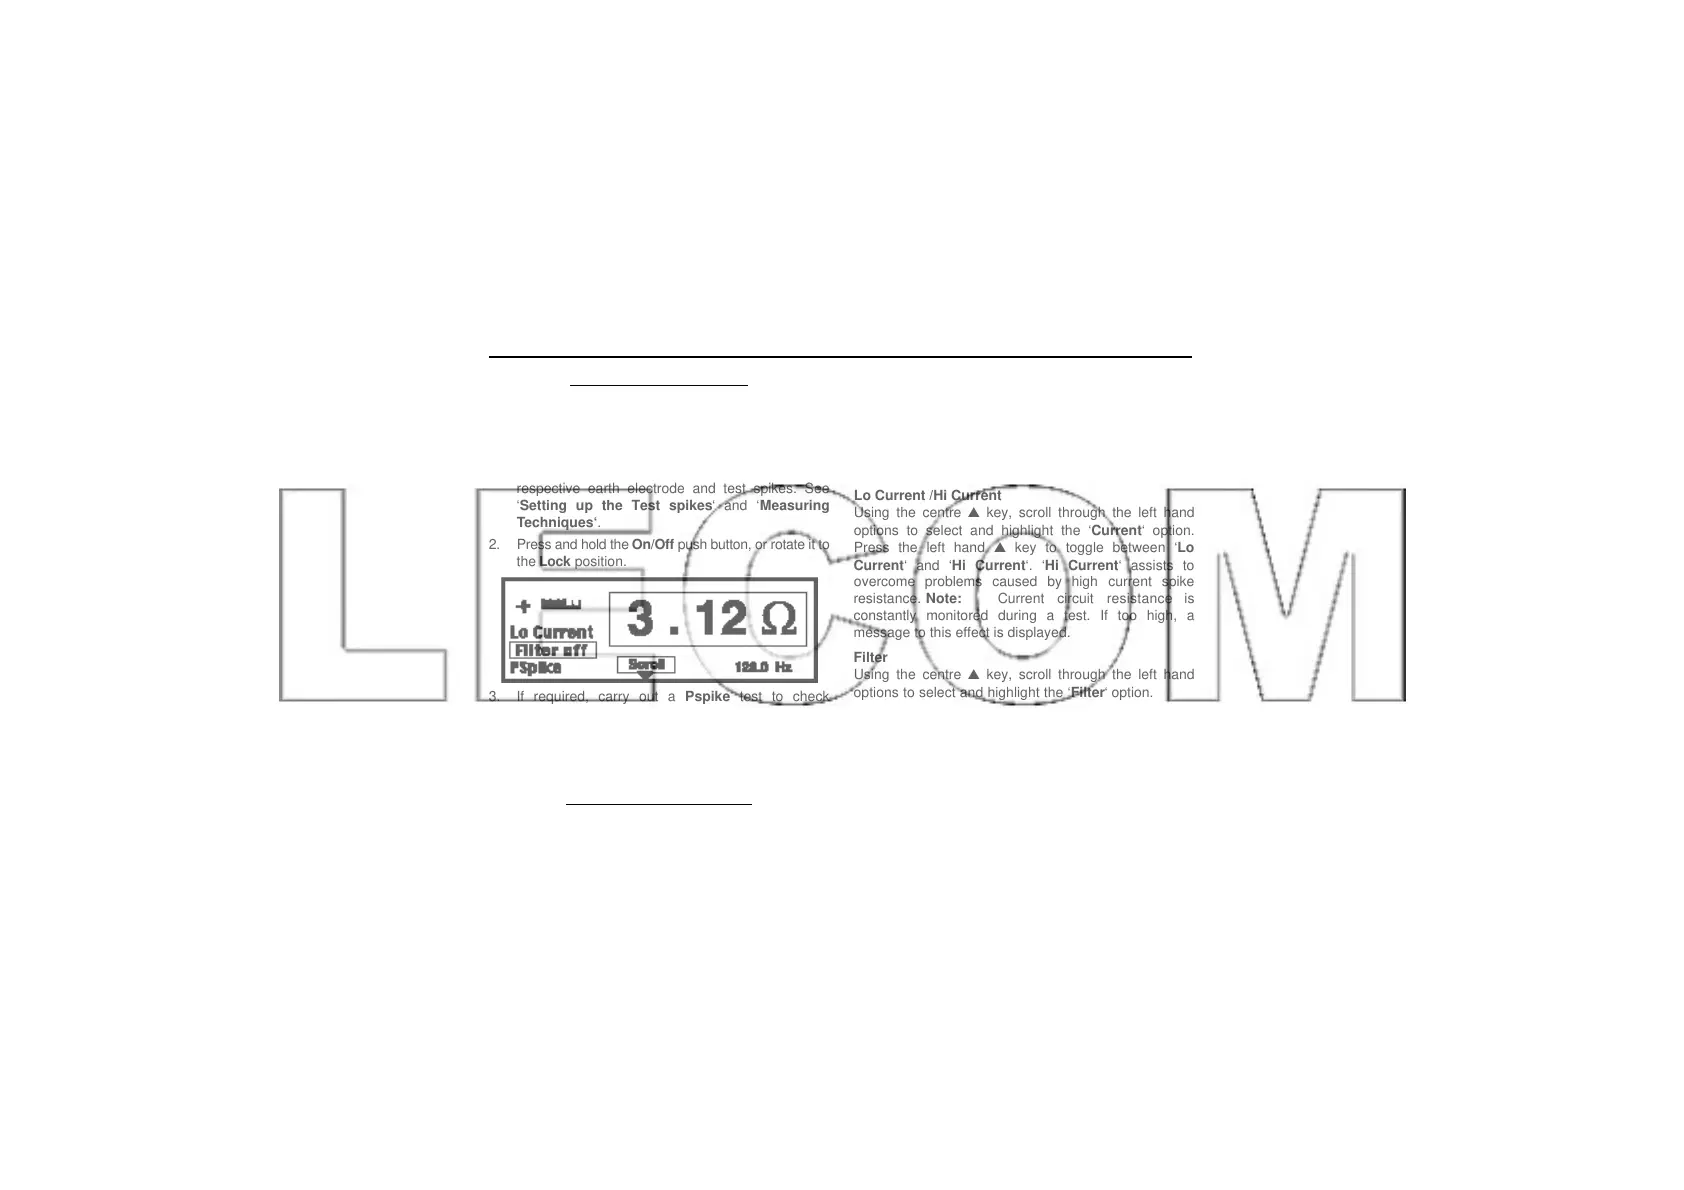
2 . Press and hold the O n / O f f push button, or rotate it to
the L o ck position.
3. If required, carry out a Pspike test to check
continuity of the the Potential circuit.
4. The resistance value being measured is shown on
the sub display after a few moments, when the
“Please wait...” message has disappeared.
Test Condition Adjustments
If the sub display message states that a true
measurement cannot be obtained, the test conditions
can be altered to achieve optimum conditions for the
test. One or more of the following may be used:-
Test current Frequency
Using the right hand ▲ or ▼ keys, increase or decrease
the test current frequency range. See ‘I n i t i a l
Configuration and Spike set up‘.
Lo Current /Hi Current
Using the centre ▲ key, scroll through the left hand
options to select and highlight the ‘Current‘ option.
Press the left hand ▲ key to toggle between ‘Lo
Current‘ and ‘Hi Current‘. ‘Hi Current‘ assists to
overcome problems caused by high current spike
resistance. Note: Current circuit resistance is
constantly monitored during a test. If too high, a
message to this effect is displayed.
Filter
Using the centre ▲ key, scroll through the left hand
options to select and highlight the ‘Filter‘ option.
Press the left hand s key to toggle between ‘Filter off‘
and ‘Filter on‘. ‘Filter on‘ assists to reduce ‘noise‘
a ffecting the reading. The time taken to make a
measurement increases significantly with ‘Filter on‘.
PSpike
Using the centre ▲ key, scroll through the left hand
options to select and highlight the ‘Pspike‘ option.
Press the left hand ▲ key to automatically carry out a
Operation