16
4.1 Basics of Operation
Operation with rotary
encoder
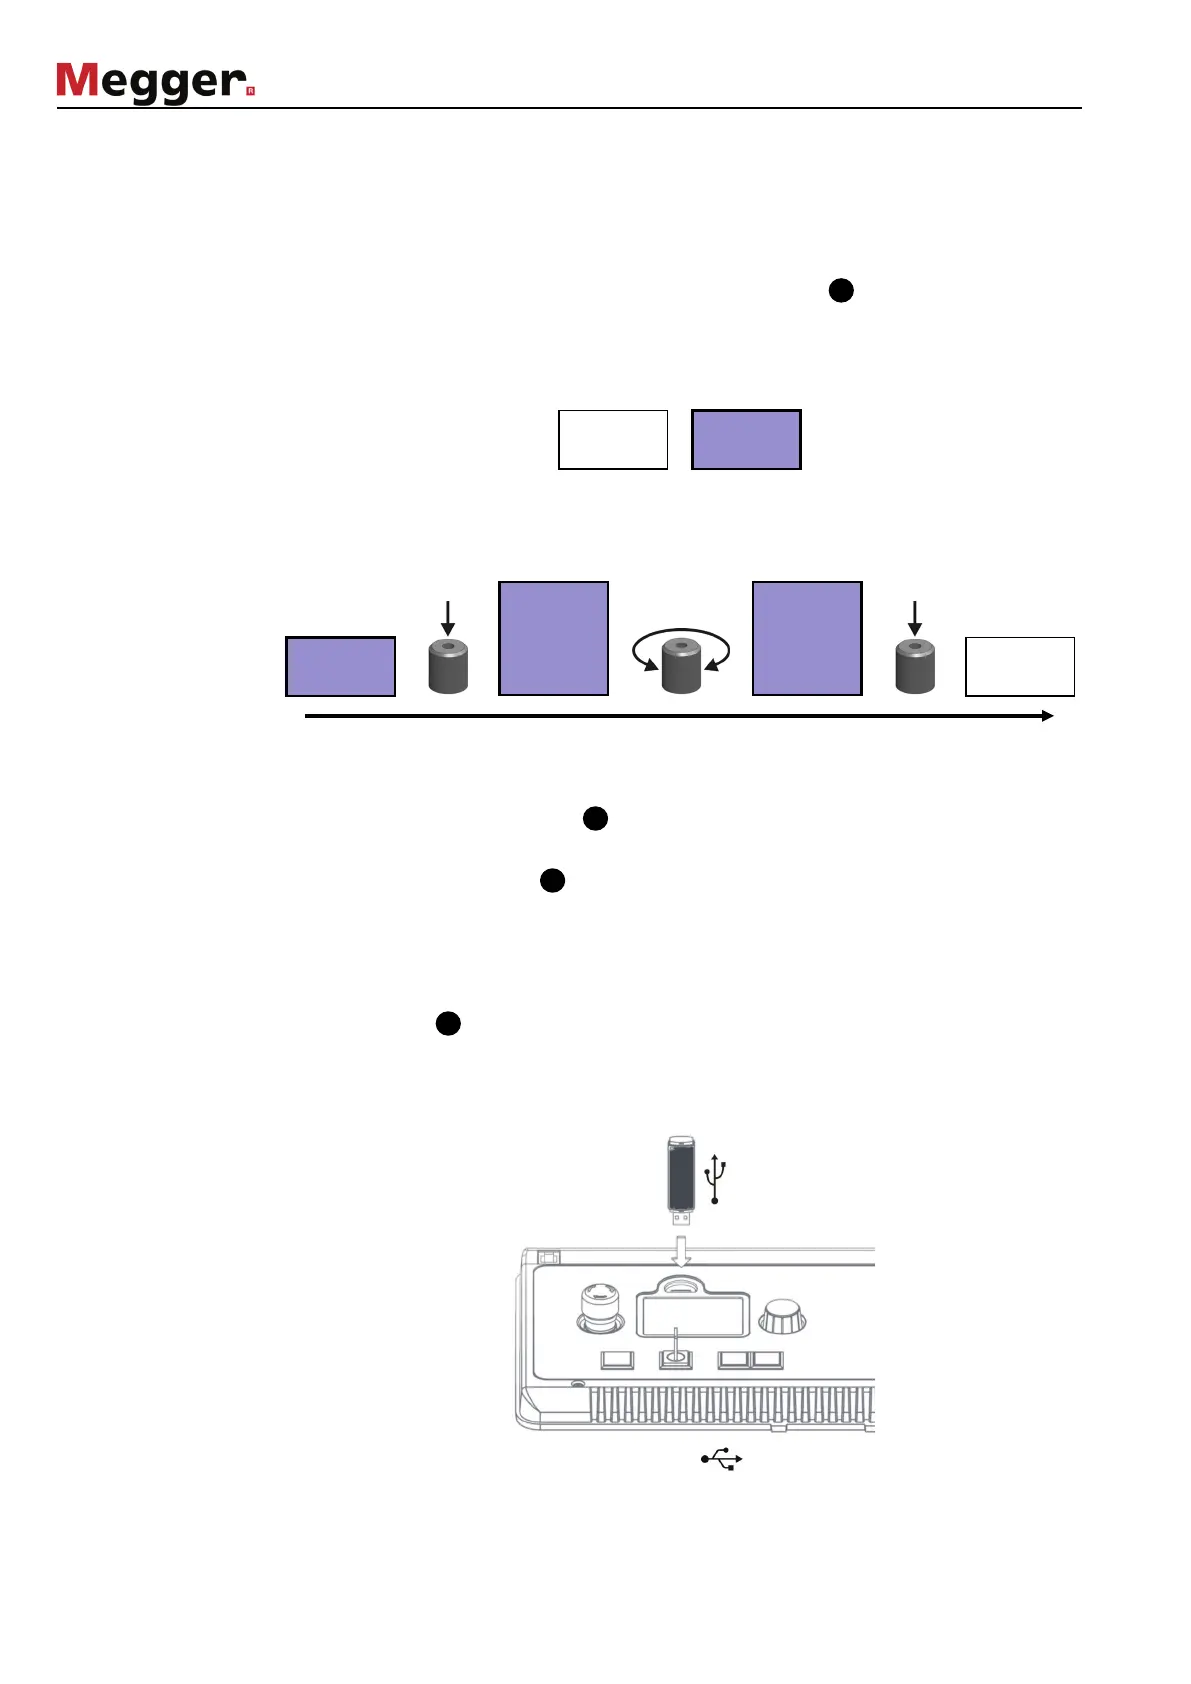
Navigation within the menus is done using the rotary encoder as follows:
Turning = selecting
Pressing = confirming (“Enter” function)
The currently selected menu item can be identified by its background colour.
With the aid of the rotary encoder, the individual menus can be accessed and values can
be entered. Once a menu item with an adaptable parameter is selected, it is then shown
enlarged. The value for the parameter can then be adapted by turning the rotary encoder
and pressing it again to confirm.
Switching high
voltage on / off
Before the start of the test, the user is prompted to enable high voltage. To do so, the
green illuminated “HV ON” button must be pressed.
This lifts the resistor discharge and enables the generation of high voltage. The red
illuminated “HV OFF” button signals high voltage at the HV output. The green button
goes dark.
The switching on of high voltage requires the conditions of the safety circuit to be fulfilled,
which are described in section 4.2.
The high voltage can be switched off at any time during the course of the test via the
“HV OFF” button . The test is then immediately aborted and the system is placed in the
'Ready for operation' state. High voltage is switched off and the HV output is discharged.
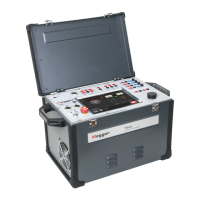
Use of a USB stick To import firmware updates into the system or to record the log data of tests, a USB stick
must be inserted into the provided slot:
While the system detects the USB stick, the
icon in the top left of the display is
flashing for appr. 5 seconds. After the icon stops flashing, the stick is ready for use.
20.0 kV
RMS
10.0 kV
RMS
selected