Chapter 3 – Maintenance
22
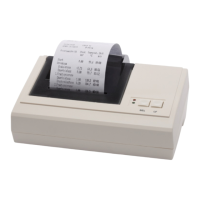
5. Insert the new ink ribbon in the bracket with the left-hand side first.
The ink ribbon must snap in to the printer unit on the right-hand side.
Fig. 16: Inserting the ink ribbon
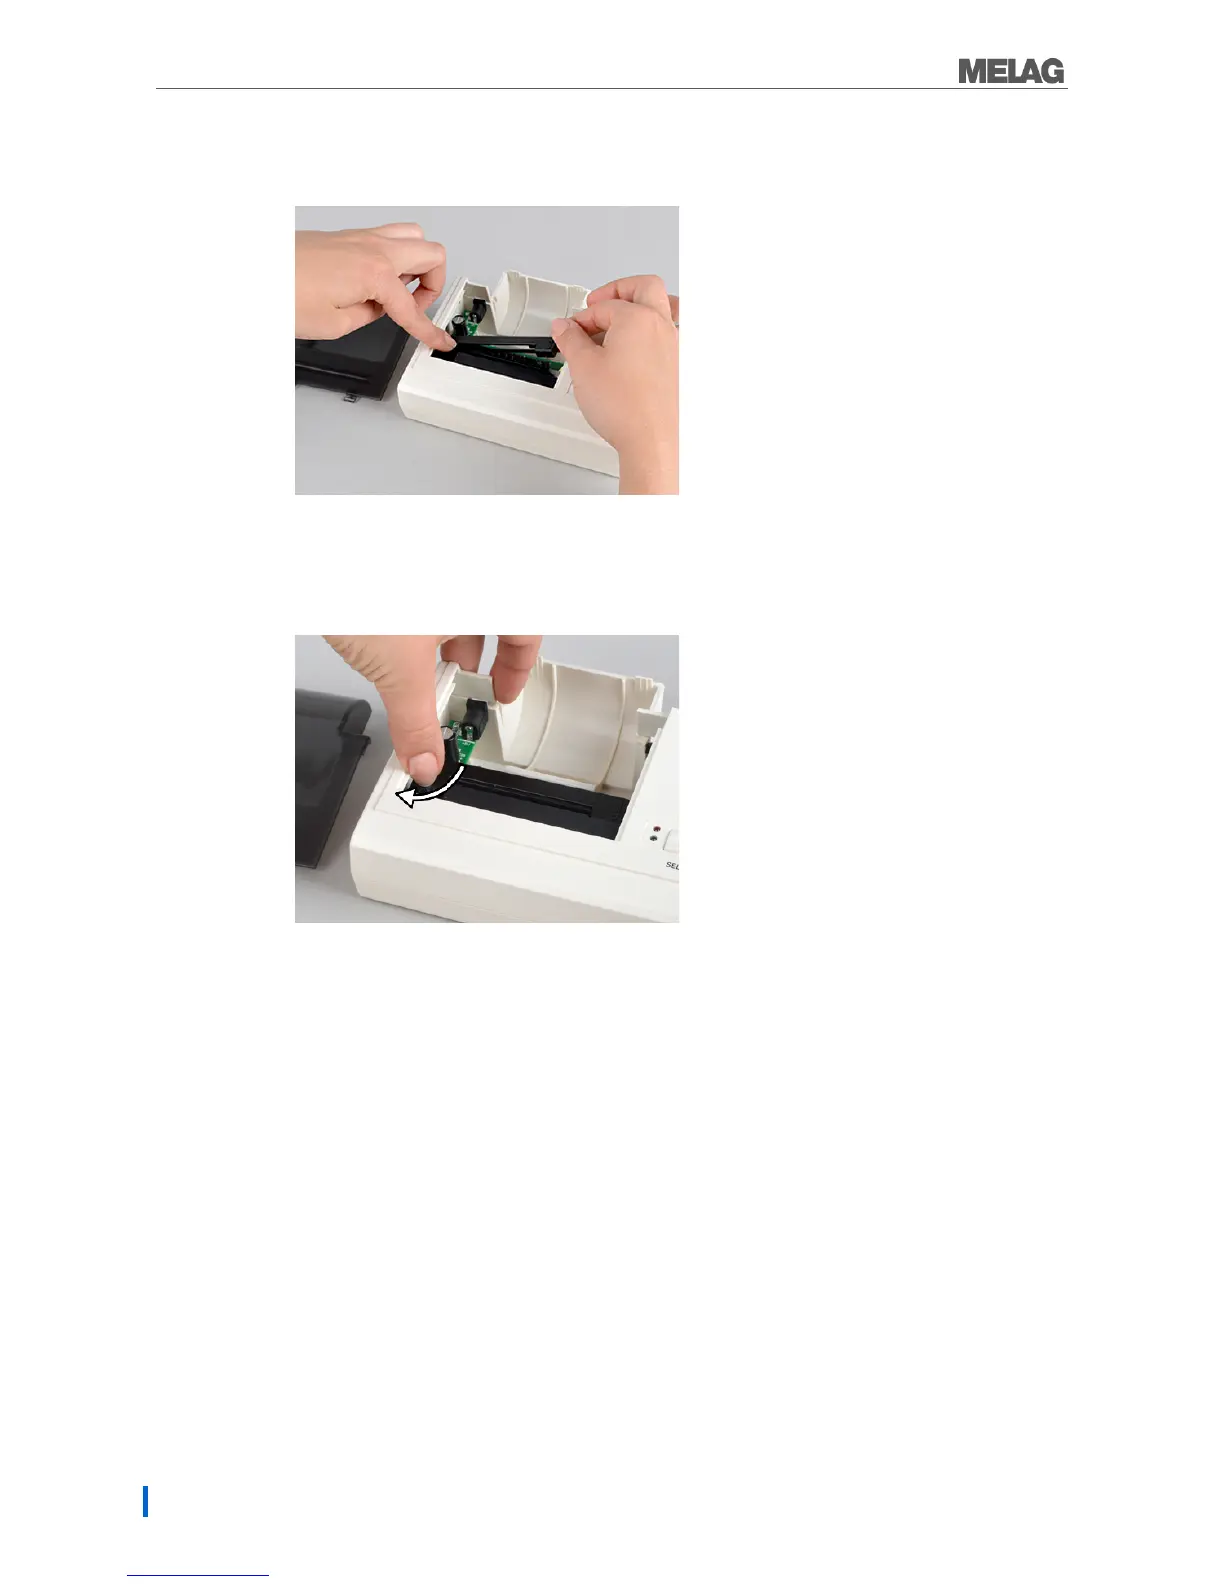
6. Check the ink ribbon for its correct position.
Tighten the ink ribbon by turning the transport key in the direction of the arrow.
Fig. 17: Tightening the ink ribbon k
7. Insert the paper roll as described on page 10.
8. Close the paper tray.
Self-test
The printer will generate a test printout with all characters and information about the series interface.
Perform the self-test on the printer as follows:
1. Press the SEL key.
2. Connect the power supply to the socket.
3. Release the SEL key. The printer will start with the test printout, which will stop automatically.