Installing the Access Point
Installing the AP200 25
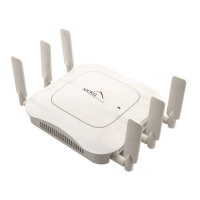
Figure 15: AP200 Bracket
2. Drill holes at the locations you marked:
— 3/16-inch holes if you are using plastic anchors
— 1/8-inch holes if you are using only the screws
3. If you are using plastic anchors, install them in the holes.
4. Screw in the screws most of the way, so that the screw head is about 1/16 of an inch from the wall.
5. Mount the bracket on the screws, placing the circular portion of the keyhole mounts over the
screw heads and sliding the bracket down.
6. Tighten the screws to secure the bracket.
7. Align the AP200 mounting posts over the circular portion of the keyhole mounts, push the AP in
and slide the AP down until it engages with the locking detents. You should hear it snap in place.
Access point mount
Ceiling mount hole
ccess point mount
Access point mount
Locking detent
all cable access
uspended ceiling
able access
00100
 Loading...