27
At the end of installation, the alarm control unit is in the deactivated status and the following operations have to be done:
close the doors, bonnet, trunk and windows and do not leave the original remote controls inside the car!
1. Start the car to check that the ignition block connections are working properly;
2. Lock the doors with the original remote control (activation of the alarm system) and check that the car’s original
blinkers are ashing.
3. The LED ashes quickly during the initial immunity time of 25 seconds during which time carry out the following tests
(if they are positive they must cause the blinkers to ash and the siren to beep once):
• open and close in sequence one door, the bonnet and the trunk;
• turn the ignition key to ON (See page 22 emergency deactivation from original transponder);
• move a hand backwards and forwards in front of the ultrasonic sensors installed;
• stimulate the additional protection modules (e.g. Shock sensor).
Each time the blinkers ash the initial immunity time starts again from zero.
4. When the initial immunity time is up, the LED still ashes but slower and the triggering of a protection by the alarm
generates a 25 second alarm cycle during which the siren emits a characteristic modulated sound, the blinkers ash and
the horn, if connected, sounds continuously or intermittently, according to how it was programmed.
During the alarm cycle, check correct operation of the protection on the ignition block;
5. Unlock the doors with the original remote control and check that the alarm system is deactivated; when it is deactivated
the siren emits a warning BOOP and the LED ashes at the sequences foreseen to indicate the alarm memories (see user
handbook).
ADDITIONAL CHECKS IN THE CASE OF A COMBINATION WITH THE HYDBRID MODULE M327
1. Close the locks by pressing the close key on the radio control and check:
• that the blinkers have ashed the number of times corresponding to closing, that the locks are blocked and that the
alarm is activated (LED ashing quickly).
• Press the close key again within the immunity time (25 sec.) and check that the ultrasounds are inhibited (the siren
emits 3 beeps meaning the ultrasounds have been inhibited).
2. Release the trunk lock by pressing the trunk key on the remote control and check the lock is released and that the
ultrasounds have been inhibited.
3. Release the locks, pressing the open key on the remote control and check that the blinkers have ashed the number of
times corresponding to opening, that the locks are released and that the alarm is deactivated (LED o ).
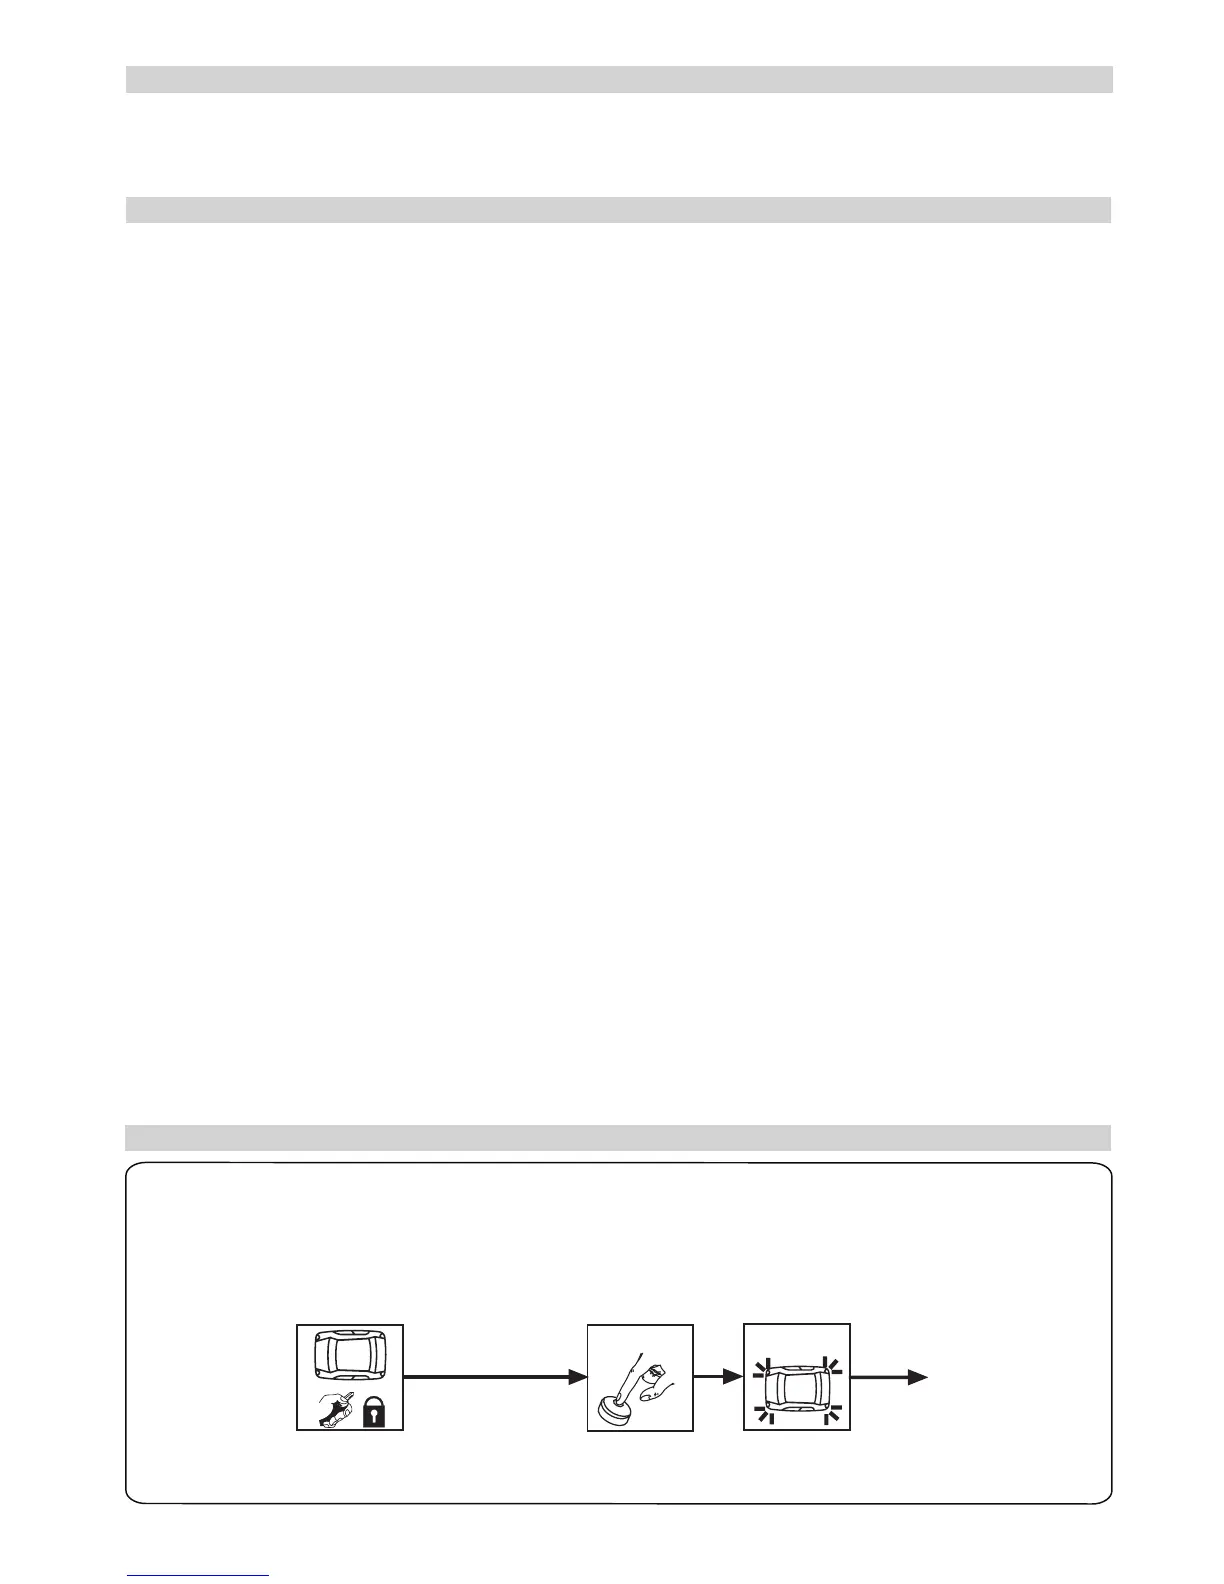
At the end of installation and once the nal check has been made, it is necessary to reset the Override safety
feature following the illustrated procedure below.
Activate and immediately deactivate the product with the original remote control and within the next 15 seconds
press the Push Button/LED and keep it pressed for at least 10 seconds. After this time 4 ashes of the blinkers
con rm that the override safety feature has been reset.
FINAL CHECK
RESETTING THE OVERRIDE SAFETY FEATURE
MAX 15 SEC.
X 10 SEC.
X 4
EXIT
ANTI-CARJACK ALARM
For the anti-carjack alarm function, a hidden button is installed which has to be pressed each time a door is opened
with the instrument panel on. If the button is not pressed a warning procedure is started that ends after 150 seconds
and the ignition blocks; the alarm can be stopped only by entering the override code or the electronic key.
If the Override safety feature is not reset, it resets automatically anyway during normal use after 50 cycles of
activation/deactivation of the control unit.