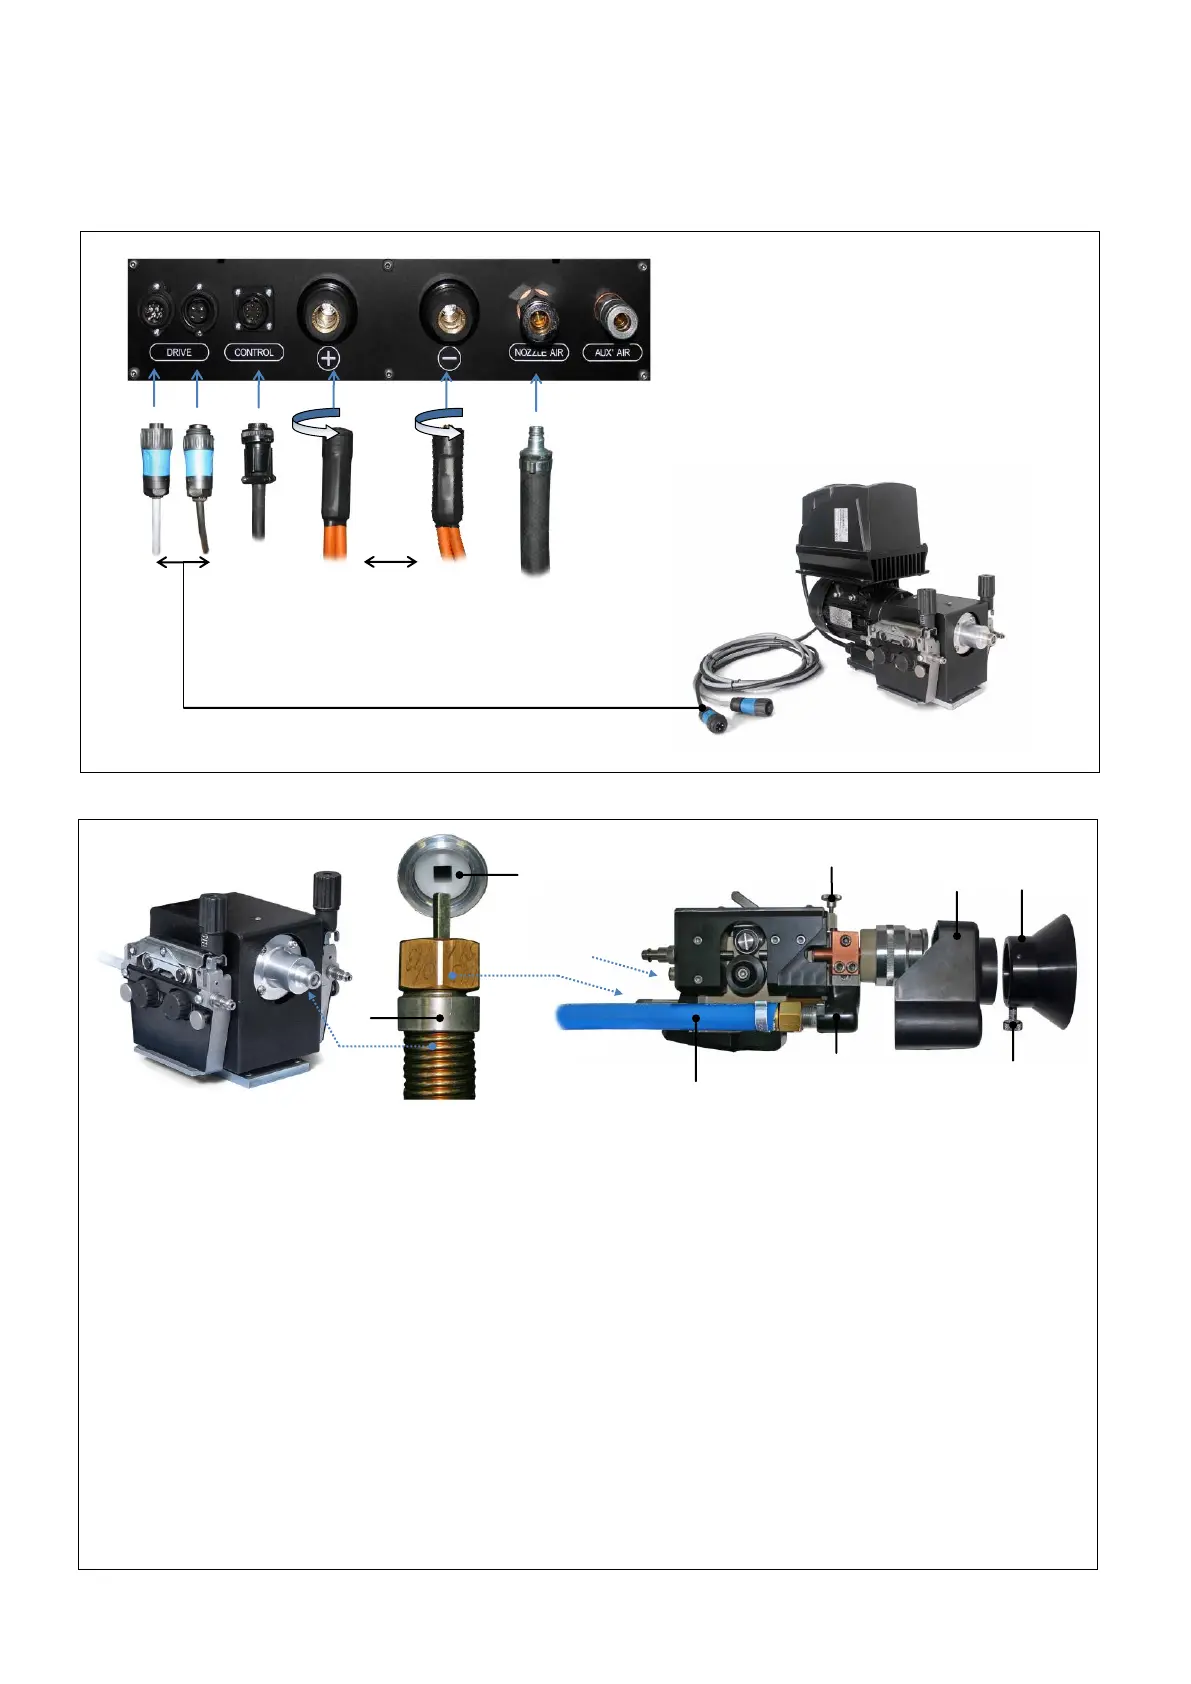
1. Loosen the Pointed Shroud Screw (A) and remove the Shroud (B). Unscrew the Thumb Screw (C) and remove the Hood (D)
from the Pistol.
2. Take one end of the Flexible Drive Cable (E) and carefully position the squared end of the inner into the rear of the Pistol
coupling (F). Apply some grease to the thread on the drive connector and screw home the drive connector ring whilst holding the
Flexible Drive in place. Lightly tighten with the provided spanner. Connect the other end of the Flexible Drive Cable to the DUA
Wire Feed Unit applying grease to the Drive Connector as before.
3. Fit the 2 Cooled Conductors (H) to the Terminal Blocks (G) and firmly tighten. Use one spanner to hold the Terminal Block whilst
tightening the conductor with another to prevent damage to the Terminal Blocks. This joint will carry up to 500 amperes so
ensure they are securely tightened and check periodically.
4. Replace the Hood (D) and Shroud (B).
5. Connect the Control Cable from the supplies pack to the rear of the Pistol (I).
Ensure that power to the Energiser is isolated.
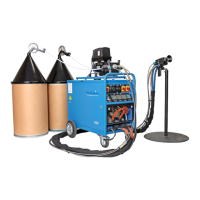
Connect the Supplies Pack, comprising Power
Cables (A), Motor Drive Cable (B) and Nozzle
Air Hose (C) from the Manifold to the
appropriate connections on the front of the
Energiser.
Polarity of Power Terminals is unimportant
unless spraying pseudo alloys (2 different
materials) - twist power terminals clockwise
firmly to lock.