14
• Step 3: Press the “Finish” button to complete the line construction. The line will be added to the Feature list and
shown in the Feature Detail screen.
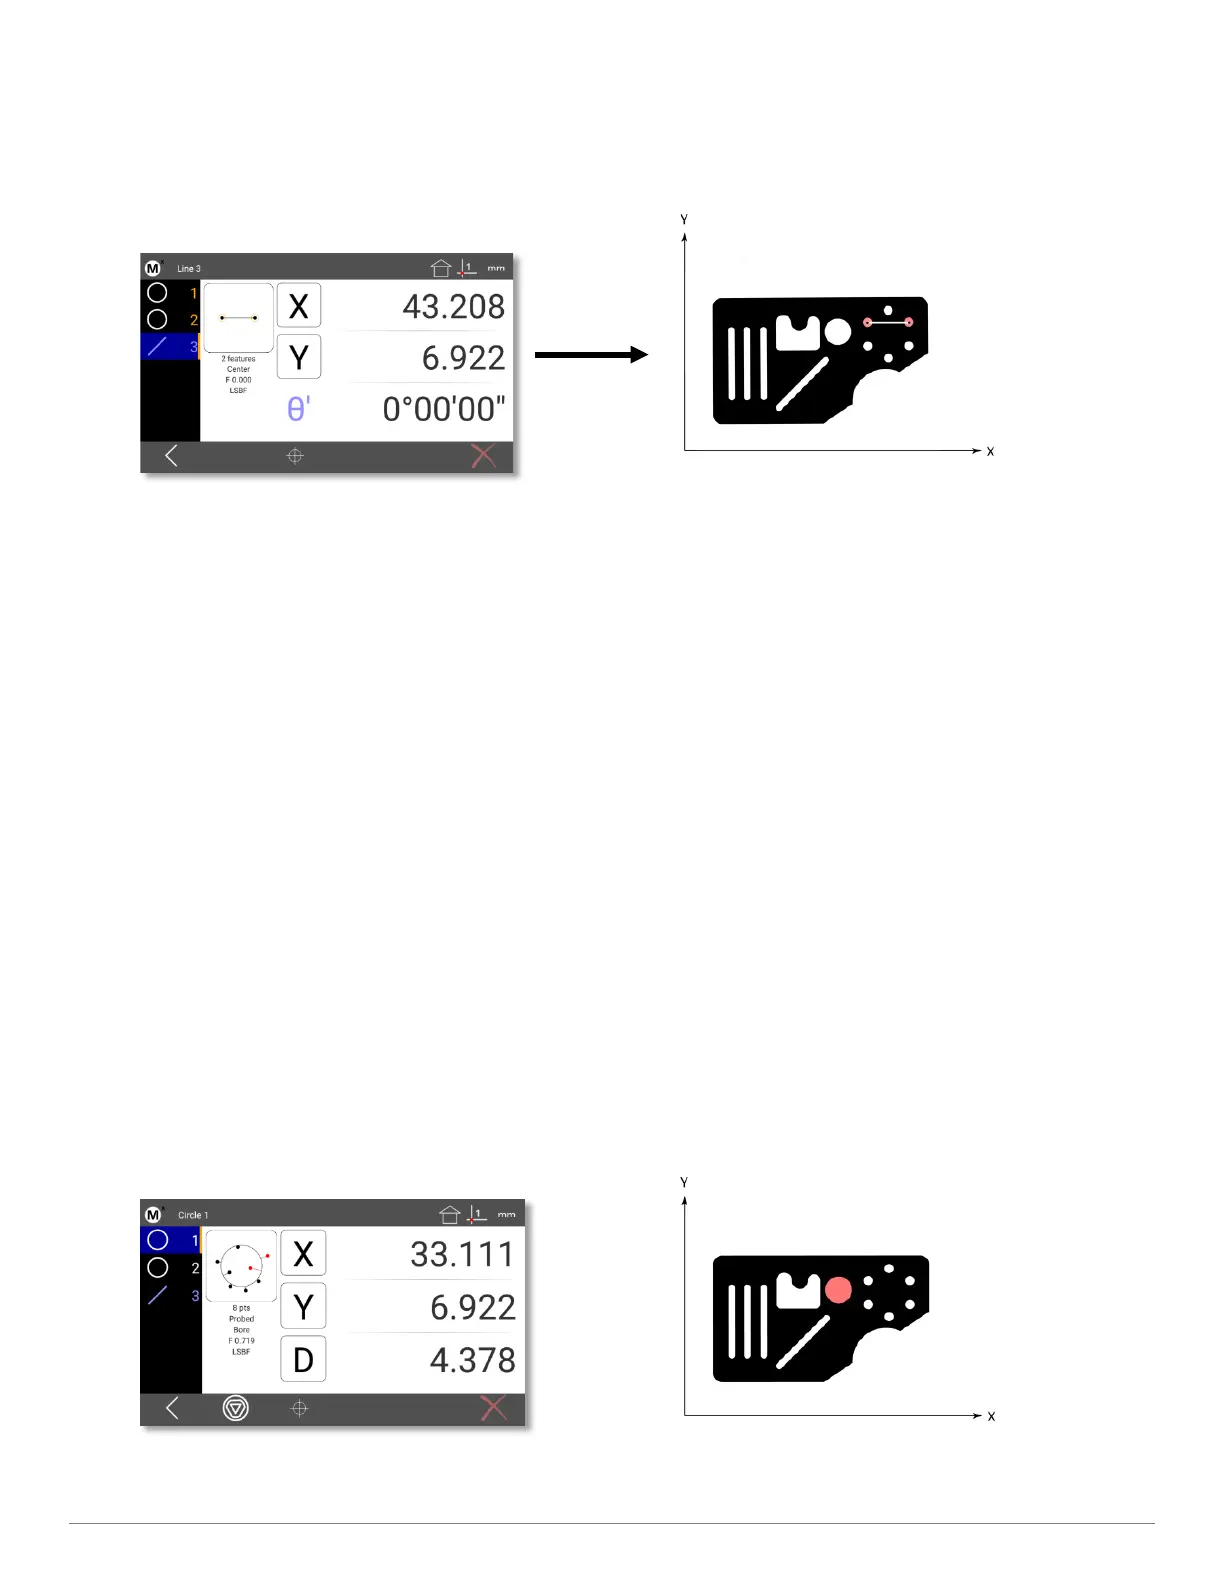
• Step 4: Zero the line angle by pressing the Angle value button to align the part to the X axis. The Angle value
label will turn blue and a (‘) will be added to indicate it is a datum feature.
• Step 5(optional): The constructed line can now be deleted if desired. Select the line and press the Delete button.
The line will be deleted but the skew alignment will be retained for use in future measurements.
4.5 Part Datums
One or two datums can be used as measurement references. Datum 1 and Datum 2 can be used interchangeably at the
user's discretion. A part datum can be established by:
• Zeroing a feature location
Or
• Presetting a feature location
Datum features can be probed, constructed from parent features, or created from data provided by the user. It is
assumed in the following examples that a skew alignment already exists, if required.
4.6 Zeroing a Feature Location
A part datum can be established directly by zeroing any positional feature's X and Y coordinates.
To zero part coordinates on a feature:
• Step 1: Select the desired positional feature from the Feature list (a circle in this example).