9
3 How to Probe/Measure features
3.1 Probing Features
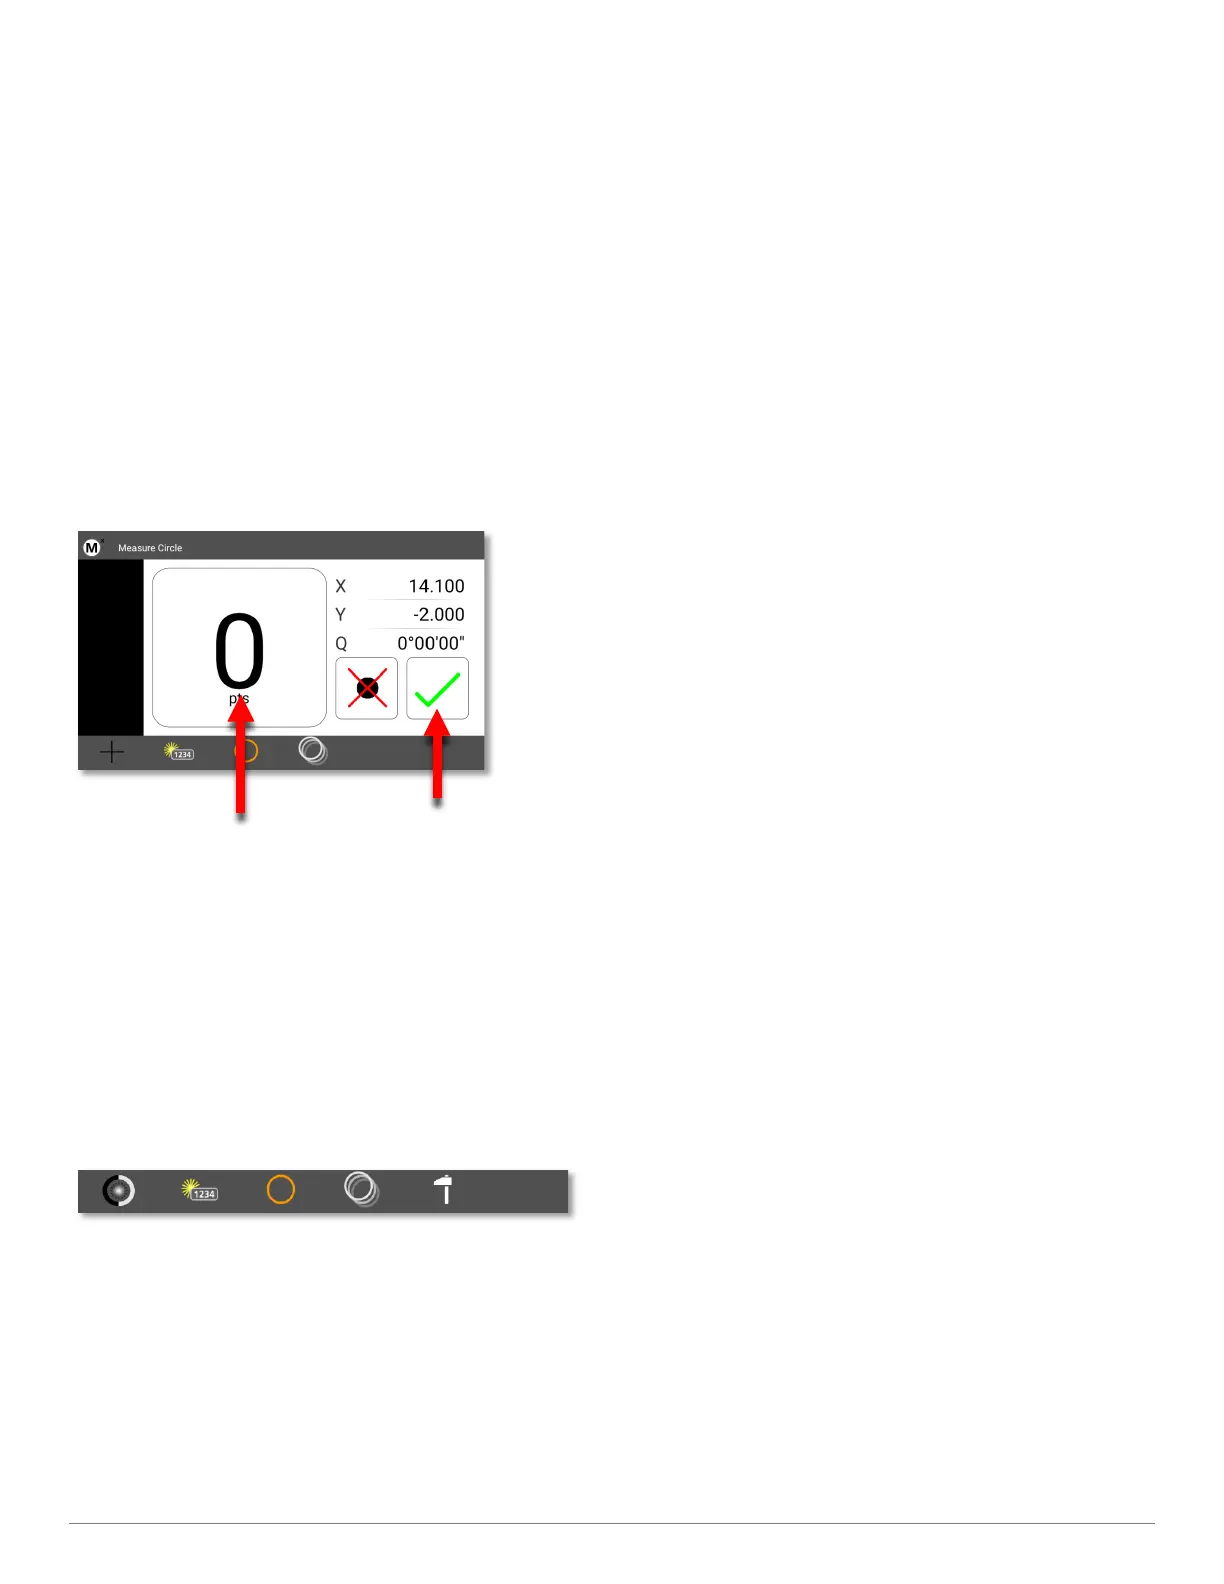
Point entry screen
Once you have selected a feature to measure, points can be entered by lining up the crosshair on your system then
pressing either the Enter button, or the large point counter, as seen in the screen below. When you have entered
enough points, press the green check mark or the Finish key.
At the bottom of the point entry screen you will notice a series of icons, as seen below. The first icon indicates the probe
type you are using(Optical edge or cross hair). The second button is the Create Feature function(allowing you to create a
feature in space(addressed later in the guide)). The third icon displays the feature type you have selected to measure.
The fourth is the “repeat” measure function(allowing repeat measurements of the same feature). And lastly, the
construction mode function which allows you to construct a feature relationship from previously measured features.
3.2 Feature Detail Screen
Once you have completed your measurement, the results will be displayed in this window. Each feature will have a
unique set of coefficients. In this example of a circle, the X and Y center position, plus the circle Diameter are displayed.
Enter Point
Finish Measurement