26
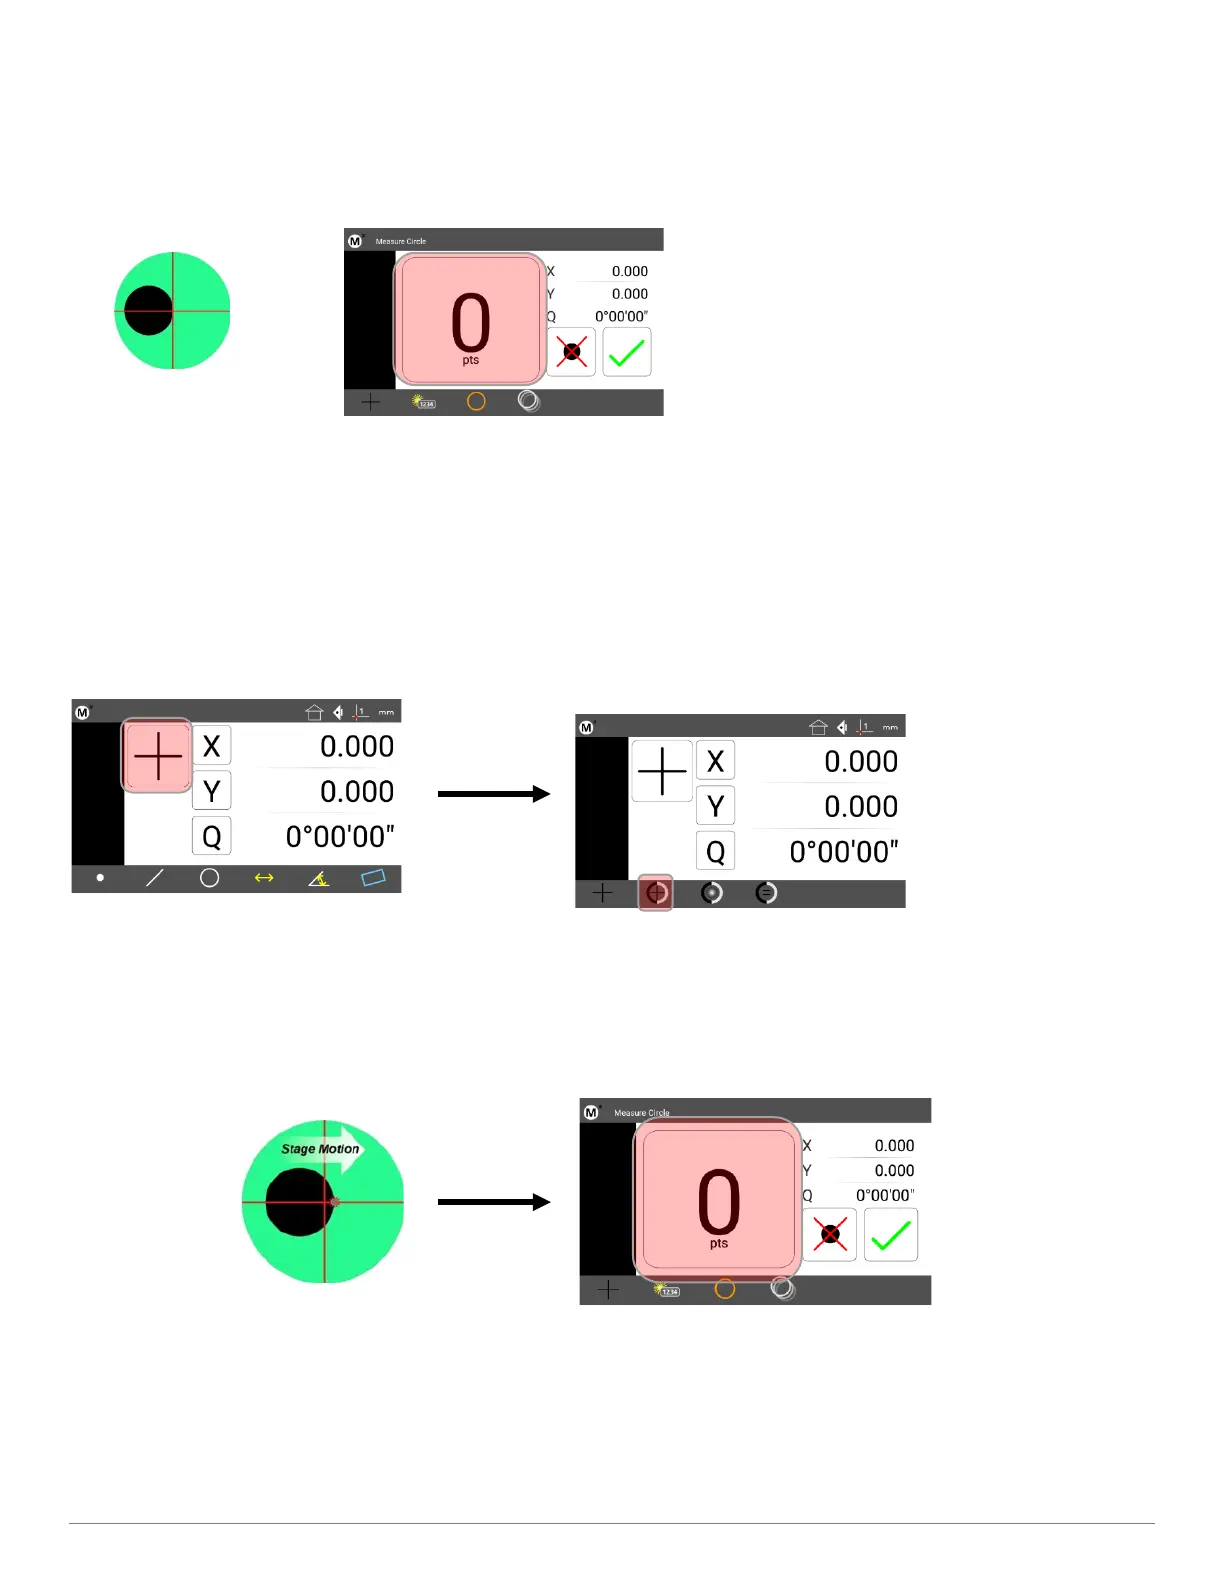
• Step 3: Press the desired Measure Feature button in the Measure toolbar (circle in the example below).
• Step 4: Position the crosshair Probe over a feature edge.
• Step 5: Press the Point Counter to enter the point.
• Step 6: Probe the remaining points necessary to define the feature.
• Step 7: Press the “Finish” keypad button, or the green check-mark touchscreen button to complete the feature
measurement. The feature will be shown in the Feature list and Feature Detail screen.
8.8 Manual Edge Detection Probe
• Step 1: Press the Home button to return to the main measuring view(if necessary).
• Step 2: Press the Probe Menu button and select the Manual Edge probe.
•
• Step 3: Press the desired Measure Feature button in the Measure toolbar (circle in the example below).
• Step 4: Sweep the optical edge sensor over a feature edge. The probe will fire and a tone will be produced.
• Step 5: Press the point counter button to confirm entry of the edge crossing into the measurement.
• Step 6: Probe the remaining points necessary to define the feature.
• Step 7: Press the “Finish” keypad button, or the green check-mark touchscreen button to complete the feature
measurement. The feature will be shown in the Feature list and Feature Detail screen.