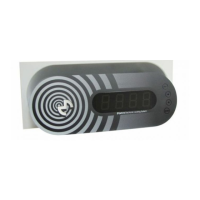
Locker Controller ELS & ELS SELECT Technical Manual
STEP 3: Disconnect all cables and mark their exact position.
STEP 4: On the new Locker Controller set the same network address and operating mode.
STEP 5: Replace the Locker Controller with a new one.
STEP 6: Reconnect all cables exactly the same as they were connected previously.
STEP 7: Connect the power supply.
STEP 8: Press the parameters request “PARRQ” button to download operating parameters as they
were on the previous Locker Controller.
STEP 9: Close the Locker Controller Box/Locker (see Locker manufacturer's documentation).
No special maintenance is needed.
The maintenance people should check the device operation at least once a year.
NOTE
Direct spraying or splashing water can cause damage to Locker Controller or Electric Locks!
Locker door closed while locking and nothing happens.
Adjust the door strike. Check the Electric Lock. Replace
the Electric Lock if necessary.
The Locker door not ejected when unlocked.
Right blue dot on a display is turned on.
Check the doors (if any jammed – unlocked lock &
closed door at the same time).
Check the download parameters, if all set locks (from 1-
16 / 1-24 / 1-32) are also connected to the main
electronics board and extension modules.
12V DC regulated (11.5 – 15V DC tolerated)
PCB: 0.65 A peak, 0.45 A average
PCB with two extension modules: 2 A peak, 1 A average
Operating temperature range
integrated piezoelectric beeper
 Loading...