2.3 Attaching the accessories
12
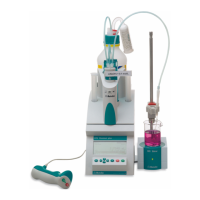
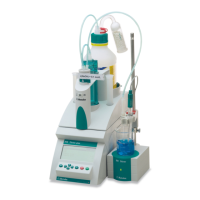
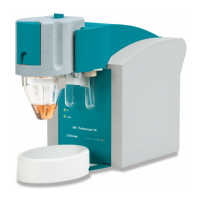
813 Compact Autosampler
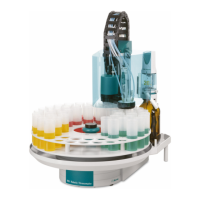
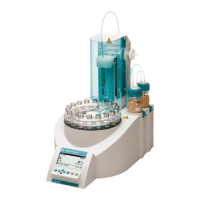
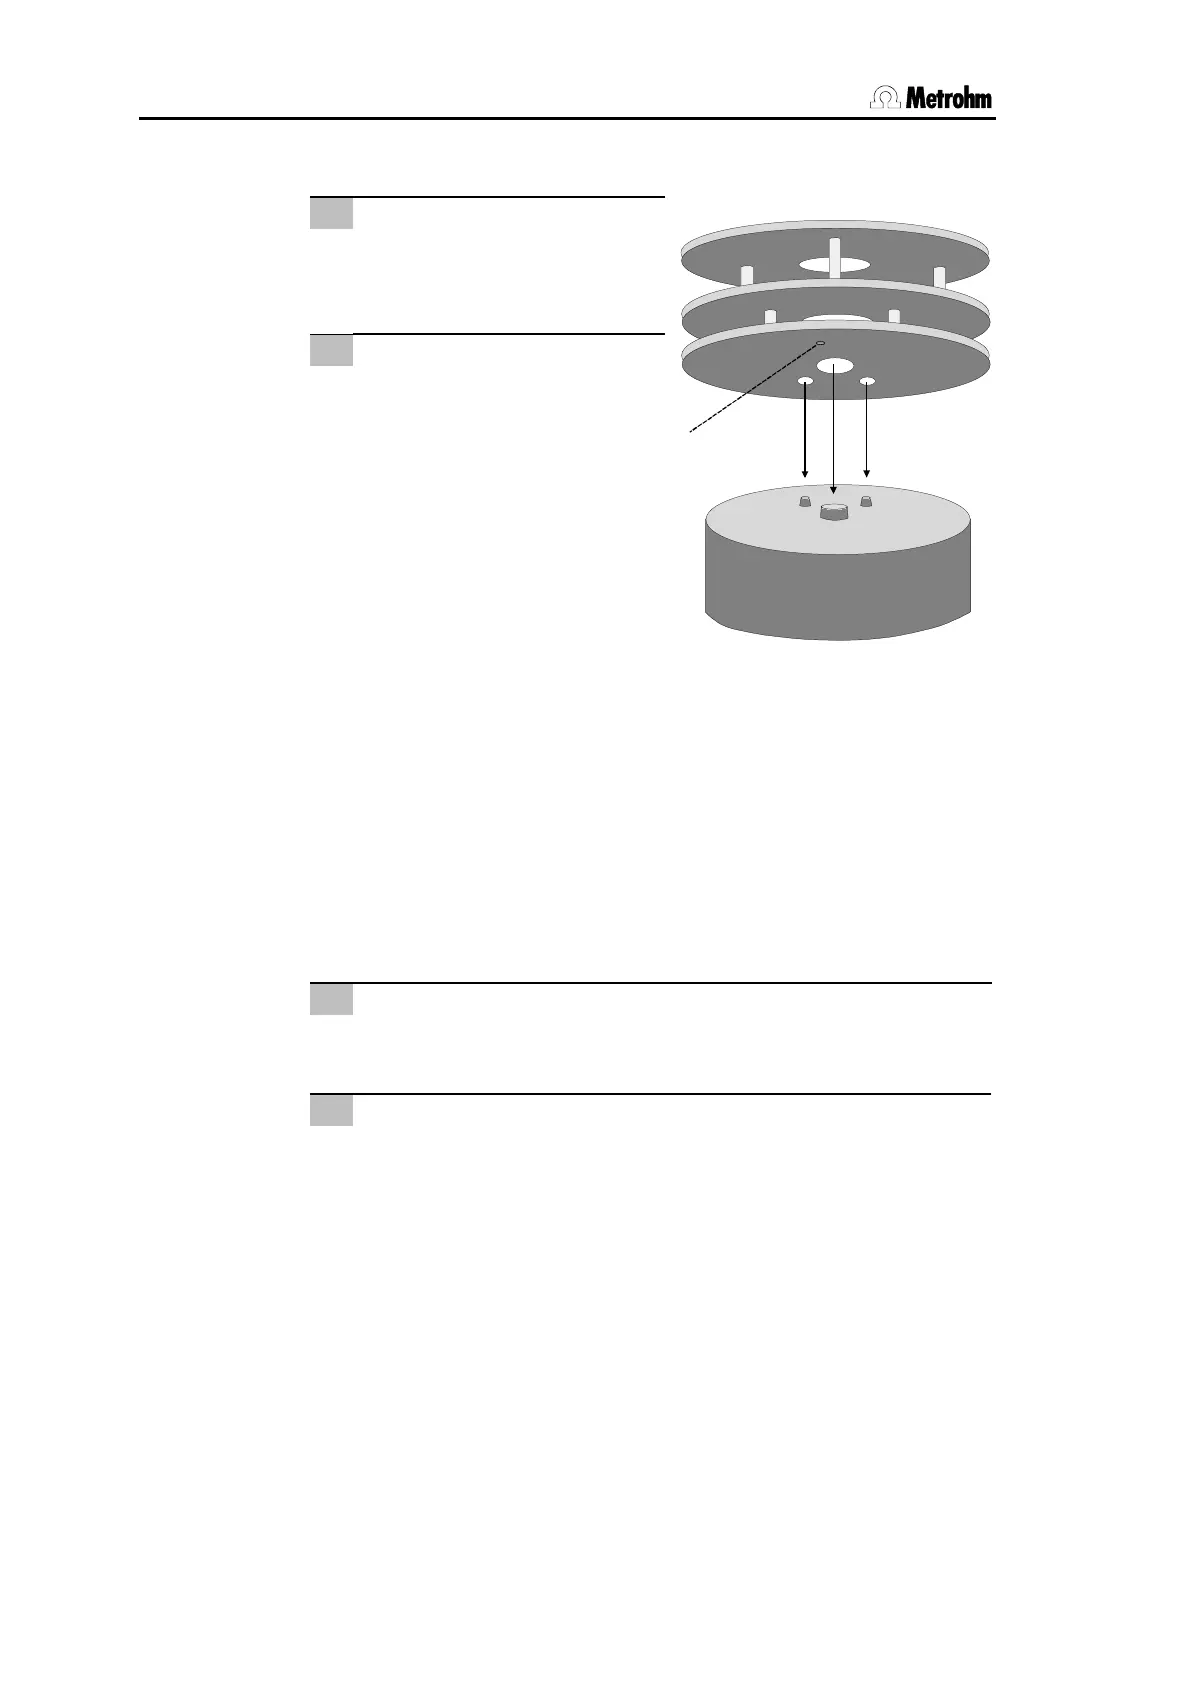
2.3.5 Placing the sample rack
1
2
Place sample rack
Place sample rack
24
on the
turntable of the 813 Compact
Autosampler acc. to Fig. 8.
Initialize rack
Press <RESET> to move the
rack to the home position, in
which the magnetic code can
be read (coding magnet 30).
30
Fig. 8 Sample rack placing
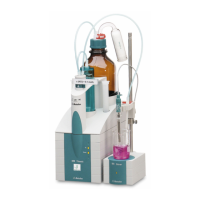
2.3.6 Adjusting the sample rack
If a new sample rack is placed on the 813 Compact Autosampler
for the first time, it must be adjusted. Make sure you have
mounted a steel needle or a PEEK needle before. Proceed as fol-
lows:
1
Place sample rack
Place empty sample rack
24
on the turntable of the 813 Com-
pact Autosampler and switch off the instrument.
2
Switch on the instrument
Keep the <HOLD> key pressed and simultaneously press the
mains switch on the right hand side of the 8
1
3 Compact Auto-
sampler. The instrument is initialized and the needle is placed
above rack position 1. Press the <START> key. The green LED
is now blinking twice.