INTRODUCTION
4
Congratulations on purchasing the GRR-RIPPER 3D Pushblock system. Over 5,000 hours
of engineering, 45 design concepts and prototypes went into making the GRR-RIPPER
the safest, most precise pushblock available. Before using your GRR-RIPPER, read
through this manual to familiarize yourself with the GRR-RIPPER and how it works.
The following is a general overview of the way the
GRR-RIPPER is designed to work:
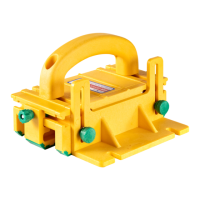
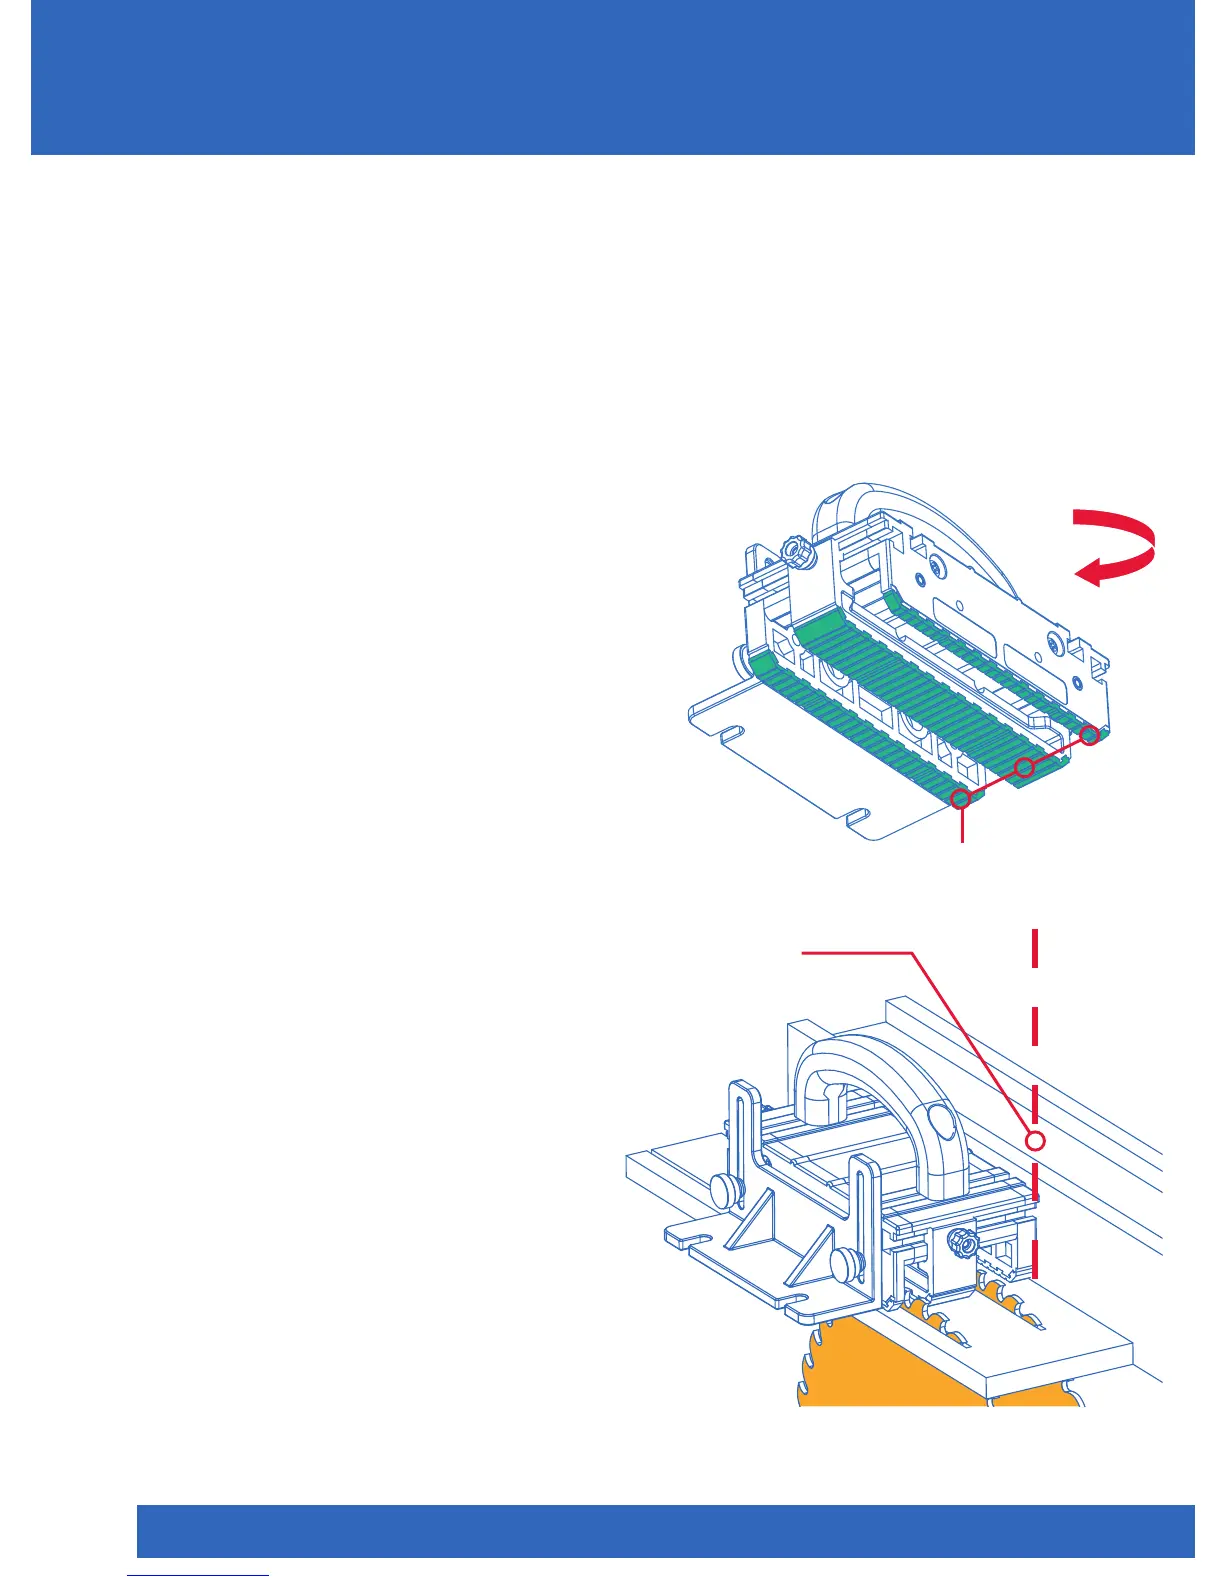
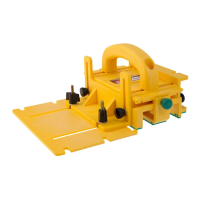
The GRR-RIPPER uses grooved non-slip
pads (Green GRR-RIP
®
) to hold down and
feed your workpiece through the cutting
element. The tool can be rotated end-
to-end to for use with either the 1/2” or
1/4” Side Leg against the fence.
With the rip fence set parallel to the saw
blade, the GRR-RIPPER glides against
the rip fence to ensure a parallel feed. It
also keeps both sides of the workpiece
in their original positions throughout the
cutting process, which virtually prevents
the possibility of kickback and burning.
With bare-hand feeding eliminated,
nger injury is greatly reduced.
The GRR-RIPPER feeds the workpiece
as the saw blade passes through either
its right or left tunnel. This feature
virtually eliminates the need for bare-
hand feeding when used properly.
The GRR-RIPPER is a protective guard
that you hold throughout the
cutting operation.
GRR-RIPPER
glides against
rip fence
Green GRR-RIP
®
Reversible
Figure 1
Figure 2