12
HOW TO USE
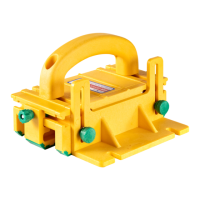
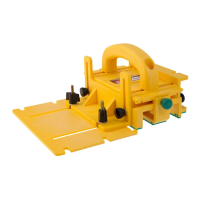
The GRR-RIPPER 3D Pushblock System
is designed to glide along the rip fence
of a table saw, therefore the rip fence
must be parallel to the saw blade in
order to maintain the parallel feed.
The saw blade should be raised just
enough in height to clear the gullets
from the top surface of wood pieces,
normally about 1/4” to 3/8”. Pay extra
attention on workpieces that are not
equal in thickness such as tapered
stock. The tunnel has a clearance of
15/16” in height.
The saw blade must pass through the
adjustable tunnel and between the
legs for maximum safety. Visually check
the Saw Blade Tunnel before turning
on your saw to make sure that the saw
blade will not cut into any component
of the GRR-RIPPER.
When using only one GRR-RIPPER, we
suggest both hands on the tool; one
gripping the handle, and the other
placed on top of the main body. Place
one hand in the inclined position and
grip the Handle (1). Place the other on
the top of the Main Body (2) to provide
added pressure against the rip fence,
additional forward feeding and rm
downward pressure on the workpiece.
WARNING! NEVER feed stock
using bare hands when using the
GRR-RIPPER.
For best cutting results, use one non-
stop feed from start to nish - do not
pause during the cutting operation.
Push the workpiece completely clear
of the saw blade, stop the motor,
and wait for the saw blade to come
to a complete stop before releasing
pressure from the workpiece.
Depending on your table saw model,
the GRR-RIPPER system should be
placed about 1“ to 4” from the trailing
end of the workpiece, otherwise, the
tool will be off the table saw top at the
rear before the workpiece will be clear
of the saw blade.
If workpiece is longer than 16”, the
use of two GRR-RIPPER systems is
recommended.
Use the “leap-frogging” technique for
cutting stock of unlimited length.
INFO: Watch the online video:
microjig.com/leapfrog
HOW TO USE THE GRR-RIPPER
GRR-RIPPER Quickstart Video available
online at microjig.com/worksafer