Preva Dental X-ray System User Manual, 00-02-1576, Revision ZA1
36
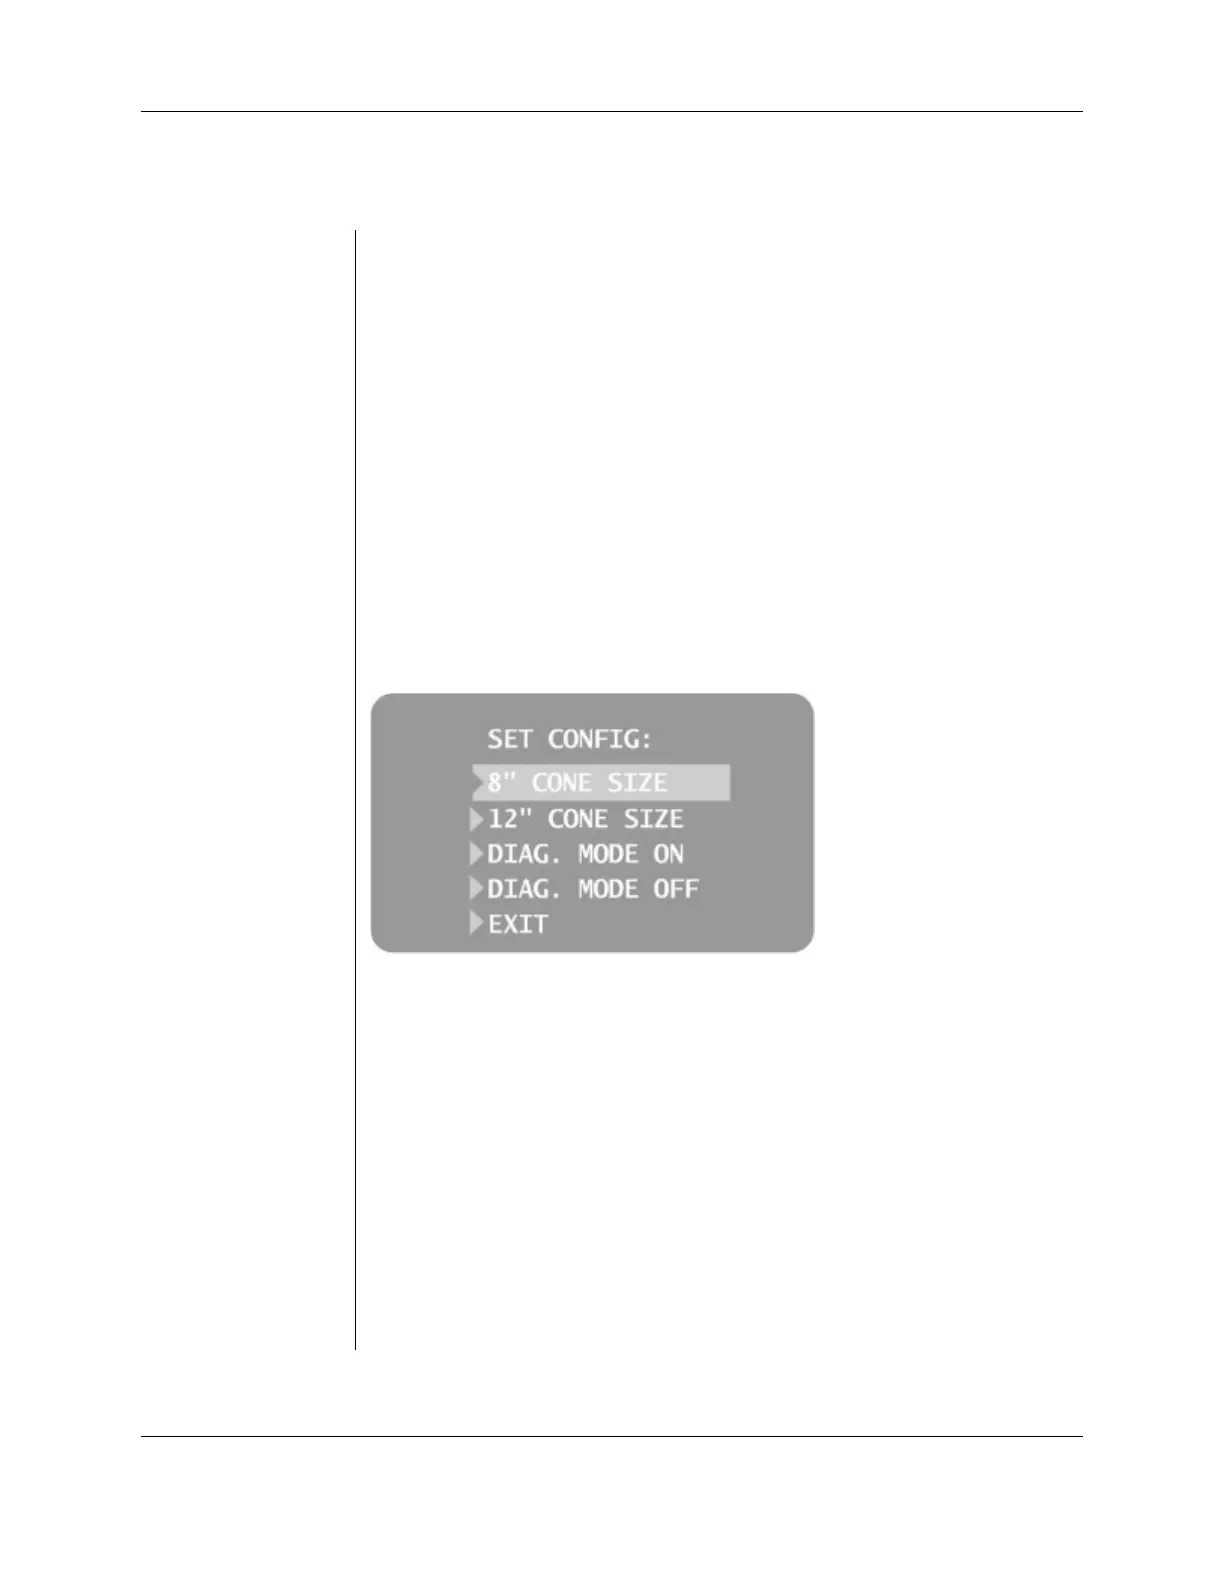
Select SET CONFIG. from the Configuration menu, shown in Figure 7, to
display the Set Configuration menu, Figure 8, with the cone size options. The
system’s default is for use with the supplied 20 cm (8 in.) cone. A 30 cm (12
in.) cone is available (see About the 20 cm and 30 cm Cones
on page 18).
Using the longer cone requires longer exposure times. The system
automatically selects when the cone size is changed in the Set Configuration
Using a 12-inch
[30 cm] Cone
1. From the Main System Configuration menu, shown in Figure 4, select
CONFIGURE UNIT. You will see the Configuration menu shown in Figure
7.
2. Select SET CONFIG. You will see the Set Configuration menu, shown in
Figure 8.
3. From the Set Configuration menu, use the up and down arrows to
highlight 12” CONE SIZE.
4. Press the right arrow button to select the 12” CONE. The display warns
you that selecting the 12-inch Cone will override custom presets with the
default factory settings for the 12-inch Cone.
5. Using the up arrow, select YES to install presets for the 12-inch Cone.
Figure 8
Set Configuration
Menu