• 16 •
Chapter 3: Test Preparation
Inspecting the Battery
Before starting the test visually inspect the battery for:
• Cracked, buckled, or leaking case. If you see any of these defects, replace the battery.
• Corroded, loose, or damaged cables and connections. Repair or replace them as needed.
• Corrosion on the battery terminals, and dirt or acid on the case top. Clean the case and terminals
using a wire brush and a mixture of water and baking soda.
• Low electrolyte level. If the electrolyte level is too low, add distilled water to fill up and fully
charge the battery. Do not overfill.
• Corroded or loose battery tray and hold-down fixture. Tighten or replace as needed.
Testing Out-of-Vehicle
The preferred battery test location is in the vehicle. However, if you plan to test out of the vehicle:
• Always disconnect the negative cable from the battery first and reconnect it last.
• Always use a carry tool or strap to lift and transport the battery.
Testing In-Vehicle
The preferred test position is at the battery posts.
At the start of the test, make sure all vehicle accessory loads are o , the key is not in the ignition, and
the doors are closed. If systems in the vehicle are still active it might lead to a SYSTEM NOISE message, the
tester will automatically continue to test the battery until the noise is gone.
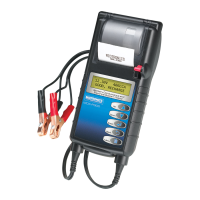
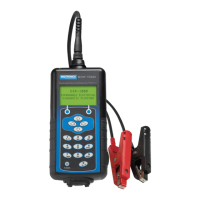
Connecting the Battery Test Cable
CAUTION: Do not connect the tester to a voltage source greater than 30 Vdc.
Connect the clamps to the battery: the red clamp to the positive (+) terminal and the black clamp to the
negative (–) terminal.
Chapter 3: Test Preparation