EasyManua.ls Logo

Miller Classic Series - User Manual

Miller Classic Series
32 pages
Print Icon
To Next Page IconTo Next Page
Loading...
Classic Series
Welding Helmets
OM-252052G 201907
To help us serve you better, go to www.MillerWelds.Com/Register

Other manuals for Miller Classic Series

Questions and Answers

  • E
    Elizabeth WallAug 16, 2025
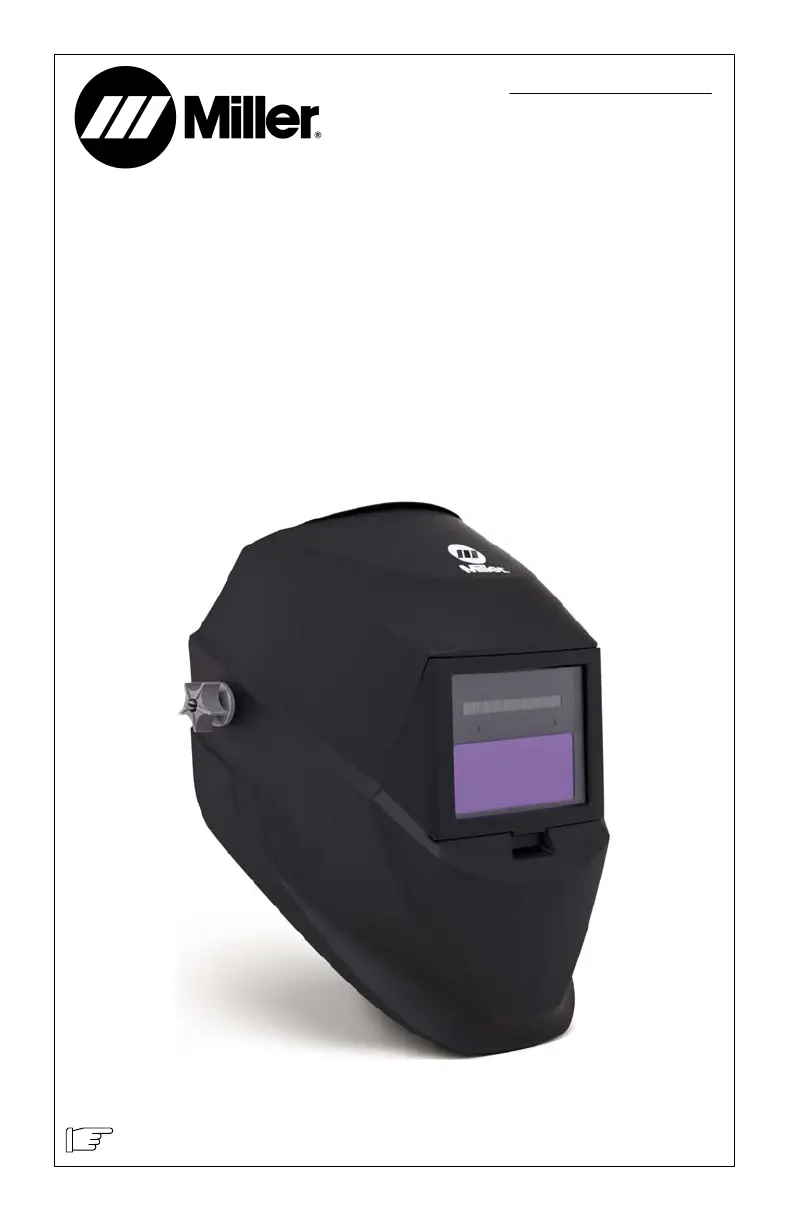
    How to fix a Miller Classic auto lens that is not turning on?
    • W
      William HarrisAug 17, 2025
      If the Miller Welding Accessories auto lens isn't turning on and doesn't darken when you press the Reset button, check the batteries. Make sure they are in good condition and installed correctly. Also, inspect the battery surfaces and contacts, cleaning them if necessary.
  • T
    Thomas ThomasAug 22, 2025
    Why is my Miller Classic auto lens switching or flickering?
    • N
      Nicole HoganAug 22, 2025
      If your Miller Welding Accessories auto lens is switching or flickering, and the lens darkens then lightens during welding, review the sensitivity setting recommendations and increase sensitivity if possible. Ensure the arc sensors have direct access to the arc light. Check the lens cover for dirt and spatter that might be blocking the sensors. Increasing Lens Delay to the Fast position may also reduce switching.
  • K
    Kerry ArnoldAug 26, 2025
    Why does my Miller Classic Welding Accessories auto lens stay dark?
    • E
      erik57Aug 26, 2025
      If your Miller Welding Accessories auto lens stays dark after the weld arc is extinguished, or remains dark when no arc is present, fine-tune the sensitivity setting by making small adjustments to the control, turning it toward the “min” setting. In extremely bright conditions, reducing the surrounding light levels might be necessary.
  • E
    Erin WallaceAug 27, 2025
    What to do if sections of my Miller Classic auto-lens are not going dark?
    • C
      Christopher DonovanAug 27, 2025
      If sections of your Miller Welding Accessories auto-lens are not going dark, and distinct lines separate the light and dark areas, stop welding immediately. This may be because the auto-lens may be cracked which can be caused by the impact of dropping the helmet or weld spatter. The auto-lens may need replacement; be aware that most cracked lenses aren't covered by warranty.
  • E
    Emily LawrenceAug 30, 2025
    Why is the shading inconsistent on my Miller Classic auto-lens?
    • C
      Christopher JohnsonAug 30, 2025
      Inconsistent or lighter auto-lens shading in the dark-state, noticeable on the outside edges and corners of your Miller Welding Accessories is referred to as an angle of view effect. Auto-darkening lenses have an optimum viewing angle of perpendicular or 90 degrees to the surface of the auto-lens. When that angle of view varies in the dark-state, welders may notice slightly lighter areas at the outside edges and the corners of the lens. This is normal and does not represent any health or safety hazard. This effect may also be more noticeable in applications where magnifying lenses are used.
  • M
    Mary BrooksSep 2, 2025
    What to do if my Miller Welding Accessories auto lens is not switching and stays light when welding?
    • D
      Diane SmithSep 2, 2025
      If your Miller Welding Accessories auto lens stays light and doesn't darken when welding, stop welding immediately. If you have a variable shade helmet, press the Reset button. For fixed-shade helmets, ensure the lens solar cell is fully charged by placing the helmet in direct sunlight for 20 minutes. If the power is on, check the sensitivity recommendations and adjust the sensitivity. Also, clean the lens cover and sensors of any obstructions and confirm the sensors are facing the arc; angles of 45 degrees or more may prevent the arc light from reaching the sensors.
  • F
    Faith LiSep 5, 2025
    What to do if my Miller Welding Accessories auto lens is not On?
    • J
      Jose HowellSep 5, 2025
      If the Miller Welding Accessories auto lens isn't turning on, and the lens doesn't darken when the Reset button is pressed, check the batteries. Verify they are in good condition and installed correctly. Also, inspect the battery surfaces and contacts, and clean them if necessary.
  • M
    Mary ValdezSep 7, 2025
    What to do if my Miller Welding Accessories auto lens stays dark after welding?
    • D
      Debra ColemanSep 7, 2025
      If your Miller Welding Accessories lens stays dark after the weld arc is extinguished, or when no arc is present, fine-tune the sensitivity setting. Make small adjustments to the control by turning it toward the “min” setting. In extreme light conditions, it may be necessary to reduce the surrounding light levels.
  • J
    John GonzalezSep 10, 2025
    What to do if my Miller Classic auto lens is not switching?
    • K
      Kimberly HoustonSep 12, 2025
      If your Miller Welding Accessories auto lens isn't switching and remains light during welding, stop welding immediately. For variable shade helmets, press the Reset button. For fixed-shade helmets, ensure the lens solar cell is charged by placing the helmet in direct sunlight for 20 minutes. If the power is on, check sensitivity settings and adjust as needed. Clean the lens cover and sensors, removing any obstructions. Make sure the sensors face the arc; angles of 45 degrees or more may prevent the arc light from reaching them.
  • J
    Jessica BrownSep 12, 2025
    Why are sections of my Miller Welding Accessories auto-lens not going dark?
    • L
      lhansenSep 12, 2025
      If sections of your Miller Welding Accessories auto-lens are not going dark, and you see distinct lines separating light and dark areas, the auto-lens may be cracked. This can be caused by dropping the helmet or weld spatter on the auto lens. Stop welding immediately.

Summary

Welding Helmet Safety Precautions

1-1. Symbol Usage

Explains warning symbols, danger, and notice indicators used throughout the manual.

1-2. Arc Welding Hazards

Details hazards from arc rays, noise, and protective measures required for welding.

SECTION 3 - OPERATING INSTRUCTIONS

3-1. Helmet Controls

Identifies and describes the various controls on the Variable Shade and VSi welding helmet lenses.

3-2. Reset Button And Low Battery Indicator

Explains the function of the reset button and how to interpret the low battery indicator.

3-3. Mode Control (VSi Helmet Only)

Details the Weld Mode and X-Mode settings for VSi helmets and their applications.

3-5. Variable Shade Control

Guides users on adjusting the lens shade number for different welding applications based on amperage.

SECTION 4 - ADJUSTING HEADGEAR

SECTION 5 - REPLACING THE LENS COVERS

SECTION 6 - REPLACING THE BATTERY

SECTION 9 - TROUBLESHOOTING

Miller Classic Series Specifications

General IconGeneral
Arc Sensors2
Product LineClassic Series
ManufacturerMiller Electric
CategoryWelding Accessories
TypeAuto-darkening

Related product manuals