
A
Annette ThompsonAug 19, 2025
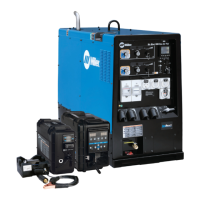
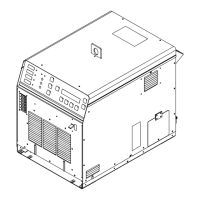
What to do if Miller Welding System shows Power Source Overtemp Fault F64?
- DDaniel BassAug 20, 2025
If the Miller Welding System shows a Power Source Overtemp Fault (F64), make sure that the power source vents and wind tunnel are not blocked.