W
ARRANTY
I
NITIATION
D
OCUMENTS
SERVING THE METAL CUTTING INDUSTRY SINCE 1973
1400 MILL LANE • WACONIA• MN 55387
T
EL: 952.442.6455 • FAX: 952.442.6457
www.milltronics.net
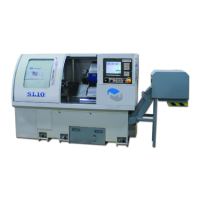
Turret
1. MDI - tool change tool # 1 (M6 T0101)
2.
Check the turret position
Hydraulic chuck (optional)
1. Clamp and unclamp by use of foot switch
2. Check I.D. and O.D. clamping by use of m-codes. M61=clamp, M62=unclamp,
M6 =O.D.3 , M64=I.D. clamp
Hydraulic tailstock
1. Tailstock in and out by use of foot switch
2. Tailstock in and out by use of m-codes. M24=in, M25=out
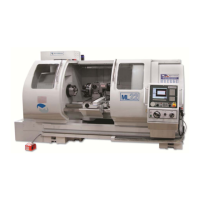
Chip converyor (optional)
1. Check for proper direction using M38=on, and M39=off.
2. Check operation of the door safety switch
Parts catcher (optional)
1. Check for proper operation using M26=in, and M27=out.
Level the machine
(refer to page 25-26 in the Instruction Handbook for details concerning taper adjustment)
10. Move the saddle to the tailstock end of travel
11. Remove the rear access panel
12. Place a precision level length wise on the Z axis linear rails then level the machine
head to tail using corner footpads.
13.
Place the level on a ground surface to measure check to back level. Adjust if
necessary.
14. Check that all footpads have full contact on t
5.
he floor, then tighten the jam nuts.
1 Turn a part without using the tail stock, then check the part for taper. .0002” per ft.
is the specification for maximum allowable taper.
16. Adjust the head stock to remove taper if found by loosening the mounting bolts and
adjusting the bolts, found on the back side of the head stock (behind mag box). Repeat step 7.
17.
Check side to side adjustment of tail stock and adjust if necessary.
4