Pellerin Milnor Corporation 15
3.1.1.3 Components that Become Worn
BNUUUH01.R12 0000399389 A.5 A.26 A.23 11/16/21 11:00 AM Released
Examine these items. Tighten or replace the item if necessary, to prevent shutdowns and un-
satisfactory performance. Speak to your dealer for replacement parts.
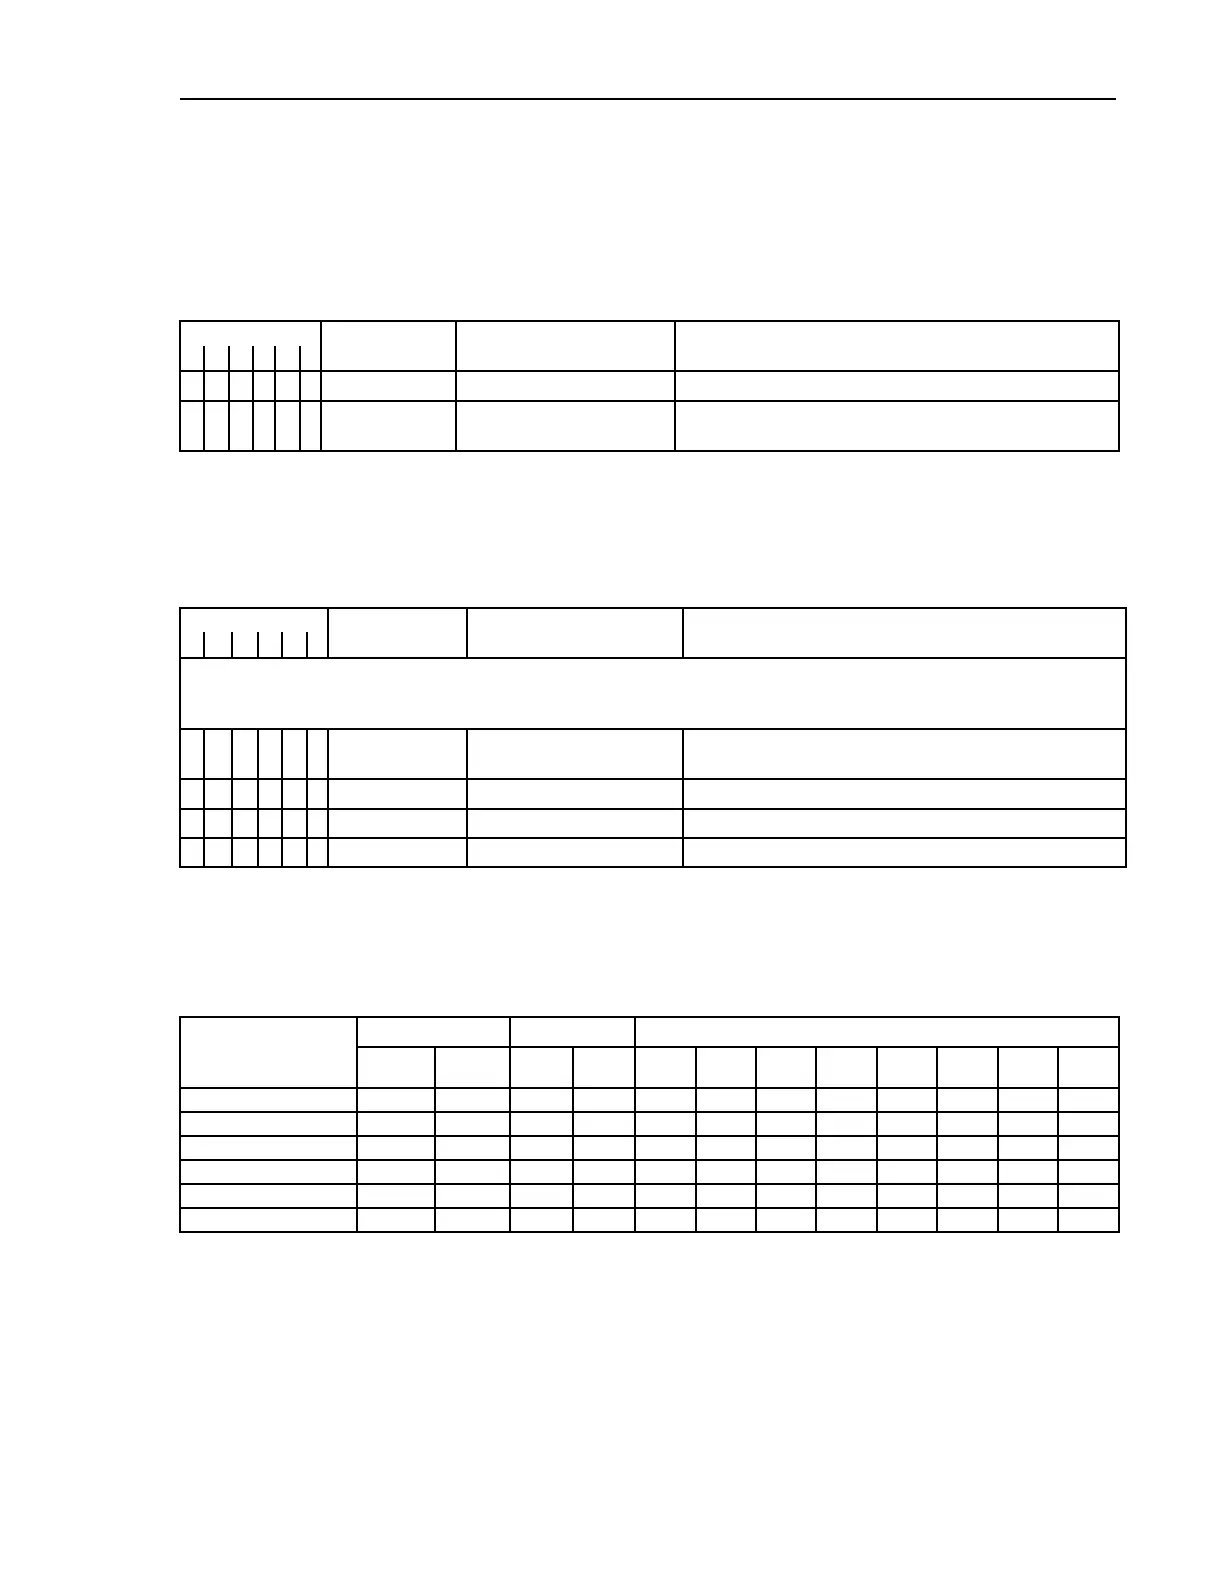
Table 3. Components that Become Worn
Mark
Do this each
Component
More Data
1 2
3
4
5
6
x
200 hours drive belts and pulleys See Section 3.2.1 , page 22
x
200 hours tubes and hoses (non-
hydraulic)
Examine hoses and hose connections for leaks.
3.1.1.4 Bearings and Bushings
BNUUUH01.R13 0000399388 A.5 A.26 11/16/21 11:04 AM Released
Unless the item is sealed, apply grease to prevent damage. See the next section for motors.
Table 4. Bearings and Bushings
Mark
Do this each
Component More Data . See also Section 3.1.3 , page 17
1 2 3 4
5 6
Grease plate 01 10025Z for bearing housing. Use this data if your machine has this grease plate. See Figure 18, page 31
and Section 3.1.5 : Procedures for Bearing Components Connected to a Grease Plate, page 18. It is necessary to remove a
side panel on some models, to access this grease plate.
x
200 hours seal Add 0.06 oz. (1.8 mL) of grease EPLF2 (Table 8, page
17)
x
200 hours rear bearing Add 0.12 oz. (3.6 mL) of grease EPLF2
x
200 hours front bearing Add 0.12 oz. (3.6 mL) of grease EPLF2
x
600 hours motor and pump bearings See Section 3.1.6 : Procedures for Motors, page 19
3.1.1.5 Motor Grease Schedule
BNUUUH01.R15 0000399408 A.5 A.26 10/21/21 10:14 AM Released
Use the data in Table 9: Motor Grease Intervals and Quantities, page 21 to complete this table.
Table 5. Motor Grease Schedule
Motor Identifica-
tion (example: main
drive)
Interval
Quantity
Dates When Grease is Added
Years Hours fl oz mL
.
3.1.1.6 Mechanisms and Settings
BNUUUH01.R14 0000399409 A.5 A.26 A.11 11/16/21 11:14 AM Released
Make sure mechanisms are serviceable and settings are correct to prevent unsatisfactory
performance.
Routine Maintenance