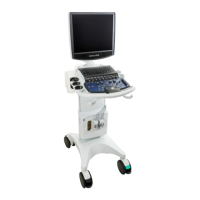
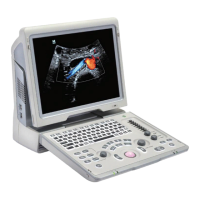
5-4 Image Optimization
Adjust it through [Frequency] on the image menu or rotate the
<Focus/Freq./THI> knob on the control panel, wherein “H” means the
harmonic frequency.
Values of frequency vary depending upon the probe types. Select the
frequency according to the detection depth and current tissue characteristics.
The higher the frequency the better the near field resolution but the worse the
force of penetration.
Harmonic imaging enhances near field resolution and reduces low-frequency
and large amplitude noise, so as to improve small parts imaging.
A. power
Refers to the power of ultrasonic wave transmitted by the probe, the real-time
value of which is displayed in the image parameter area in the upper left corner
of the screen.
Adjust through the [A.Power] item in the image menu;
The adjusting range is 7%-100% in increments of 3%.
Generally, increasing the acoustic power will increase the brightness and
contrast of the image as well as the force of penetration.
You should perform exams according to actual situation and follow the ALARA
Principle.
Focus
Refers to adjustment of focus of the ultrasonic beams, symbols as " " of
which will be displayed on the right of the image.
Adjust the focus number through the [Focus Number] in the menu;
Adjust the focus position through the [Focus Position] in the menu;
In B Mode, focus number can be switched among 1-4.
The area that is focused will be of a higher contrast and resolution to provide
a much clearer image.
The greater the number of focus, the slower the frame rate to image.
Imaging Display Adjustment
More information can be obtained without moving the probe or changing the
sampling position.
1. To change the scan range, click [FOV] on the image menu to enter the
FOV range and FOV position adjustment status.
2. Press <Set> to switch between adjusting FOV position and FOV range.
3. Rotate the trackball to adjust FOV position or the FOV range.
When the scan range is adjusted to the widest, the FOV position can not be
changed.
The FOV position/range is available only for the convex probes.
This function is to steer the beam transmitted by the probe.
Adjust it by pressing <Steer> key on the control panel or click [Steer] on the
image menu.
The steering angles provided are: -6, 0, 6°.
This function is available only for linear probes.