― 26 ―
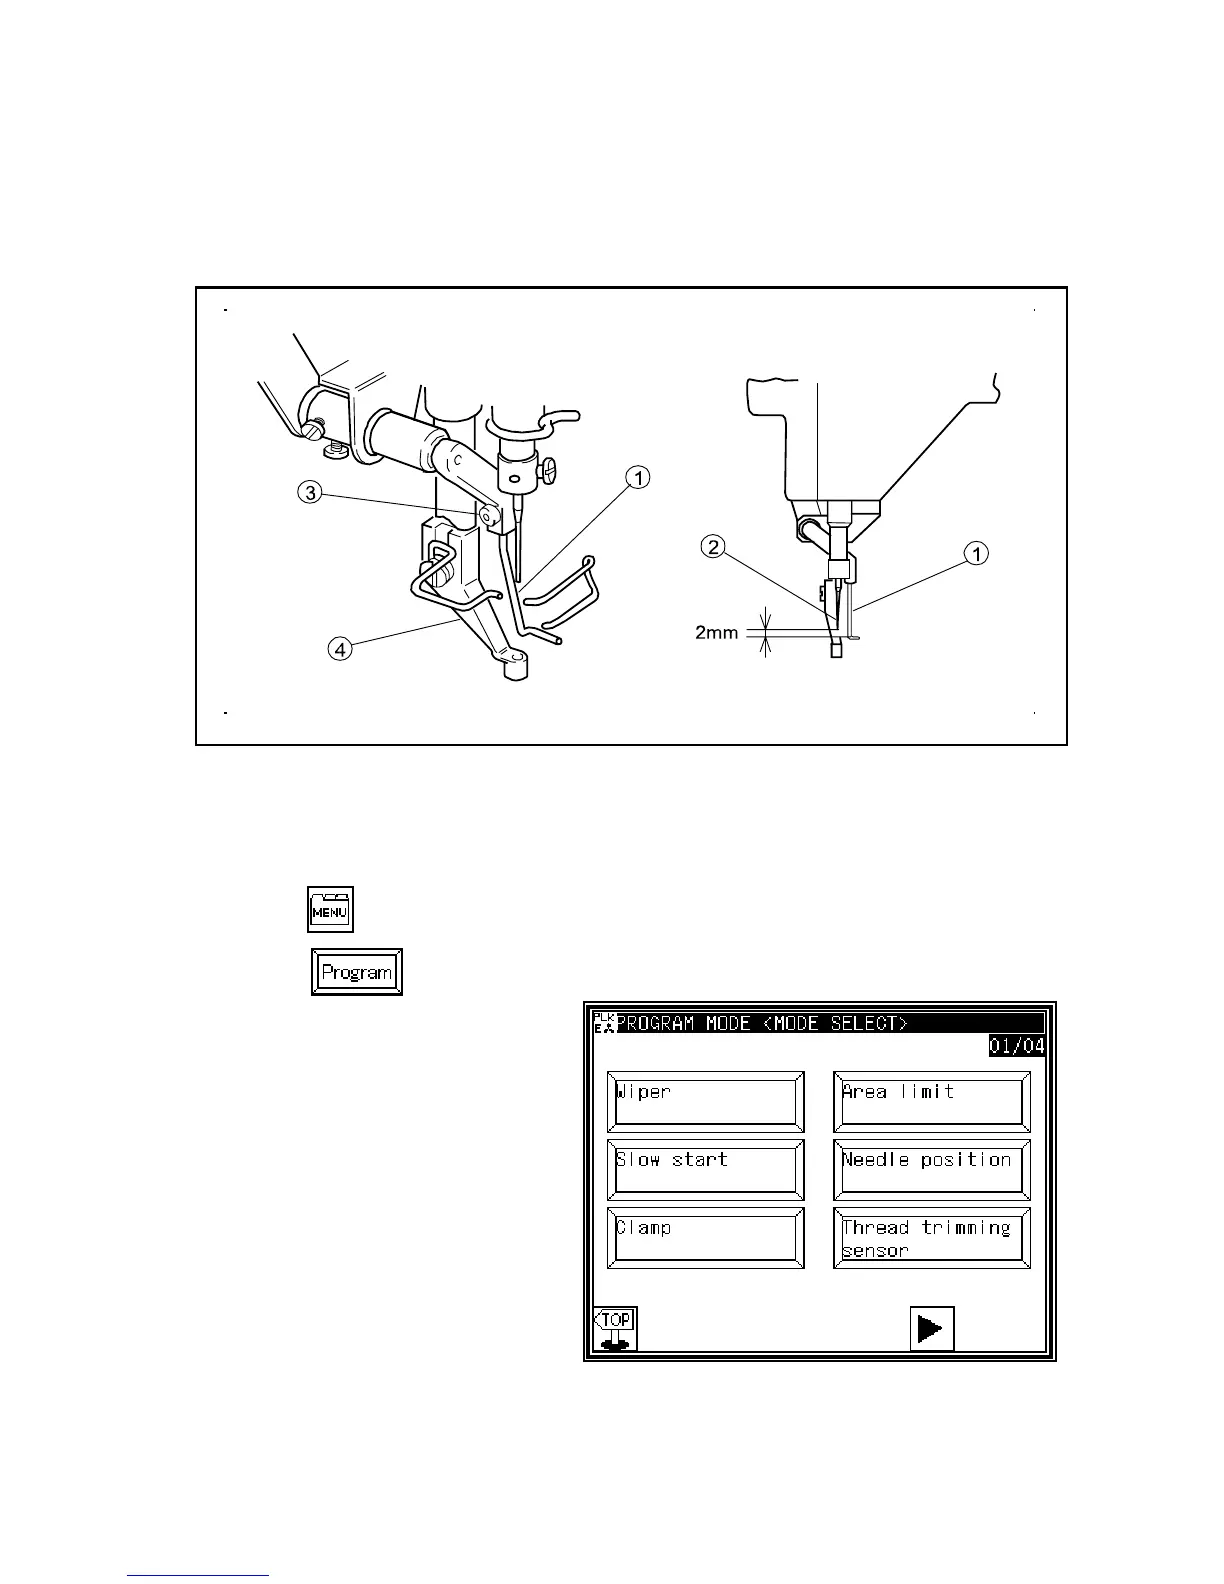
7-7. Adjustment of the wiper
(1) Loosen the wiper setscrew (No.3) and adjust the wiper (No.1) to be positioned where the
wiper (No.1) passes under the needle point (No.2) with about 2 mm clearances right after
the sewing machine is stopped running at the needle upper position (the thread take up
lever's highest position).
[NOTE] When the presser foot position or the presser foot lift is changed, the wiper (No.1)
may collide with the presser foot (No.4).
In that case, please do not use the wiper (No.1).
(2) If do not use the wiper (No.1), cancel the wiper function with operation panel as follows.
>> Press button at the normal mode condition, then MENU MODE is appeared.
>> Press button. Then below screen will be appeared.
>> Press [Wiper] button.
>> And then press [WIP] and select
[OFF] button.