― 29 ―
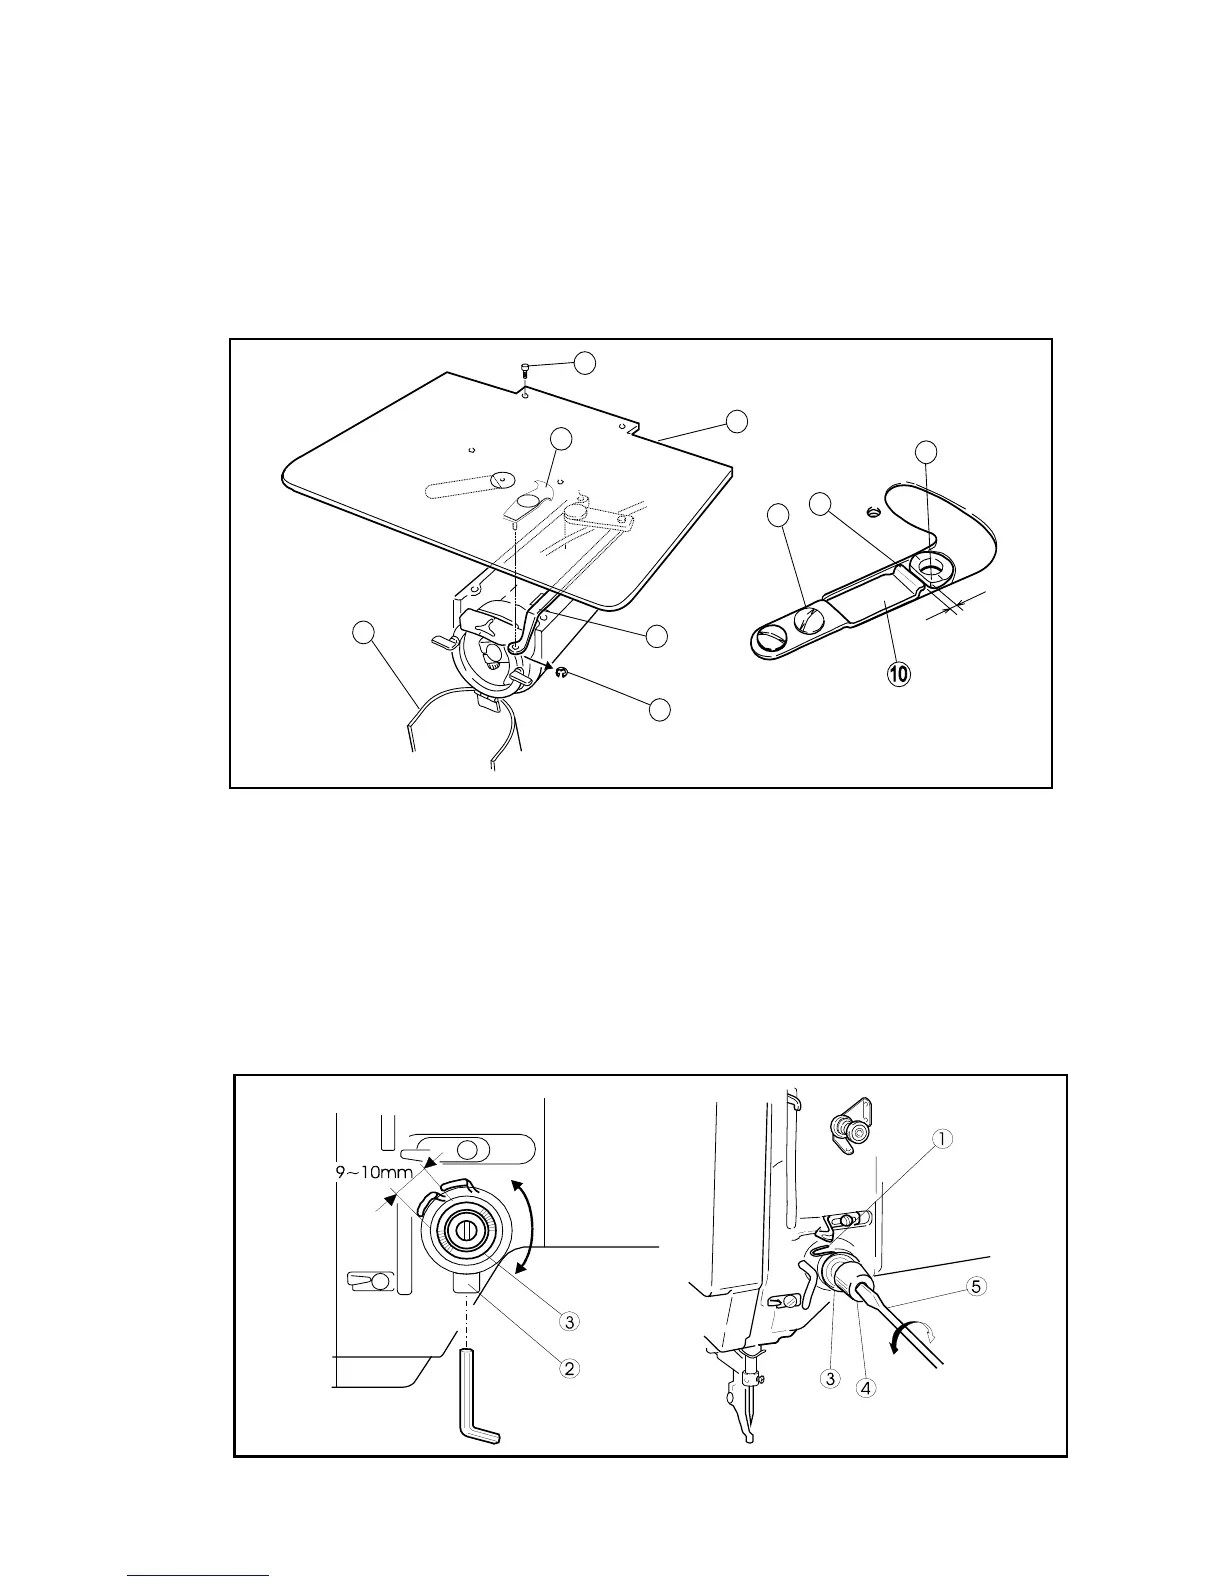
(1) Open the cylinder cover (No.1).
(2) Remove the E-shaped snap ring (No.4), which engages the movable knife (No.2) and the
link (No.3).
(3) Loosen the setscrews (No.5) then, remove the sliding plate (NO.6).
(4) Turn the sliding plate (No.6) upside down and loosen two setscrews (No.9) then, adjust the
fixed knife (No.10) position to be positioned for the blade edge (No.7) to have the clearance
0.5mm from the edge of the needle plate (No.8).
(5) After the adjustment, tighten the setscrews (No.9) securely.
(6) Put all the parts for this adjustment back to the original locations.
7-13. Adjustment of the thread take up spring swing stroke
Loosen the setscrew (No.2) and turn the whole thread tension regulator (No.3) then, adjust the
thread take up spring swing stroke to be become 9 to 10mm.
After the adjustment, tighten the setscrew (No.2) securely.
7-14. Adjustment of the thread take up spring tension
Insert the screw driver (No.5) into the slit (No.4) of the thread tension regulator (No.3) and
adjust the thread take up spring (No.1) tension. If turn the screw driver to the clockwise, the
thread take up spring tension becomes tight, and if turn the screw driver to the counter
clockwise, the thread take up spring tension becomes loose.
3
9
7
8
2
4
5
1
6
0.5mm