REASSEMBLY OF BASIC ENGINE
7-7
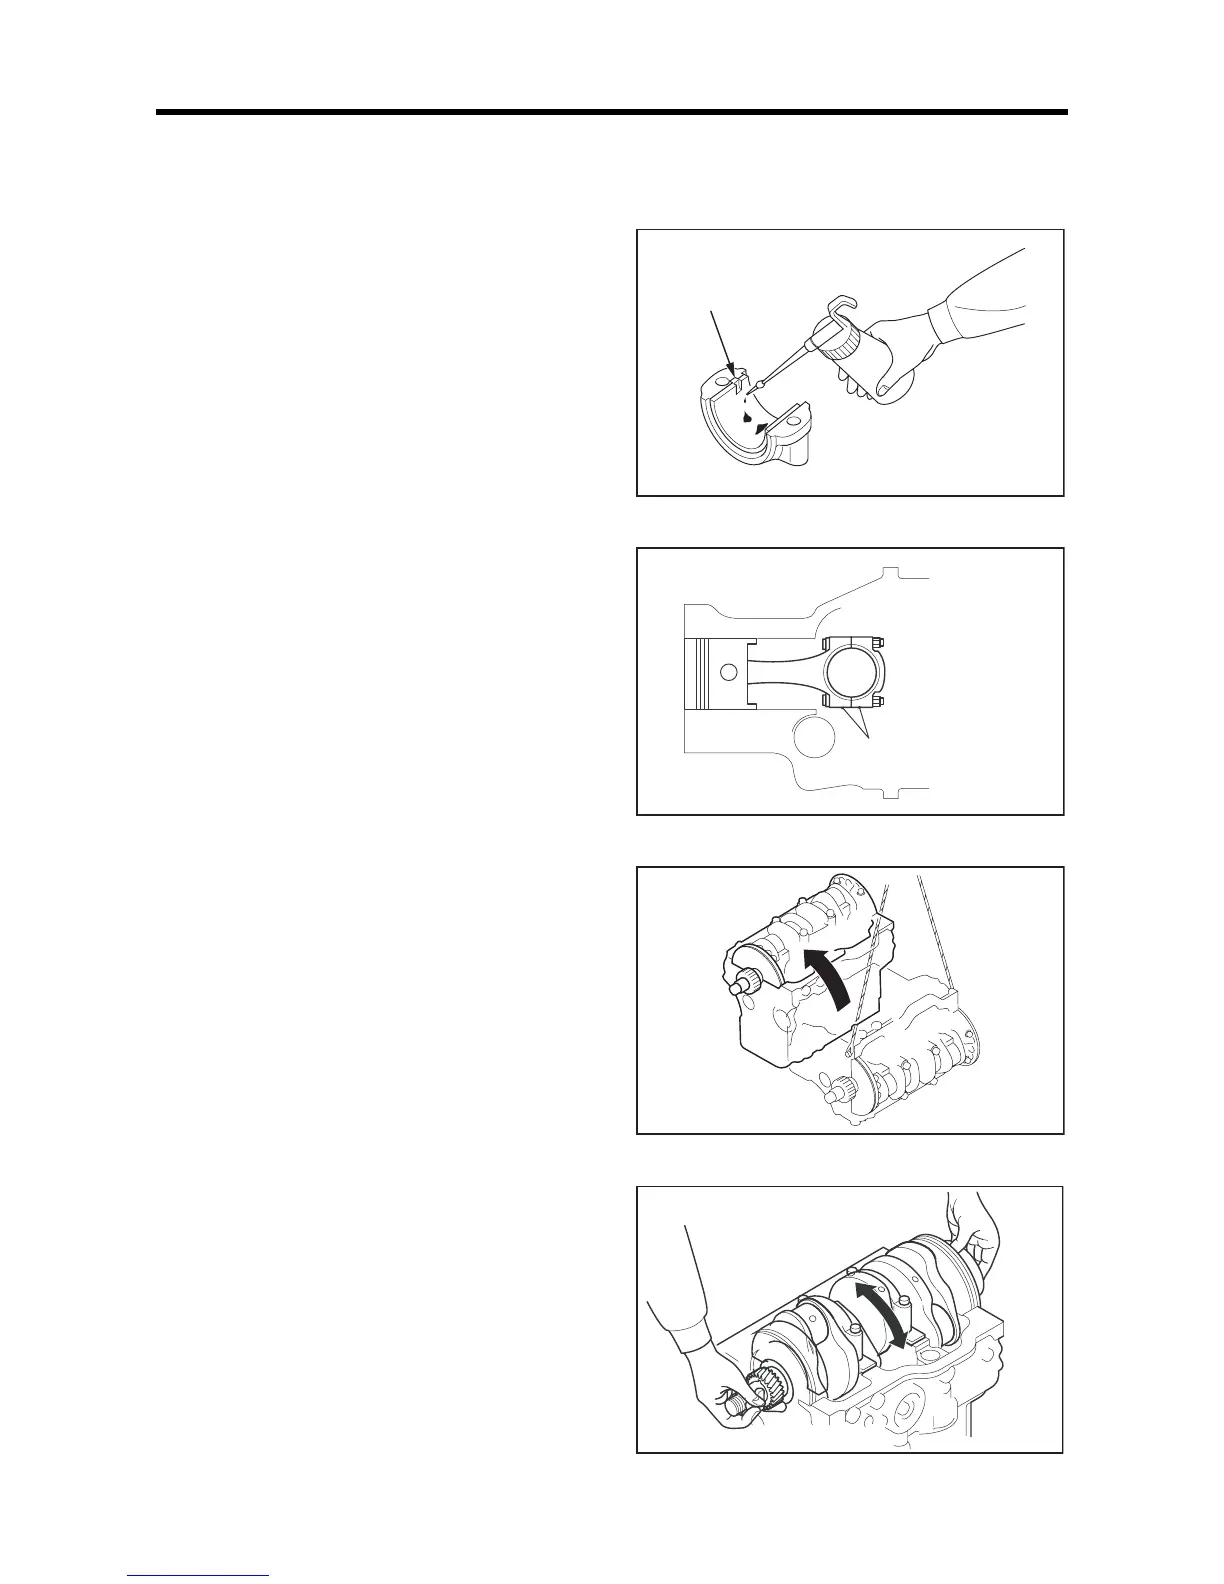
1.12 Installing connecting rod cap
(1)
Fit the connecting rod bearing (lower) to the rod cap
with the lug aligned with the lug groove, and apply the
engine oil inside the bearing.
(2) Install the connecting rod cap to the connecting rod
(crankpin) with its match mark facing on the same side
as the match mark on the connecting rod.
(3) Tighten the connecting rod cap nuts by using hand.
(4) Tighten the connecting rod cap nuts evenly and
progressively to the specified torque.
(5) Inspect end play of the connecting rod. If end play is
small, loosen and retighten the cap nuts.
Installing connecting rod cap (1)
Installing connecting rod cap (2)
1.13 Uprearing crankcase
Uprear the crankcase softly with its upper faced downward.
Inverting crankcase
1.14 Inspecting crankshaft for rotation
Inspect that the crankshaft rotates smoothly.
Inspecting crankshaft for rotation
Lug groove
54 ± 5 N·m
{5.5 ± 0.5 kgf·m}
[40 ± 3.6 lbf·ft]
Matching mark
 Loading...