25
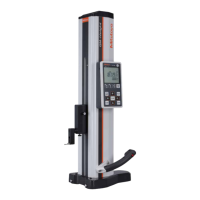
2 Basic Measuring Methods
No. 99MAF600B
2 While keeping the probe unit up/down wheel
stationary, move the workpiece or the main
unit so the stylus moves and passes through
the lowest point (there will be a beep sound,
and the lowest point will be automatically
detected).
» The measurement of the
lowest point is complete, and
an icon will be displayed on
the upper left of the LCD.
y For manual termination
1 While keeping the probe unit up/
down wheel stationary, move the
workpiece or the main unit so the
stylus moves left/right and passes
through the lowest point.
» The counter value will
change according to the
movements, and the value
will be held when the lowest
point is detected.
2 Press [ENTER]. » The measurement of the
lowest point is complete, and
an icon will be displayed on
the upper left of the LCD.
Tips
Iftheprobeunitup/downwheelisdiculttosecure,tightentheclampscrew.
5
Detect the highest point of the hole.
• If [Auto] (automatic termination) is set, ensure that the stylus is positioned to pass through the
highest point of the hole. When the stylus is lowered about 0.5 mm from the highest point of the
hole, a beep sound will be made, and the peak-point detection will automatically terminate.
• Bring the stylus into contact within 0.5 mm of the highest point. Measuring with a wider range may
increase measurement errors.
1 Turn the probe unit up/down wheel, and slow-
ly bring the stylus into contact near the center
of the top surface of the hole until there is a
"beep" sound (keep the stylus in contact with
the surface).
» The height relative to the
origin will be displayed on
the LCD.
 Loading...