OPERATION
(3) Carefully pull the liner out of the torch cable assembly.
(4) Select a PA or liner and carefully unravel avoiding putting any kinks in the liner.
(5) Carefully and slowly feed the liner in short forward movements down the cable assembly
all the way through and out the torch neck end. Avoid kinking the liner, kinking the liner will
ruin it and require replacement.
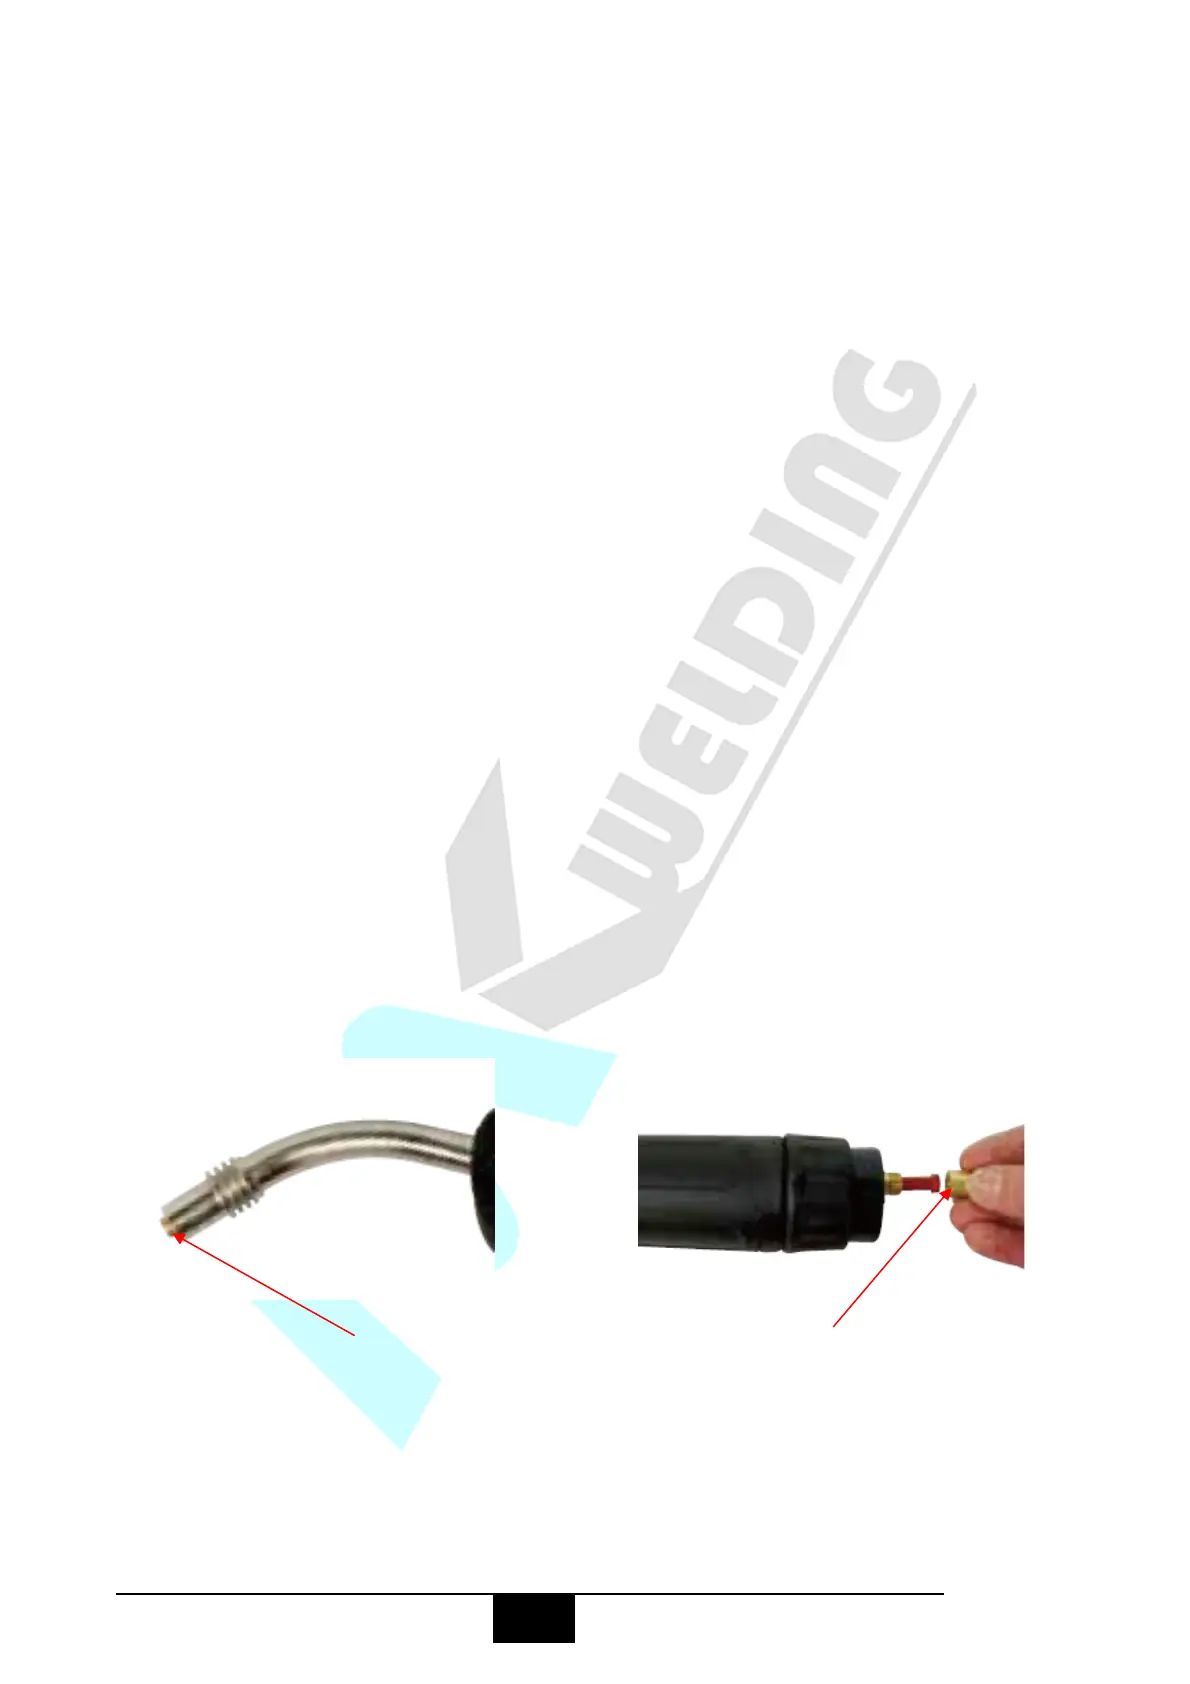
(6) Fit the liner retaining nut together with the liner o-ring, Push the liner firmly into the torch
lead and tighten the liner retaining nut.
(7) Leave the liner extending out the end of the torch neck end by 3mm.
(8) Place the tip holder over the end of the liner and screw into the torch neck nipping it up
tight.
(9) Connect the torch to the machine tighten and secure the torch euro connector to the
machine euro connection.
(10) Install a U groove drive roller of the correct size to match the wire diameter being used.
(11) Place aluminium wire onto spool holder. Feed the wire through the inlet guide tube on
to the drive roller.
(12) Press and hold the manual wire button to feed the wire down the torch cable through
to the torch head.
(13) Fit an Aluminium contact tip of the correct size to match the wire diameter being used
(14) Fit the remaining front end parts to the torch neck ready for welding.
(1) Remove mig torch front end parts. (2) Remove the liner retaining nut.
 Loading...