OPERATION
(17) Select your preferred MIG-MAG function. (18) Select the required welding parameters
using the knobs.
§4.3.5 MIG Torch Liner Installation
(1) Lay the torch out straight on the ground and remove the front end parts.
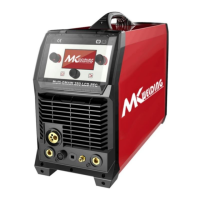
(2) Remove the liner retaining nut.
(3) Carefully pull the liner out of the torch cable assembly.
(4) Select the correct new liner and carefully unravel avoiding putting any kinks in the liner,
if you kink the liner it will make it no good and will require replacement.
(5) Carefully and slowly feed the liner in short forward movements down the cable assembly
all the way through and out the torch neck end. Avoid kinking the liner, kinking liner it will
make it no good and require replacement.
(6) Fit the liner retaining nut and screw down only 1/2 way .
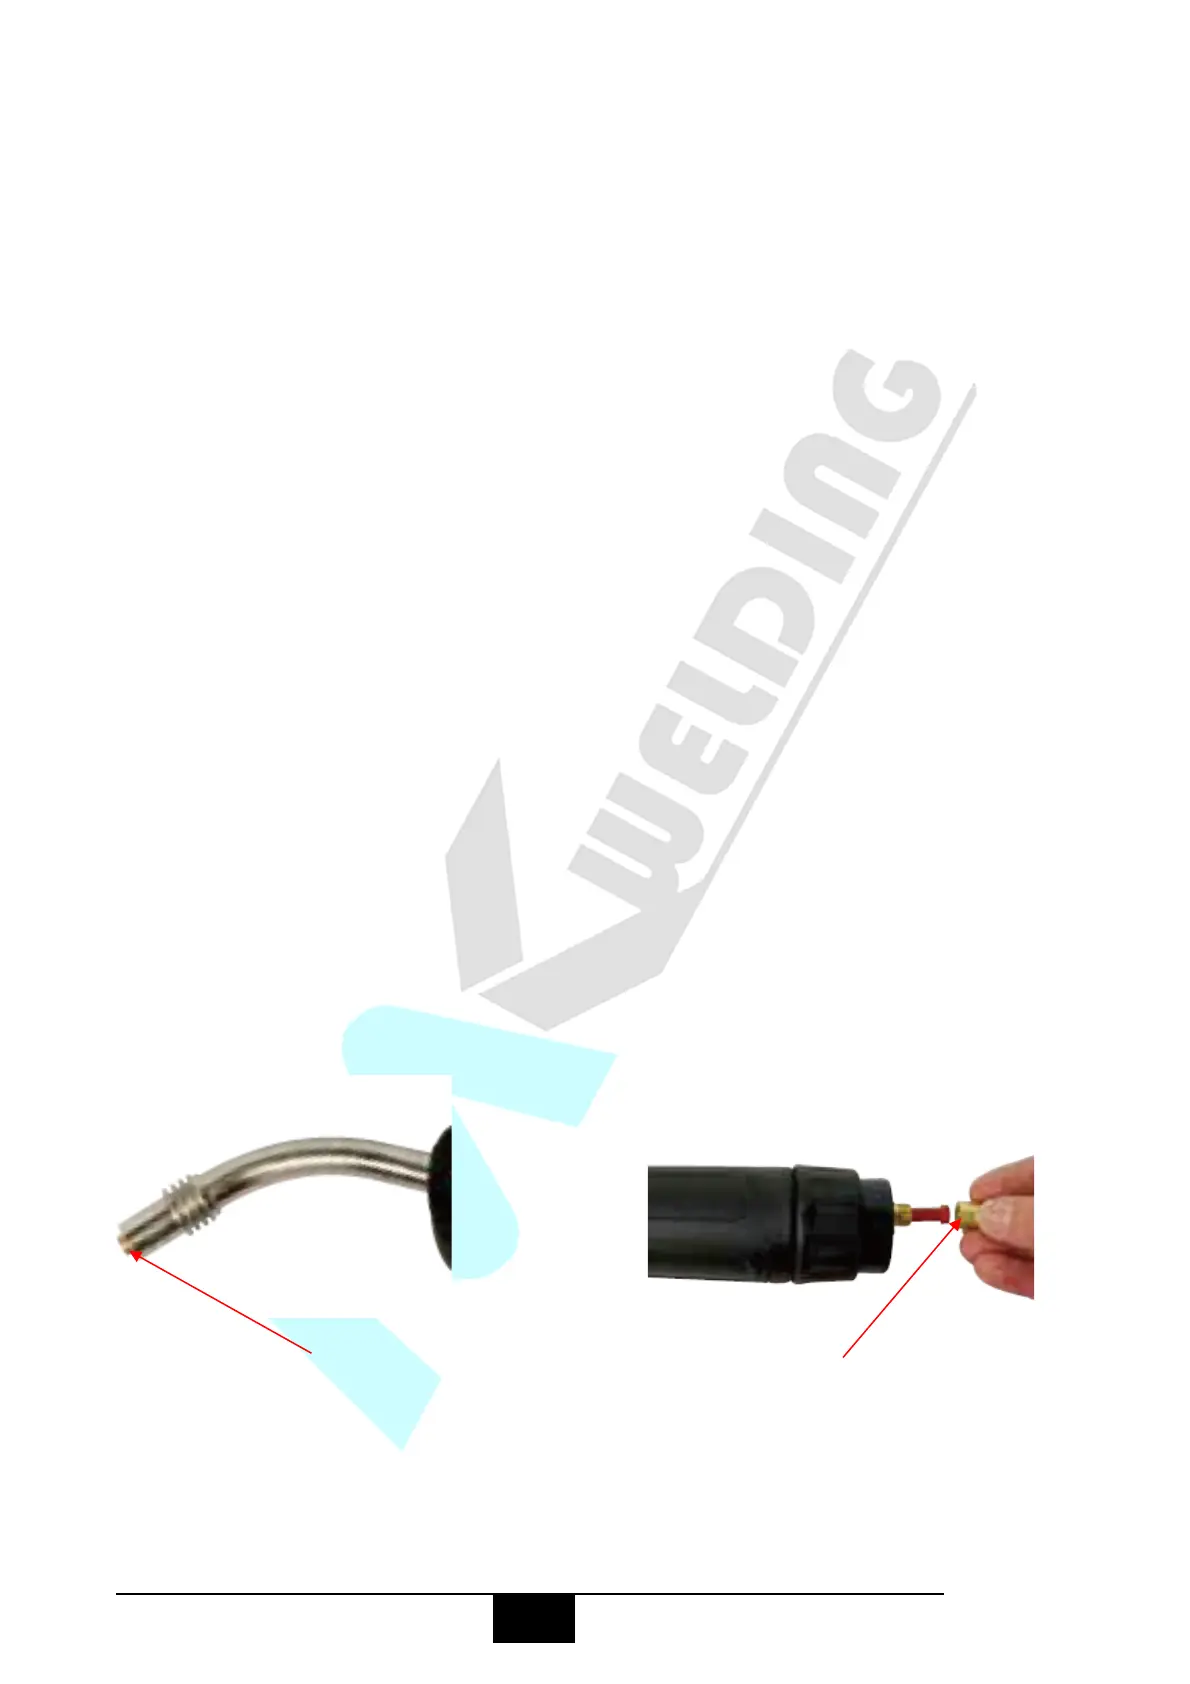
(7) Leaving the torch straight snip the liner approximately 3mm past the end of the torch
neck .
(8) Place the tip holder over the end of the liner and screw into the torch neck nipping it up
tight.
(9) Screw down the liner nut the remaining 1/2 and nip it up tight. This method compresses
the liner inside the torch cable assembly preventing it moving during use and ensures good
wire feed.
(1) Remove mig torch front end parts. (2) Remove the liner retaining nut.