113/152
First Images and the Most Important Settings
© MOBOTIX AG • Security-Vision-Systems • Made in Germany
www.mobotix.com • sales@mobotix.com
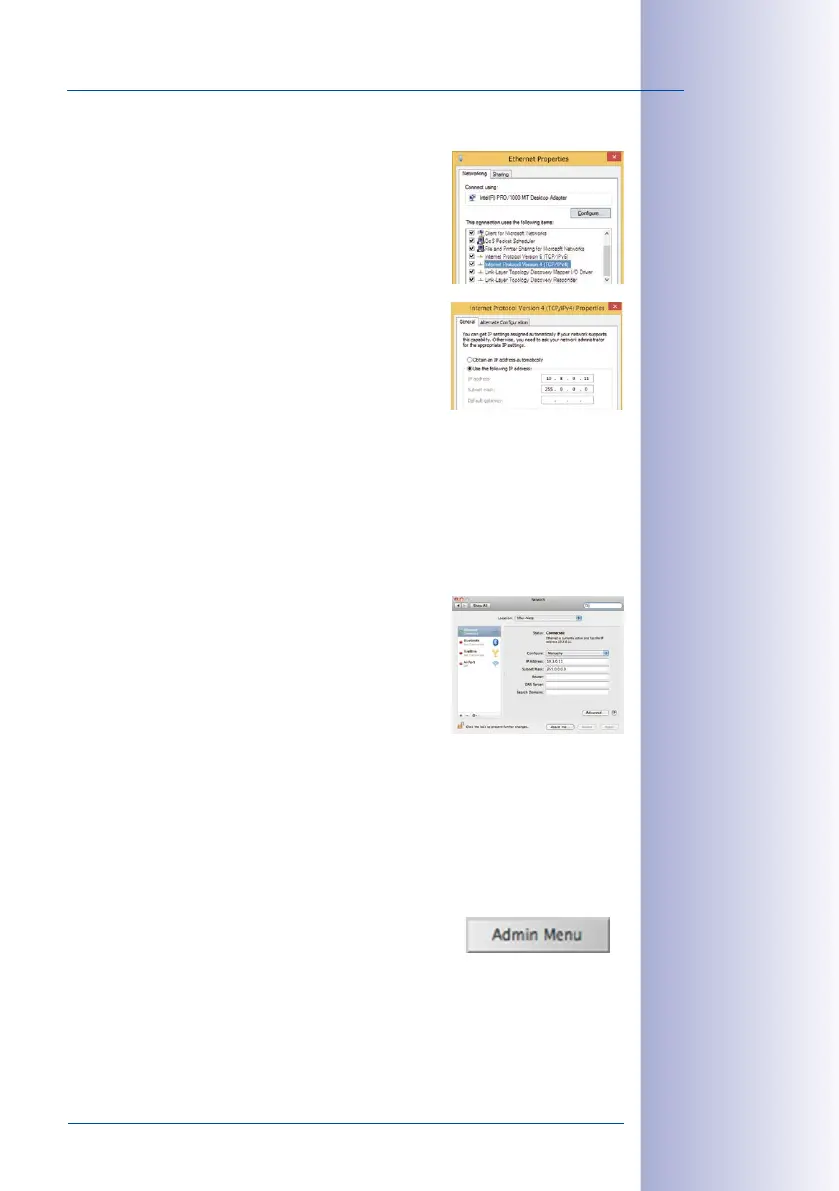
Windows 8.1:
1. Open
Start > Settings > Control Panel > Network
Connections
. Clicking on Properties opens the dialog
box shown.
2. Double-click on Internet Protocol (TCP/IP). On the
General tab, activate the
Use the following IP address
option. Enter an IP address in the 10.x.x.x range in
this field (for example, 10.8.0.11).
3.
Once all dialog boxes have been closed, the computer
will have the IP address 10.8.0.11.
Linux/Unix:
1. Open a terminal as root user.
2. Enter the following command: ifcong eth0:1 10.8.0.11
3. The computer is now also using the IP address 10.8.0.11
Mac OSX:
1. Open
System Properties > Network.
2. Select Ethernet. In the Configuration field, select
Manual and enter a 10.x.x.x IP address (for
example, 10.8 .0.11).
3. Click on Apply on the bottom right-hand side of the
dialog box to assign the computer the IP address
10.8.0.11.
2. Set Up the Target Network Parameters of the MOBOTIX Camera:
1.
Open a web browser on the computer and enter the default IP address of the MOBOTIX
camera in the address bar of the browser (for example, 10.8.0.99). Pressing Enter
displays the user interface of the MOBOTIX camera (see also
Section 3.2.2, «First
Images and the Most Important Settings in the Browser»
).
2. Click on the Admin Menu softbutton in the user interface of the MOBOTIX camera.
The Quick Installation starts automatically once the
admin
user has logged on.
Entry in ”Subnet mask”
eld: 255.0.0.0
Default user data
User name: admin
password: meinsm