10
10
11
12
11
14
12
13
13
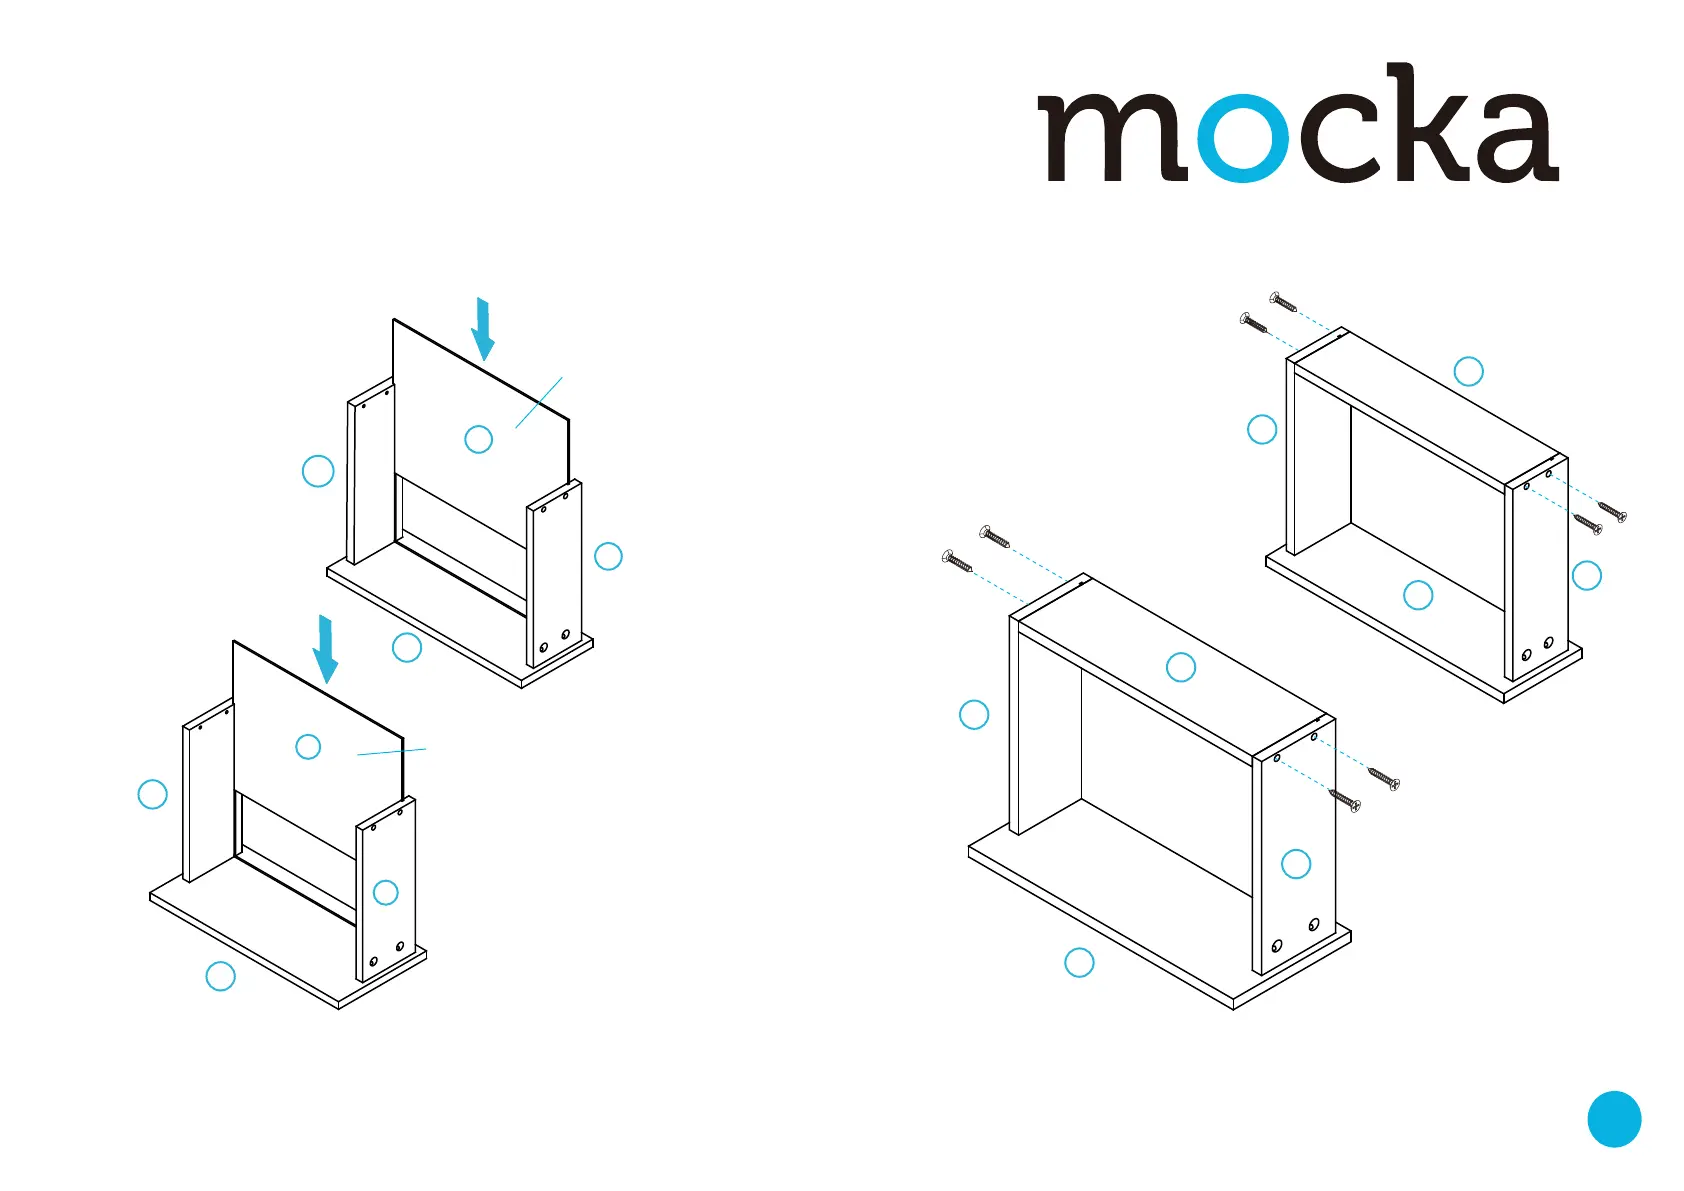
Slide panel [13] down along the grooves between panels [11]
and [12]. Slide panels [13] down along the grooves between
panels [16] and [17].
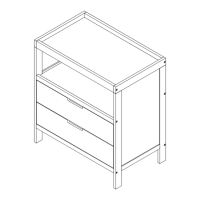
Kirra Desk
Assembly Instructions
mocka.co.nz | mocka.com.au | PO BOX 6171, Maroochydore, QLD, 4558
8
13 Drawers x3
14 Drawers x3
Attach panels [11], [12] and [14] as shown using 4x screws (B). Tighten with
a screwdriver. Attach panels [16], [17] and [18] as shown using 8x screws (B).
Tighten with a screwdriver.
x2
15
x2
15
16
16
18
17
17
B
B
B
B
B
B
B
B
Ensure laminated
side of panel is facing
inwards.
Ensure laminated
side of panel is facing
inwards.